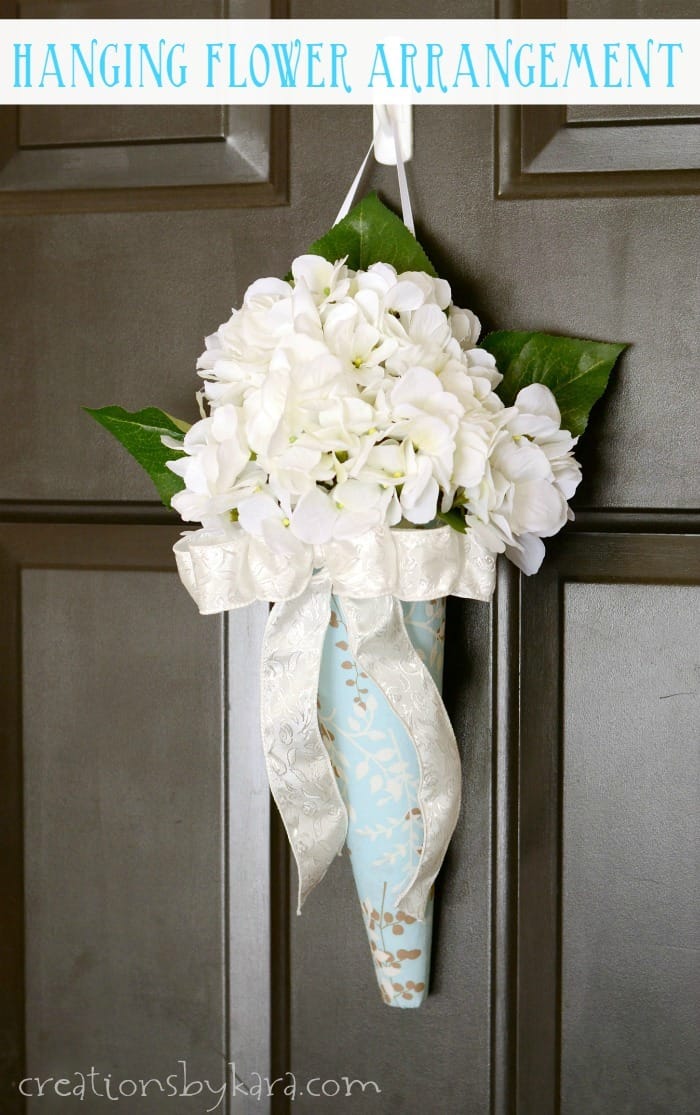
The theme for the Make It Fun® challenge this month is summer decor. With temperatures in the hundreds this week, there’s no doubt that summer is upon us! Usually during the summer I just put up my 4th of July decor and call it good. I decided to create a project that can be left up well into August- a hanging flower arrangement. What says summer more than flowers?
 I was sent a box of cones, and I decided to flip my cone upside down, instead of using it as a tree like I usually do. I thought it would make a great base for a flower arrangement. It was such an easy project, because you just poke the flowers in the foam and they stay in place. Perfect for the flower arranging challenged like myself. I can never get flowers in a vase to look this good!
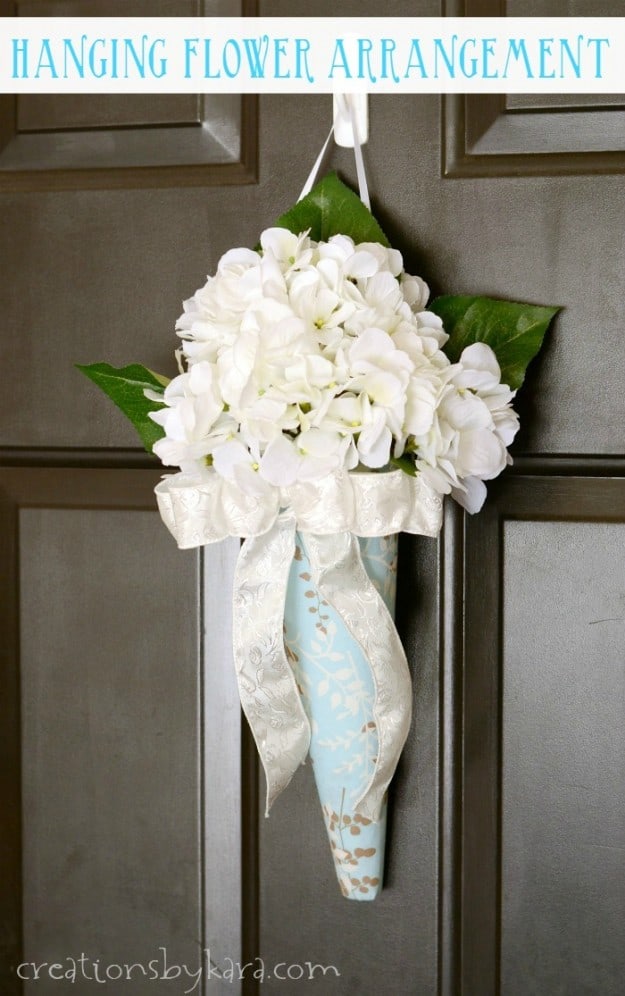
 Eventually my flower arrangement will hang in my family room, but I barely finished painting, so I don’t have the decor hung up yet. So for now it’s hanging on my door. My garage door actually. Haha. It looks so pretty against the black that I left it there after I was done with my photo shoot. Someday I will have a lovely black front door, but for now the garage door will have to do. Ignore the scratches and dents. People live here. Crazy people 🙂
 Here’s how you can make your own Hanging Flower Arrangement in under 30 minutes!
Supplies:
– FloraCraft® Make It: Fun® Foam Cone (mine was 3 7/8″x 11 7/8″)
-Piece of fabric 2″ taller than your cone, and about three times the width of the bottom of your cone
-Glue (I used StyroGlue®)
-Fabric scissors
-Silk Flowers
-Wire cutters
-1 1/2″- 2″ wide ribbon for bow
-Thin ribbon or yarn for hanging cone
-2 straight pins
Instructions:
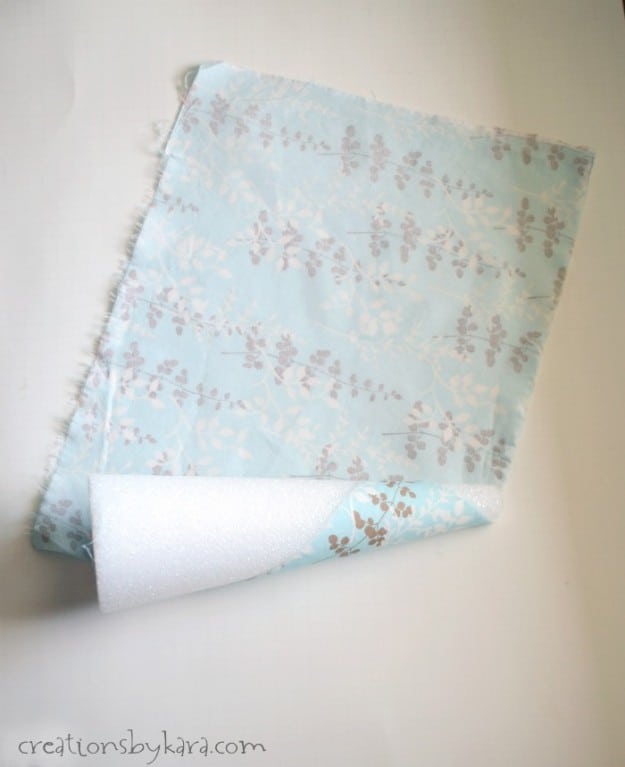
Place your cone on the wrong side of your fabric and roll it up, making sure it fits. Then unroll it and secure the corner with a bit of glue.
 Roll it up again, as tight as you can, until all the foam is covered. You will have extra fabric, but just wrap till you cover the foam.
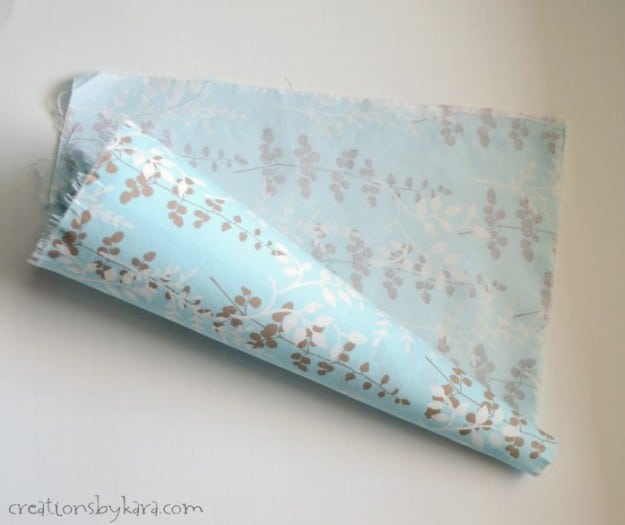 Then cut off the extra fabric at the end. Add a strip of glue along the remaining edge, and glue it down.
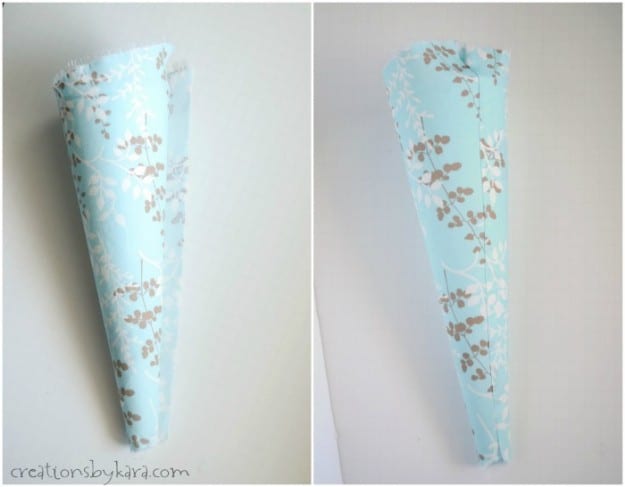 You will have extra fabric at the top and bottom of the cone. Just fold it over and glue it down.
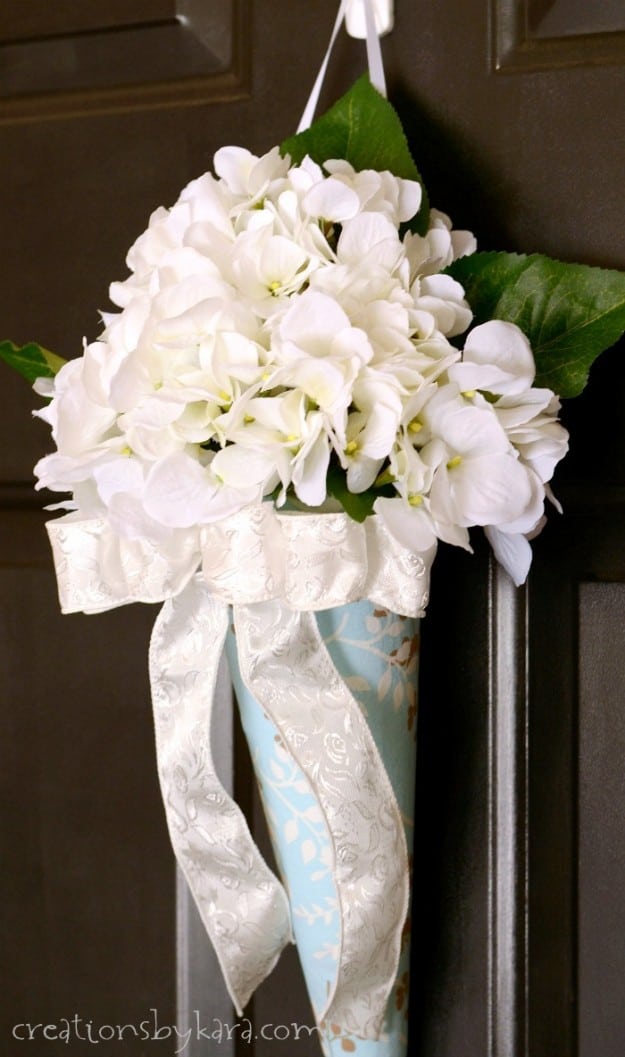
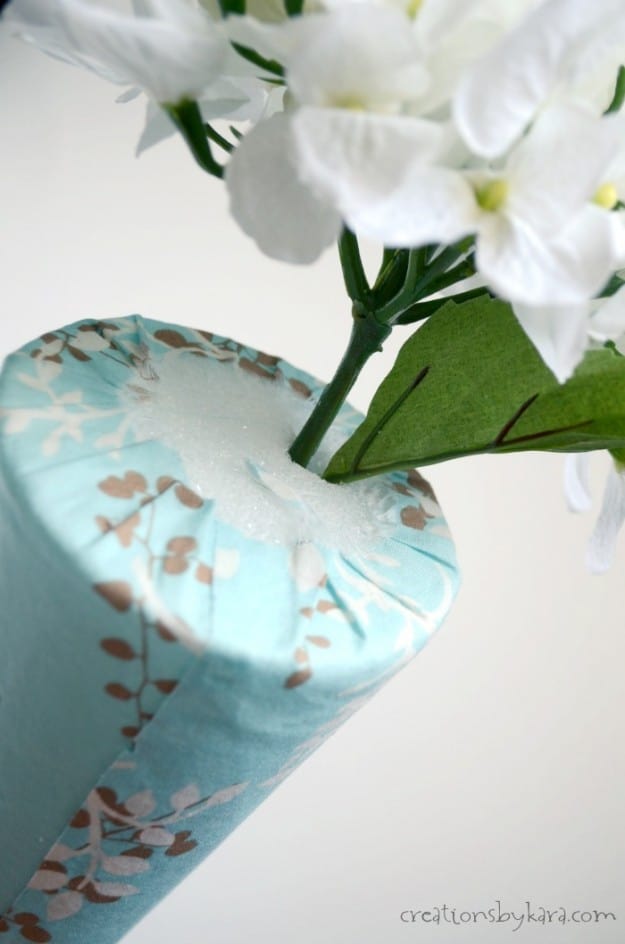
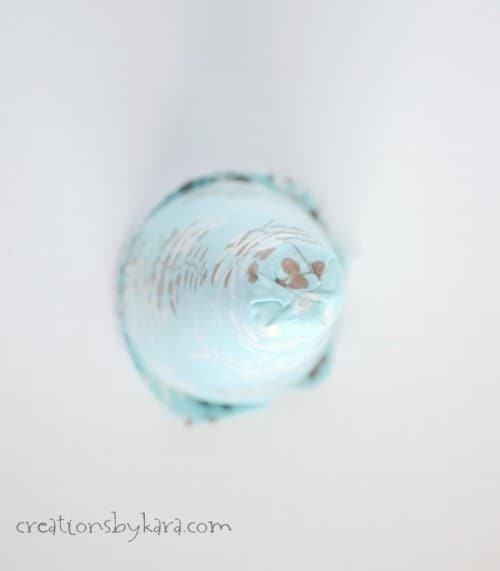 Now just poke your flowers into the wide end of the cone. Make sure you trim the stems with wire cutters so they don’t poke out the sides of the cone! I also added a few leaves to mine. You can use whatever flowers and greenery you like!
 Glue a bow to the front of the cone.
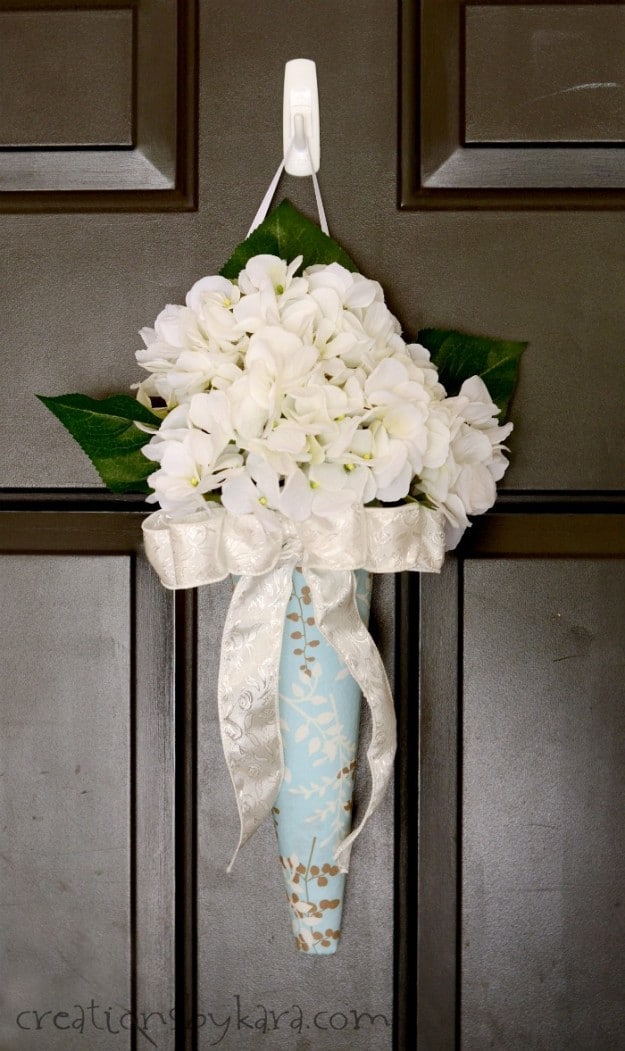
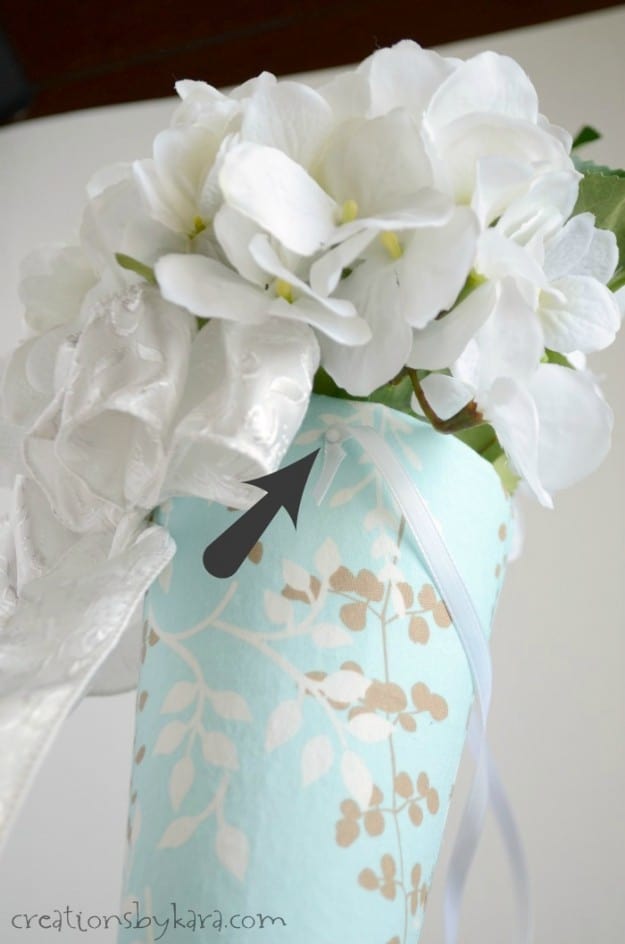
 To hang your flower arrangement, attach a long thin piece of ribbon to each side of the cone with a straight pin.
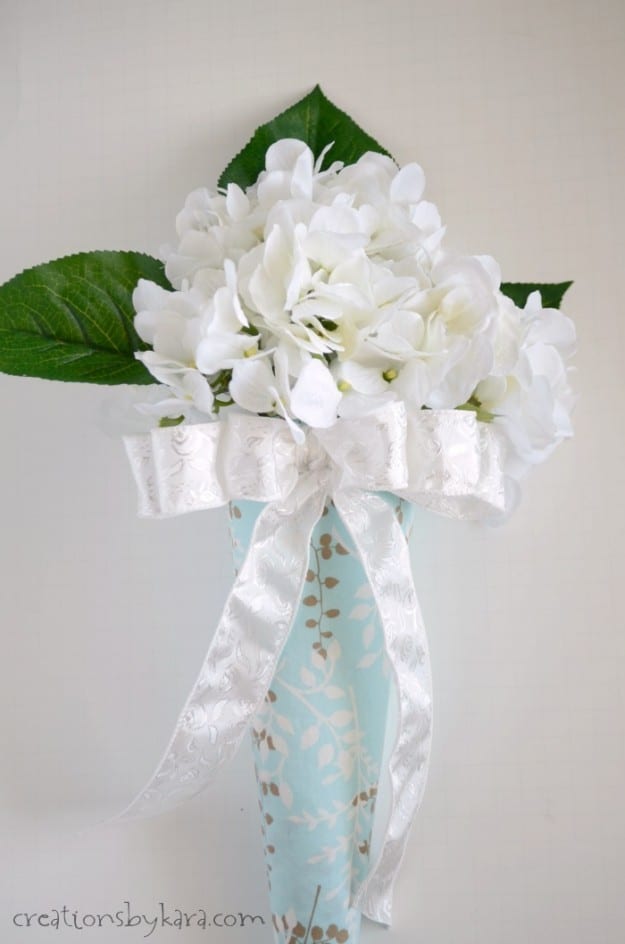
 That’s it, you’re done!

I think these hanging flowers would look gorgeous hanging on a vintage window. Wouldn’t that be pretty for a wedding?
This is so pretty, Kara, and I love the fabric you chose. Also love that this is summer easy! Thank you.
Reply