Today is the first day of December. My boys (especially the youngest) are excited to start all our advent calendar activities tonight. We have four of them and they are all different. It makes the waiting part of Christmas so much easier when you have something fun to look forward to every day, doesn’t it? What fun traditions do you have at your house? Are you a gift maker or a gift buyer? I do a little of both. Because let’s face it, boys are not that easy to make handmade gifts for.
But even when I buy gifts, I like the package to look cute. One way I spruce things up is by making homemade gift tags. Doesn’t take much time, but it does show the recipient that you cared enough about them to take a few minutes to create something. Today I’m sharing some quick and easy Christmas gift tag ideas.
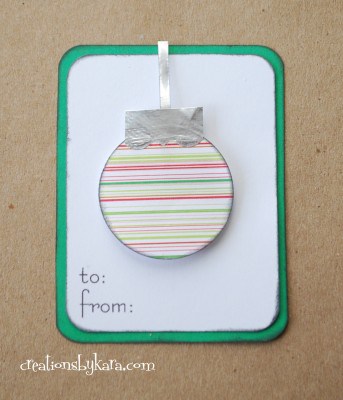
The first one is a gift tag I came up with for my Elmer’s Craft and Share night. I didn’t actually get it perfected in time for my party, so I’m sharing the details here. I also put together a free printable so you can download the tag and print it off. Here is the finished gift tag:
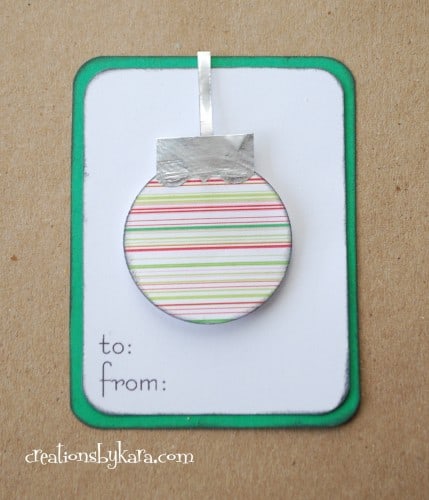 Wanna make some?
Christmas Gift Tag Instructions
Supplies
–Printable Gift Tags, printed off on white cardstock
-Colored Cardstock
-Patterned paper
-Heavy duty tin foil
-Decorative edge scissors (I used X-acto Tiara scissors)
-Scissors, tape, hot glue, and glue stick
-Black ink pad (optional)
-Corner rounder (optional)
1-Print off and cut out the gift tags. Cut a piece of colored cardstock slightly larger to mat them on.
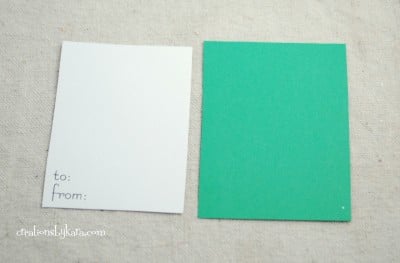 2-If desired, round the corners and ink the edges with black ink. Then mount the white tag on the background. I used Elmer’s tape runner and it worked fabulously!
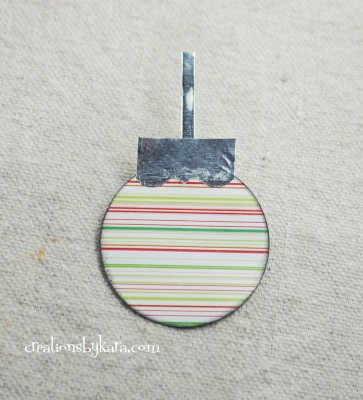
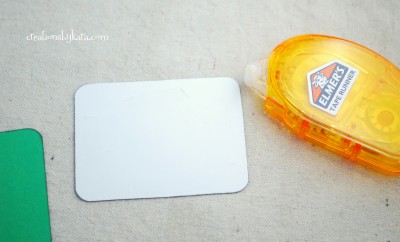 3-To make the ornament, punch or cut a 1 1/2″ circle out of patterned paper. Ink the edges to add some dimension. To make the ornament top, take a small piece of heavy duty foil and cut one edge with decorative scissors. Trim it down to a small rectangle, and glue it to the top of the circle. Cut a long thin strip of foil and place it on the back of the ornament. Tape it in place.
 4-Here is where I admit what a cheap-o I am. I love the look of pop-dots in paper crafting. But the little buggers can be spendy. So I make my own. Guess what I use?
 Yes, that is a styrofoam packing peanut. I just slice them up and attach them with hot glue. Just use a little, or they can melt, especially if you are using a high temp gun. See how perfect they work?
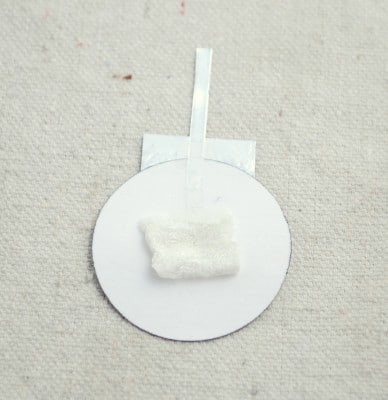 5-Now attach the ornament to the front of the tag and you are all finished. Cute, huh?
 Here are a few other designs I came up with:
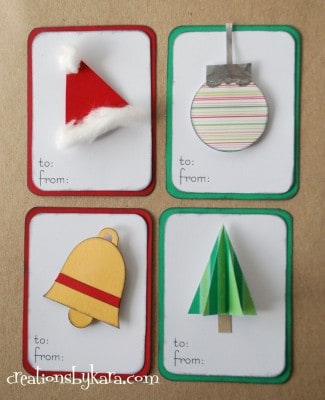
-For the Santa hat, I just cut a triangle and hot glued on some pieces of cotton from a cotton ball.
-For the bell, I cut out the bell shape and the stripe, then punched a circle for the ringer at the bottom, and a U shape for the hook at the top.
-For the tree, I cut two triangles out of green paper and folded one in half. I hot glued the folded seam and attached it in the middle of the back tree. Then I just cut a little brown strip for the trunk.
There are so many possibilities! I am also planning on making some blue ones with snowflakes. Candy canes, presents, stars, and hearts would be cute too. Have fun! If you make some, I’d love to see them!!
Disclaimer: Elmer’s provided me with some crafting supplies that I happened to use to make these gift tags. But I was not compensated to write this post.

On a daily basis, I check out no less than ten web
sites. But your great blogsite is actually over my checklist!
Your tags are SO cute! I found you through TT&J. Thanks for sharing!
Really cute tags! Love the packing peanut idea. Have you heard about using the foil duct tape with the paper backing? You can run it through your Cuttlebug and emboss it or cut it out and then peel off the paper backing and stick it down. A big roll of it is really inexpensive (cheap-o) too! 😀