One of my goals this year is to finish all of the half-completed projects that are starting to take over my house. Anyone else have that problem?
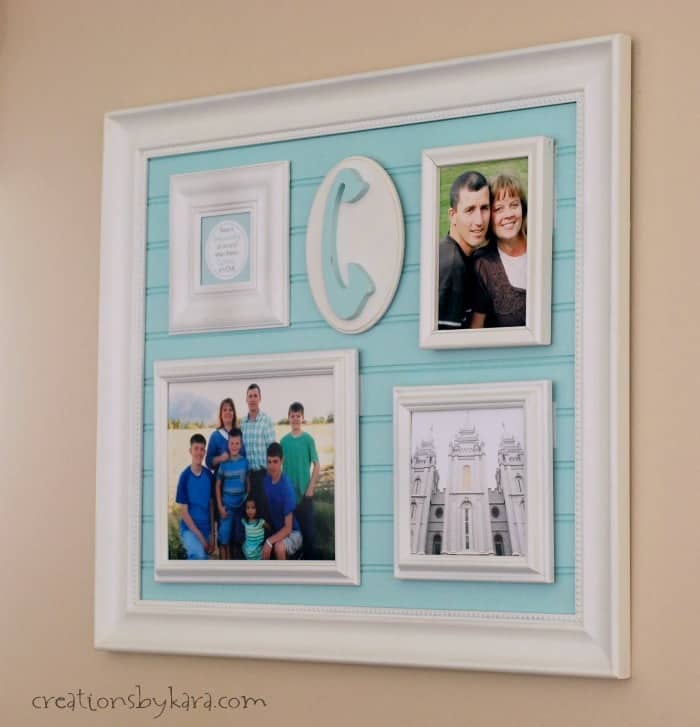
I started this beadboard frame collage last August, and it has actually been hanging with a couple of empty frames in it for months now. Yep, pathetic I wanted to put a picture of our kids in one of the square frames, but couldn’t actually find a recent one that could be cropped to a square. Bummer!
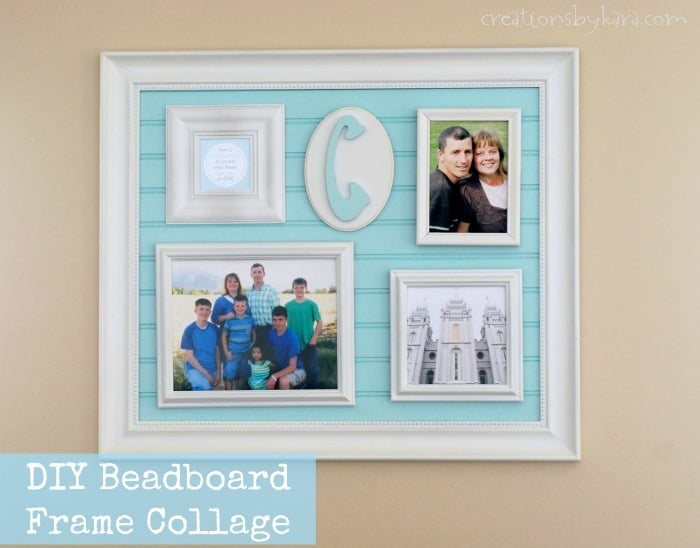 I finally just came up with a printable to fill the space, and I love it, but it is pretty small so it’s hard to see. So I may re-do it, but at least for the time being all my frames are filled! 🙂
This was a pretty easy DIY project, and I love the texture of the beadboard in the frame. I’m sharing instructions in case you want to make something similar.
DIY Beadboard Frame Collage Tutorial
I bought a framed mirror that was on clearance because the mirror part had come loose from the backing board. But any frame will work for this project. 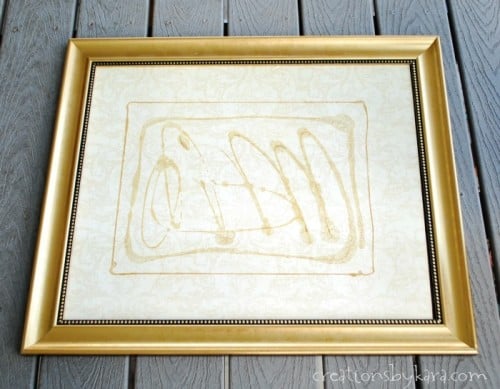 I cut a piece of beadboard to fit inside the back of the frame. Then I painted both the beadboard and the frame with primer and latex paint.
 I then gathered the frames that I wanted to use for my collage, painted them, and arranged them on the beadboard.
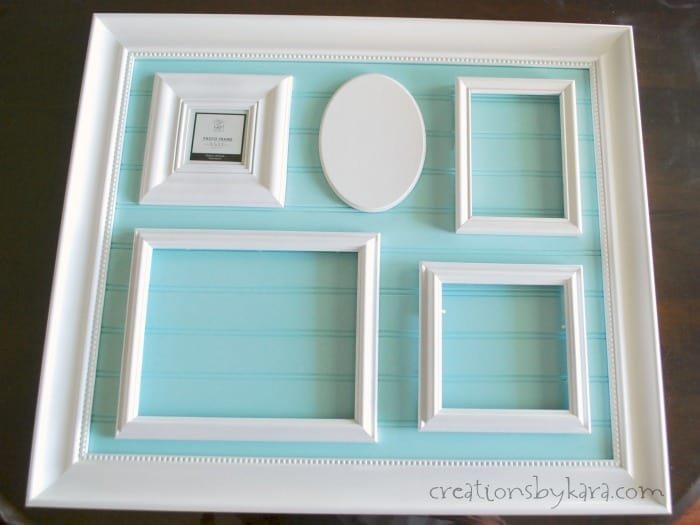 If you want a permanent display, you can add pictures and glue your frames in place. But I wanted to be able to switch out my photos. (Or my printable that you can’t see.) LOL! I decided to attach my frames with sticky back velcro. The tricky part is knowing where to place the velcro strips on the beadboard. I used a big piece of paper the same size as the inside of the frame as a guide. I traced the corners of the frames for placement, then just used a pencil to make marks where the strips of velcro were attached.
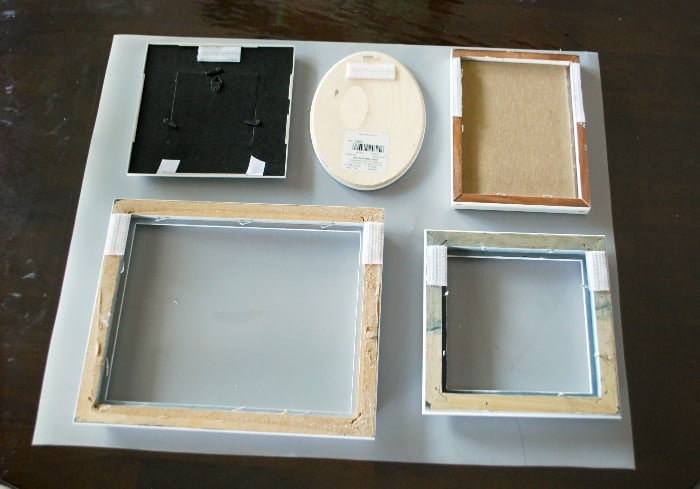 Then I placed the paper on the beadboard and carefully marked where the velcro should go. It’s OK if the strips don’t match up perfectly, as long as most of the two sides are gripping together. Tip: It’s better to have the strips on the beadboard slightly inside the frame lines rather than slightly outside so that if you’re off a little you don’t have pieces of velcro showing around your frame.
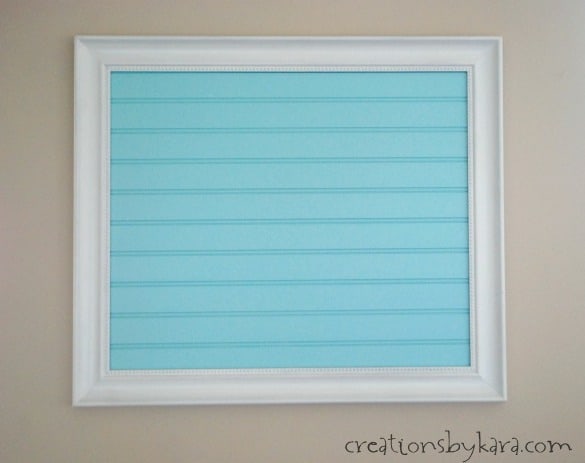
Here’s a little before and after shot:
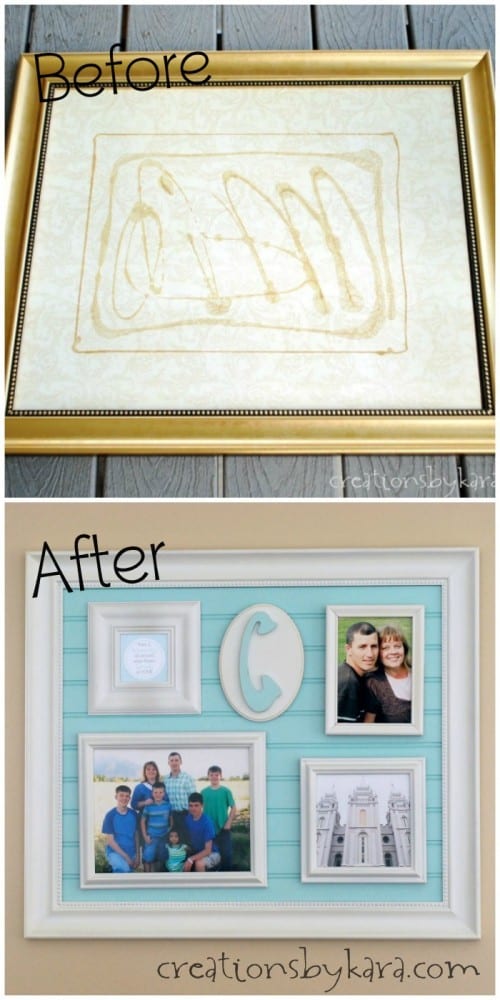 Amazing what a little paint can do, isn’t it?
 I am so glad I finally got this project finished!
I love to buy my beadboard at Home Depot, because they will cut it for you!

When doing the frames on the board. After placing the velco did you leave the back to the frame on to hold the picture in place. I am wanting to make something similar to this for a Christmas gift but didn’t know how to play the frame and they still be able to place their picture of choice in the frame.
I used velcro strips, and made sure they were just on the frame part, not the middle. That way the pictures in the frames can be easily changed out. Hope that makes sense. 🙂
Hi I love this idea, did you left the glass on the frames?
No, I didn’t leave the glass on the frames. Because of where it’s hanging, there was a bit of glare that I didn’t like. But you could leave the glass in for smaller frames. Large frames might be too large for velcro to hold up. 🙂
Oh this is so awesome! After seeing this I’ve decided I need to make a board on Pinterest titled “Creative Photo Displays” and this will the be first pin! Would love to have you share your “trash 2 treasures” over on Kammy’s Korner every Tuesday at Trash 2 Treasure Tuesday. 🙂
Thanks Kammy! I missed the party, so I’ll have to link up this week. Love your new living room curtains by the way! (The whole room actually.)
What a great, fresh look! Love the beadboard and how you arranged everything. And the velcro? You need a trophy for that idea!
Thanks so much Toodie! It’s nice when things actually work out the way I plan them in my head. Thankfully this was one of those times. 🙂
I love this, Kara! I like to be able to switch out photos too & the velcro tape is a genius idea! And no you’re not the only one–I have lots of half finished projects at my house too!
Thanks Carrie! And I’m glad to hear I’m not alone. 🙂
This is beautiful!