• Skip to primary navigation
  • Skip to main content
  • Skip to primary sidebar
  • Skip to footer

Creations by Kara

  • RECIPE INDEX
    • Appetizers and Snacks
    • All Bread Recipes
      • Bread- Muffins and Scones
      • Bread: Quick Breads
      • Bread: Yeast Bread
    • Breakfast
    • Crock Pot
    • All Dessert Recipes
      • Dessert: Brownies and Bars
      • Dessert: Cakes and Cupcakes
      • Dessert: Candy
      • Dessert: Cheesecake
      • Dessert: Cookies
      • Dessert: Frozen
      • Dessert: Misc.
      • Dessert: Pies and Crisps
    • Drinks
    • All Holiday Recipes
      • Christmas Recipes
      • Easter Recipes
      • Halloween Recipes
      • St. Patrick’s Day Recipes
      • Valentine’s Day Recipes
      • 4th of July Recipes
    • Instant Pot Recipes
    • All Main Dish Recipes
      • Main Dish- Beef
      • Main Dish: Chicken
      • Main Dish: Fish
      • Main Dish: Pork
      • Main Dish: Vegetarian
    • Low Carb Recipes
    • Restaurant Recipes
    • Salads
    • Side Dishes
    • Soups
    • Non-Food
  • DIY
    • Craft Tutorials
    • DIY Project Tutorials
    • Holiday Tutorials
    • Home Decor Ideas
    • Sewing Tutorials
    • Tips & Tricks
    • FREEBIES
      • Free Patterns
      • Printable Gifts
      • Holiday Printables
      • LDS Printables
      • Printable Home Decor
  • HOLIDAYS
    • 4th of July
    • Christmas
    • Easter
    • Halloween
    • St. Patrick’s Day
    • Thanksgiving
    • Valentine’s Day
  • SHOP
  • MEAL PLANS
  • Navigation Menu: Social Icons

    • Email
    • Facebook
    • Instagram
    • Pinterest
    • YouTube
This post may contain affiliate links, which gives me a small percentage of the sale, at no cost to you.
Home Ā» DIY & Tutorials Ā» Craft Tutorials Ā» How To Make Layered Paper Flowers

How To Make Layered Paper Flowers

February 8, 2011 by Kara Cook 8 Comments

  • Share
  • Tweet

I finished up another decoration for my kitchen. I’m not going to tell you what it is yet, but here’s a little clue:
paper flower-tutorialI know, I’m such a tease. Any guesses what it is?
I’m working on a tutorial, but realized I should break it into two tutorials because it was getting quite lengthy. Before you can make the actual project, you need to know how to make paper flowers. It’s really simple, but I figured some of you might not be sure how to do it, so I thought I’d walk you through it. And don’t worry, I’ll show you the actual project and how to make it later this week. 🙂

How To Make Layered Paper Flowers

Start with paper. Duh. You can use card stock, scrapbook paper, wrapping paper, any kind of paper.
I decided to use book pages. They are all the rage now, and I jumped right on the bandwagon. I bought an old book at my local library for 10 cents. Cheap!

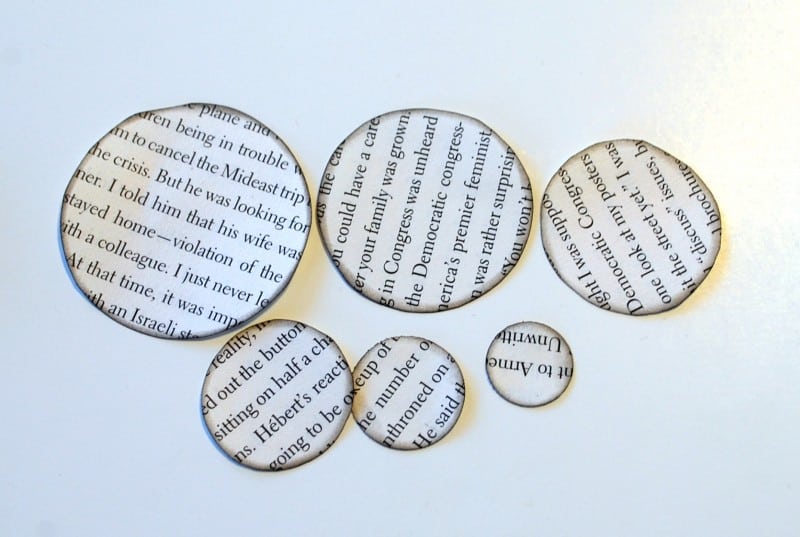
First you want to cut your paper into various sizes of circles. You can use punches, die cut machines, your Silhouette, or the old fashioned method of tracing and cutting with scissors. If you are cutting by hand, you could make your shapes wavy instead of perfectly round, and that looks great too. Also, to save time, trace the circles on one sheet of paper, but cut though a stack of 3-4 at a time.

After I have my circles all cut, I line them up according to size. I’m OCD like that.
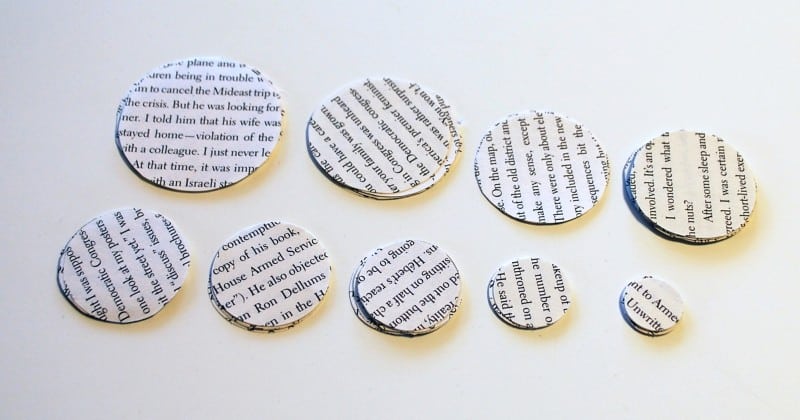
paper flower-tutorialNext you want to ink the edges to add some dimension. I used black ink.

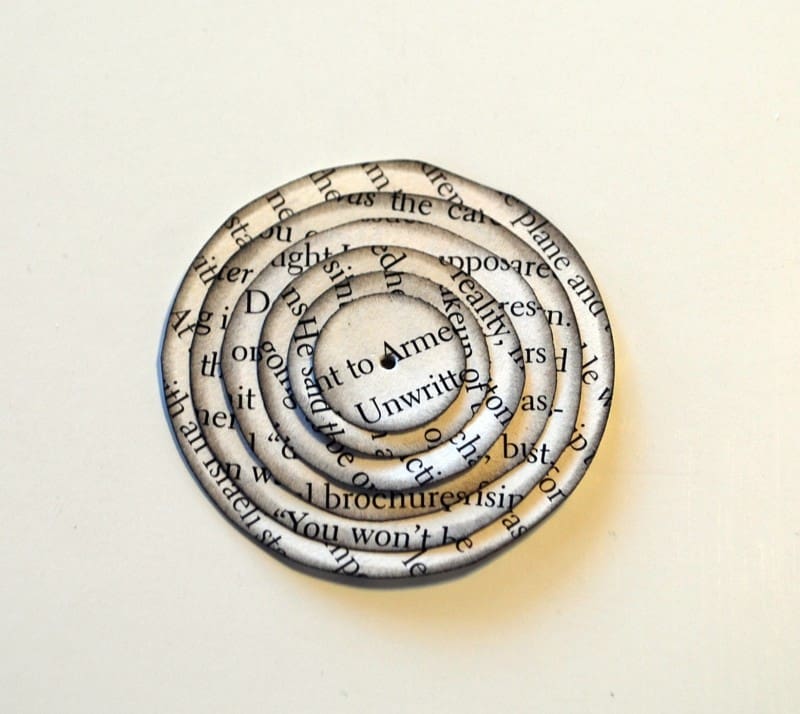
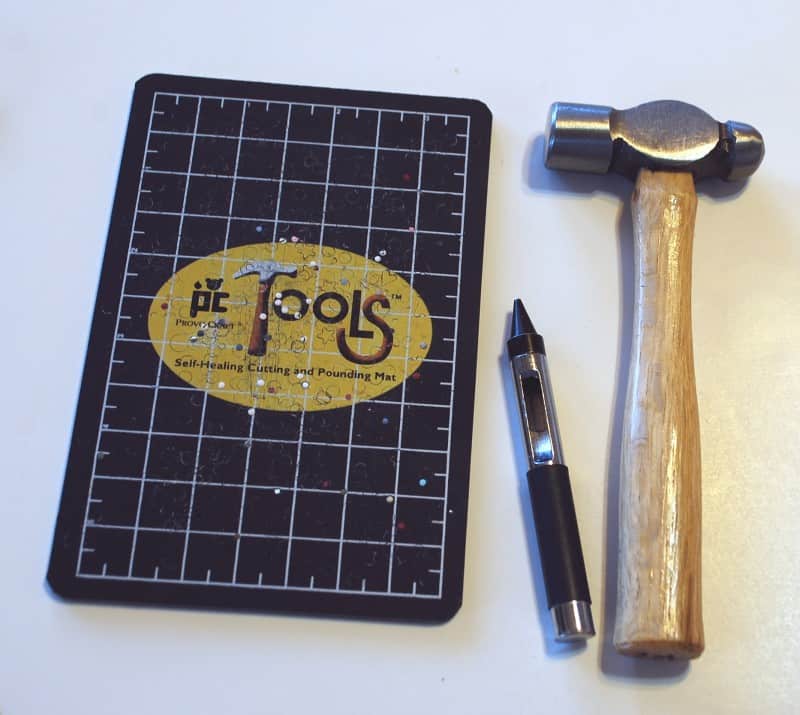
paper flower-tutorialNow stack your circles on top of each other and poke a hole in the middle.
paper flower-tutorialI used these:
paper flower-tutorial
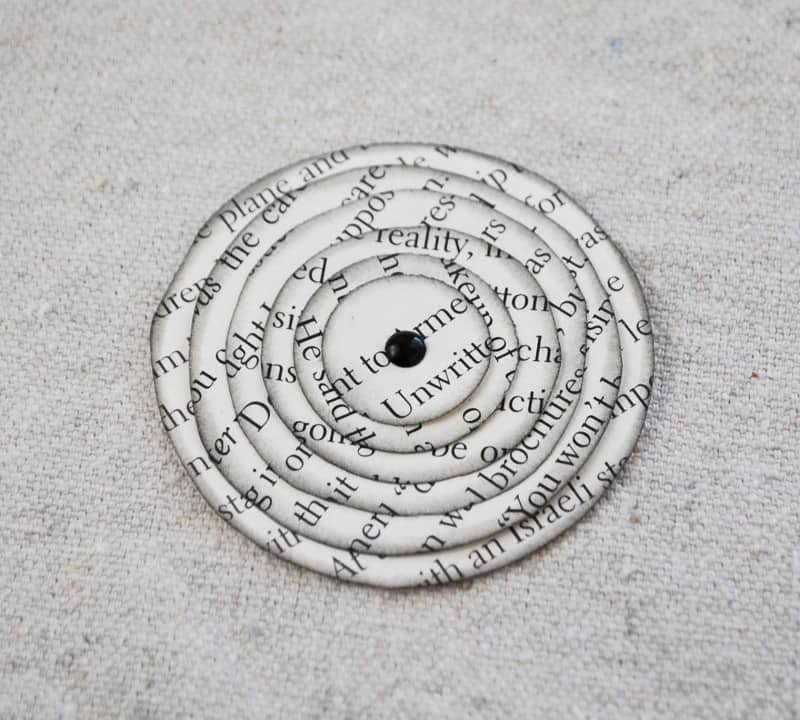
Now stick a brad through the middle and you are finished. Cute, huh?
paper flower-tutorial
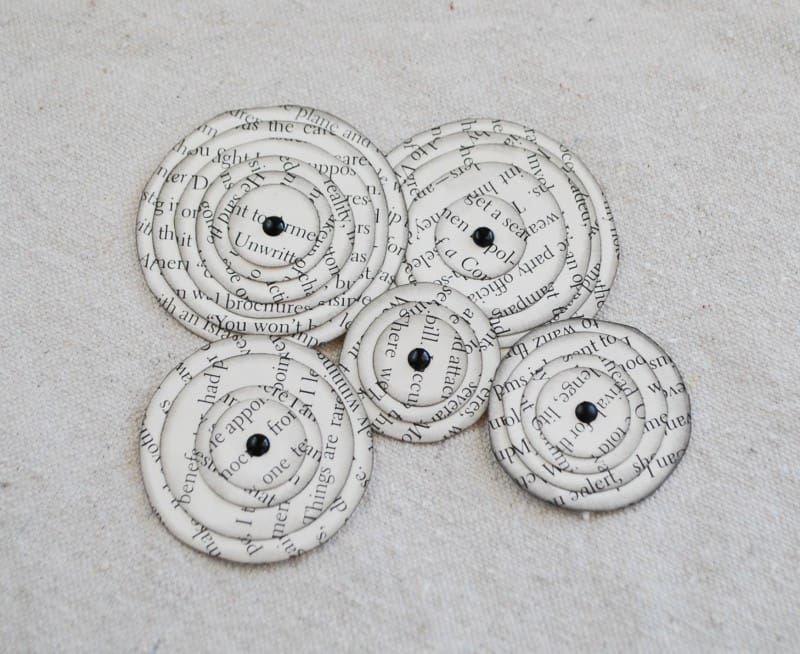
You can make them all different sizes, with any amount of layering that you like:

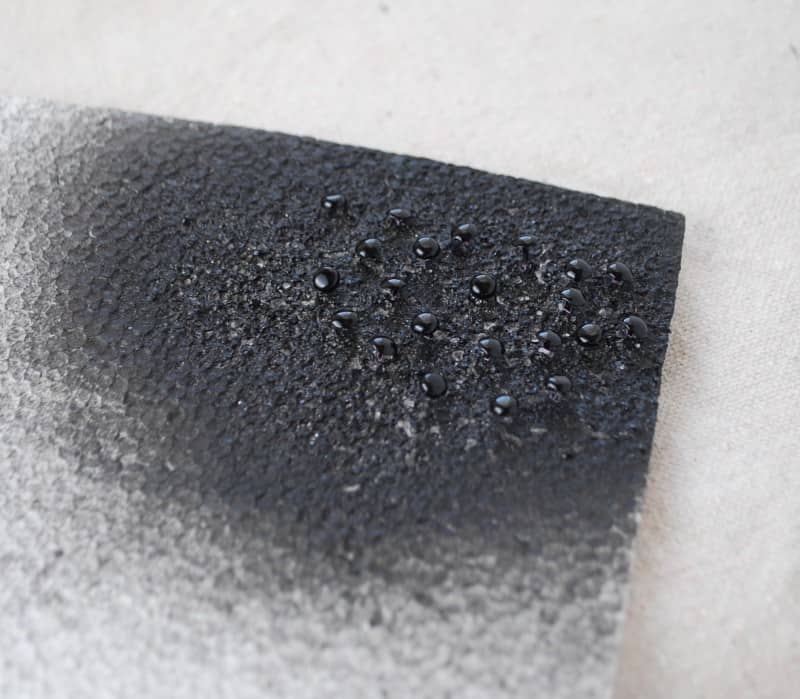
Here’s a little trick I’ve learned. If you don’t have the right color of brads, you can make your own. Using my favorite pal spray paint of course. Just poke your brads through a piece of styrofoam to hold them in place. Then spray paint them whatever color you need. I changed a bunch of lavender brads into black ones with just a couple coats of spray paint. Cheap, easy, and much quicker than having to wait to run to the store. Score!!

Filed Under: Craft Tutorials, DIY & Tutorials, Spray Paint Tagged With: paper

Previous Post: « Bacon Potato Pizza Recipe
Next Post: Framed Monogram with Paper Flowers »

Reader Interactions

Comments

  1. Heather

    September 18, 2012 at 4:26 pm

    How do you “ink” the edges? I am new at this.

    Reply
    • Kara

      September 18, 2012 at 9:59 pm

      You just take a stamp pad and rub it against the edge of the paper. Easy peasy. šŸ™‚

      Reply
  2. SHEILA

    March 27, 2012 at 5:34 pm

    HI. I make hair bows and accessories from infant to woman. Just recently I came up with the same design for a flower hair bow (that’s why I was attracted to your finished product which I commented on). I use raw edges so it will fray. I use staymen for the centers. I use contrasting fabric with bright colors. They’re cute, I think. I make them into headbands or brooches. I think I’ll try making them without fraying the edges and see how they turn out.

    Thanks!
    Sheila

    Reply
  3. The Treasurista

    February 9, 2011 at 10:04 am

    These are so beautiful! Just wanted to tell you I gave you the stylish blogger award…if you want to participate, copy/paste the award into your blog and have some fun. No biggie if not though, it’s all for fun!

    xoxo
    L @ The Treasurista

    Reply
  4. Sheri@childmade.com

    February 9, 2011 at 7:35 am

    These are great! So simplistic. Thanks for sharing … I’ll be linking.

    Reply
  5. Leighann

    February 8, 2011 at 4:08 pm

    Very pretty! I love making things from paper šŸ™‚

    Reply

Leave a Reply Cancel reply

Your email address will not be published. Required fields are marked *

Primary Sidebar

Hi. I’m Kara, and I love to create! I share recipes, DIY tutorials, craft projects, and thrifty home decor. I hope that I can inspire you to create something!
MORE ABOUT ME

Categories

Footer

PRIVACY POLICY | ABOUT ME | DISCLOSURE

Copyright © 2023 Creations by Kara on the Foodie Pro Theme

3 shares