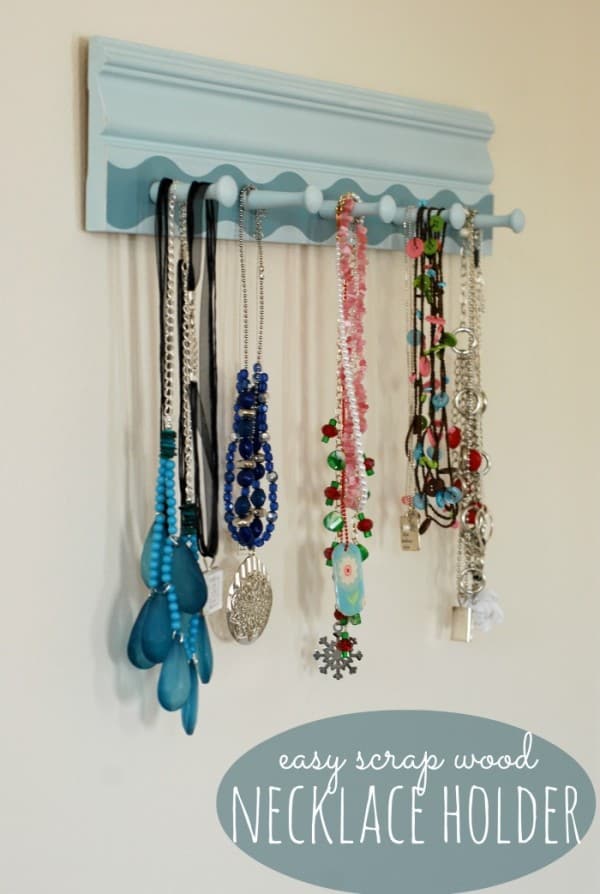
![]() This simple necklace holder is an easy and pretty way to store your jewelry!
This simple necklace holder is an easy and pretty way to store your jewelry!
This post brought to you by FrogTape Painter’s Tape. All opinions are 100% mine.
I have been storing my necklaces in a dresser drawer. I’ve tried keeping them separated in little boxes and bags, but it has not been working very well. What I’ve been dealing with the past few months is a hot mess of tangled chains, beads, and charms. Not fun at all! I’ve been meaning to make a necklace holder for ages, and I finally got around to it. It makes me so happy to see all my necklaces lined up in a row. I even found some that I forgot I had!

I had some leftover baseboard sitting in my garage, and I knew it would be perfect for this project. If you have a hot mess in your jewelry drawer, than you need this DIY Necklace Holder! And I’m going to show you how to make one. Hooray for pretty organization!
DIY Scrap Wood Necklace Holder with Frog Tape®
Supplies:
-Piece of scrap wood (I used a piece of baseboard)
–FrogTape® Shape Tape™ (I used wave, but they also have chevron and scallop tape.)
-Two colors of paint
-Paintbrush
-Drill/ drill bit
-Wooden pegs
-Hammer and nails
–Sawtooth hangers
Instructions:
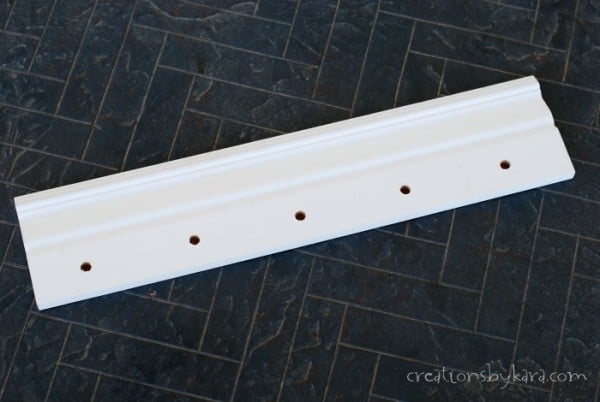
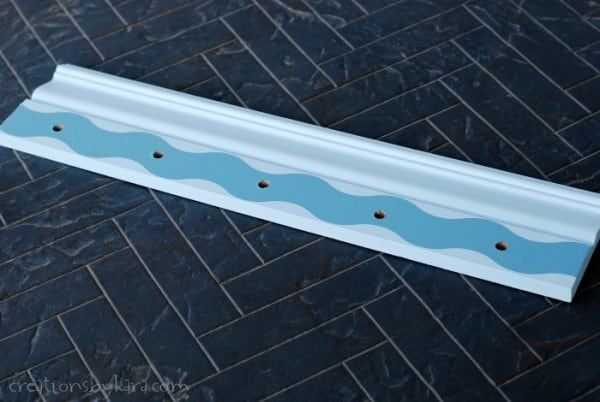
1- Cut your piece of trim the length you want, then drill holes in it for the pegs. I spaced mine about four inches apart.
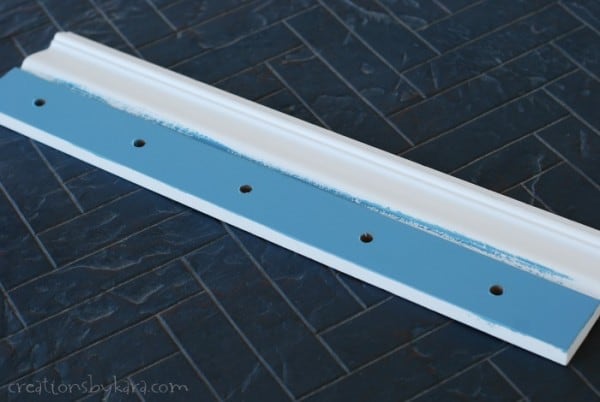
 2-Paint the bottom flat part of your trim piece the color you want your stripe/wave to be. It doesn’t need to be perfect on the edges, just make sure the middle is well covered.
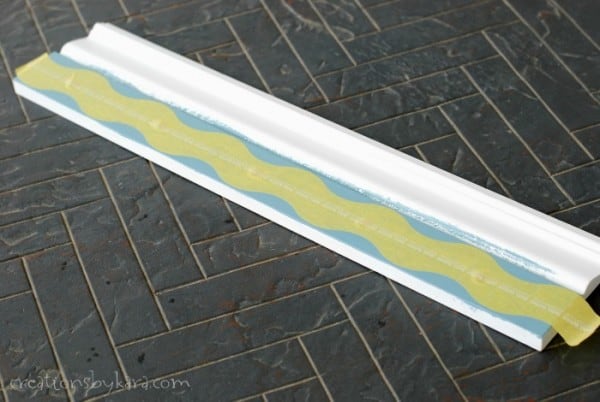
 3-Now it’s time to add your FrogTape® Shape Tape™. I love how you can pull off just half of the backing at a time!
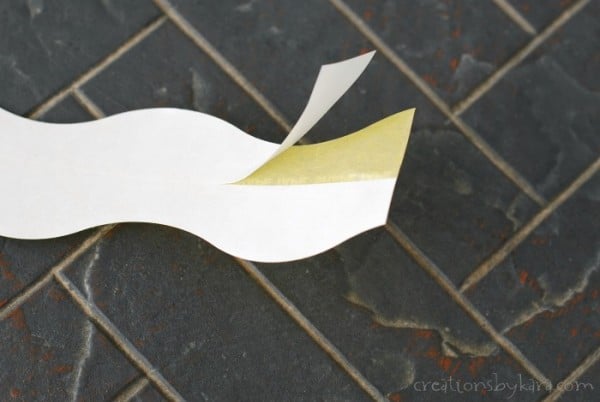 I pulled off the top half of the backing, then lined the tape up straight with the edge of my board, and pressed it on lightly. I then peeled off the bottom half and smoothed it all out. Make sure you press the tape on firmly to create a tight seal.
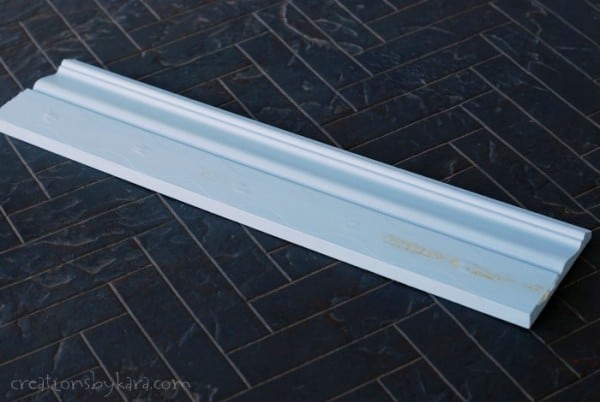
 4-Now paint the entire board in your contrast color. If you need more than one coat, make sure you let each coat dry thoroughly before adding the next one.
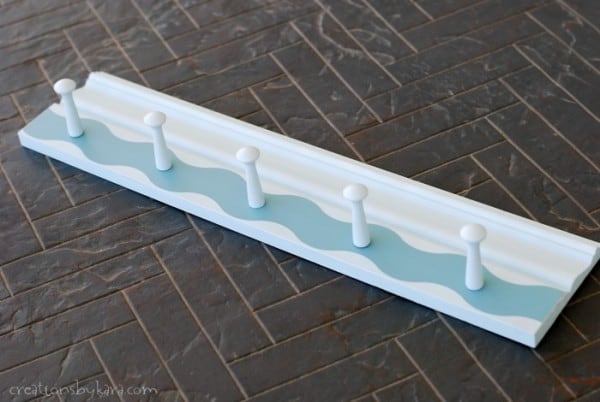
 5-After the paint is totally dry (I waited overnight), peel off the Shape Tape™. FrogTape® uses PaintBlock® Technology, which in crafting terms means it has a polymer that reacts with latex paint, forming a gel barrier that prevents the paint from bleeding underneath. I use it for projects all the time, and I love it! Check out those perfect lines!
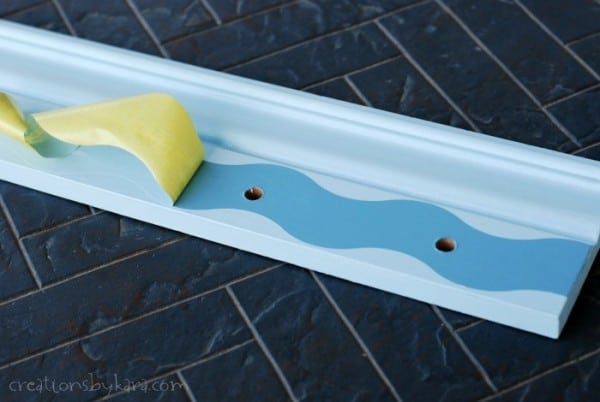 Step back and admire your work! 🙂
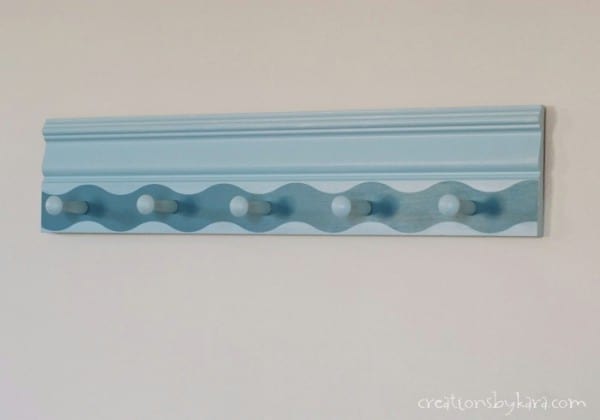
 6-Now paint your pegs. I chose to paint mine the lighter blue color, but you can paint them the color of your stripe if you prefer.
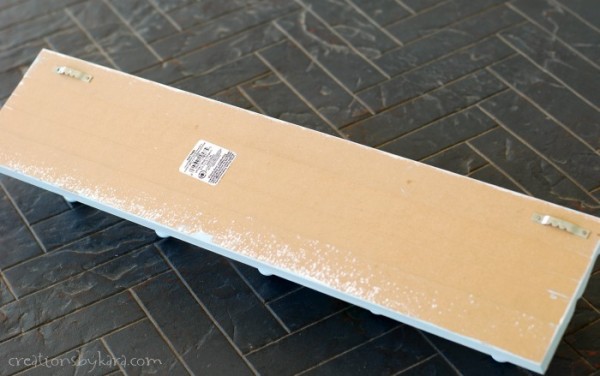
 7-Add some picture hangers to the back of your board so you can hang it. I like to use sawtooth hangers. And truthfully, I forgot this step and had to add them after I pounded in the pegs, which was a little tricky. So don’t be like me, add them first! 🙂
 8-Now pound your pegs into the holes. Use a rubber mallet if you have one. If you don’t, fold up a washcloth or rag and place it on top of the peg before you hit it with the hammer. Otherwise the hammer will leave a mark on the top of the peg.
 9-Now all you have to do is hang your necklace organizer on the wall. . .
 10-And hang up all your necklaces.
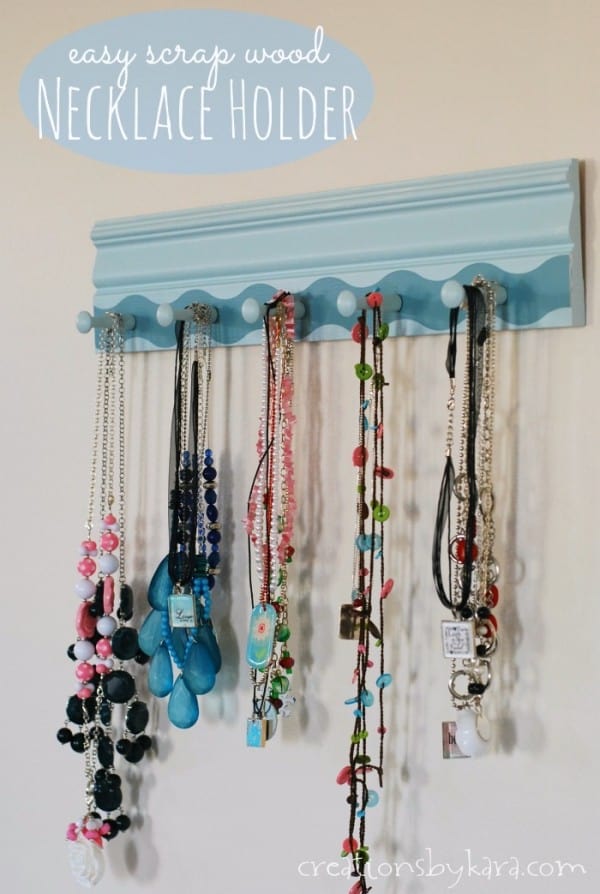 So much better than having them tangled up in a drawer!
I’ve never seen the wve frog tape! So cool!
It was fun to work with! I want to try the chevron next. 🙂
I need this! I just sent the link to my hubby and told him to make me one.
Haha! I sure hope he does your bidding! Husbands are sure nice to have around, aren’t they?