Our living room is nowhere near being finished. Why is it that everything takes longer than I think it will? I’ve run out of paint, nails, tape, and even tiny things like screws. All at different times, which means multiple trips to the hardware store. So frustrating! But I am sloooowly making progress. Today I finished up a side table. It is going to hold the mountains of piano/guitar/French horn books that seem to migrate to the middle of the room every single day. Can’t wait to have a place big enough to hold them all!!!
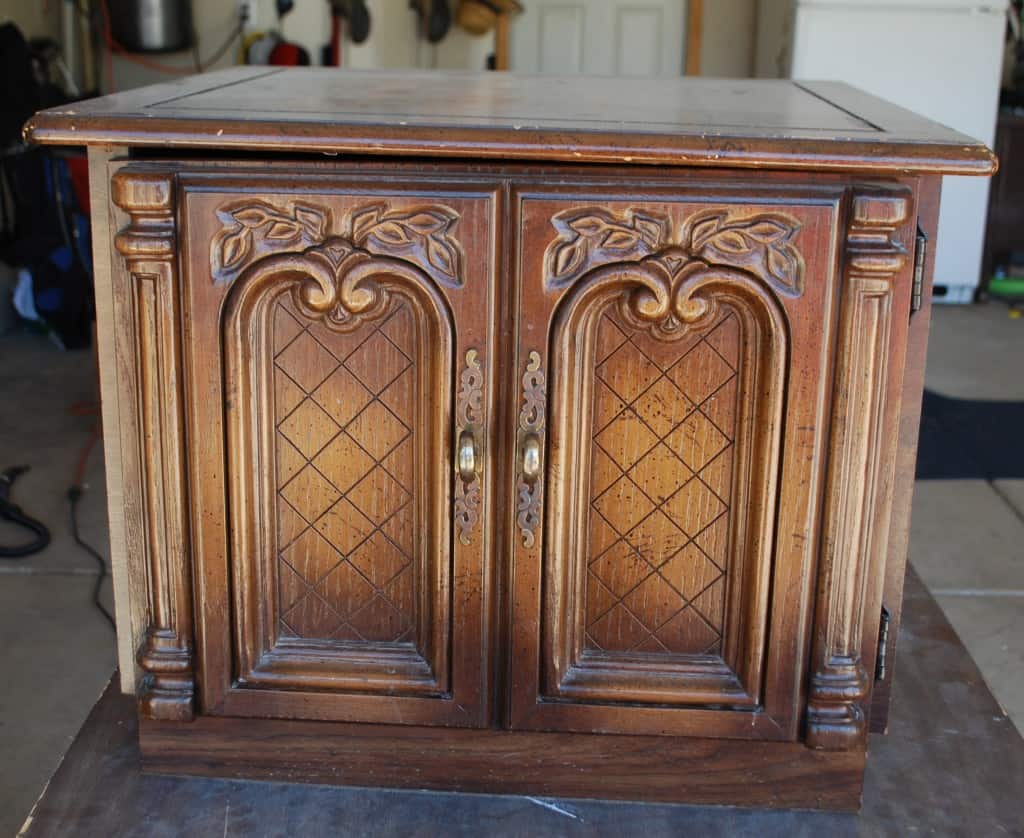
I bought this table for $10 at a neighbor’s garage sale a few weeks ago.
 It was a little beat up, but it has some major storage space inside, so I snatched it right up.
I had great success spray painting my last end table, so I decided to try again. First I sanded all the flat surfaces. The door had so many small spaces that I just used Liquid Sandpaper so I wouldn’t have to try and sand all those teeny grooves.
I didn’t even use the primer because I was curious how it would turn out. It took a few more coats of paint, but it still looked great in the end. I used Krylon black satin finish spray paint. I sanded all the edges to distress it, then I added a couple layers of wipe on polyurethane. If you want all the details, check out my spray painting furniture tutorial.
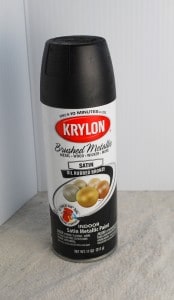
After I painted the wood, I decided to update the hardware. It was brass and totally yucky looking. I scrubbed it with steel wool to remove all the built up goo that was on it. After that, I spray painted everything with Krylon Oil Rubbed Bronze.
 Love that stuff!!
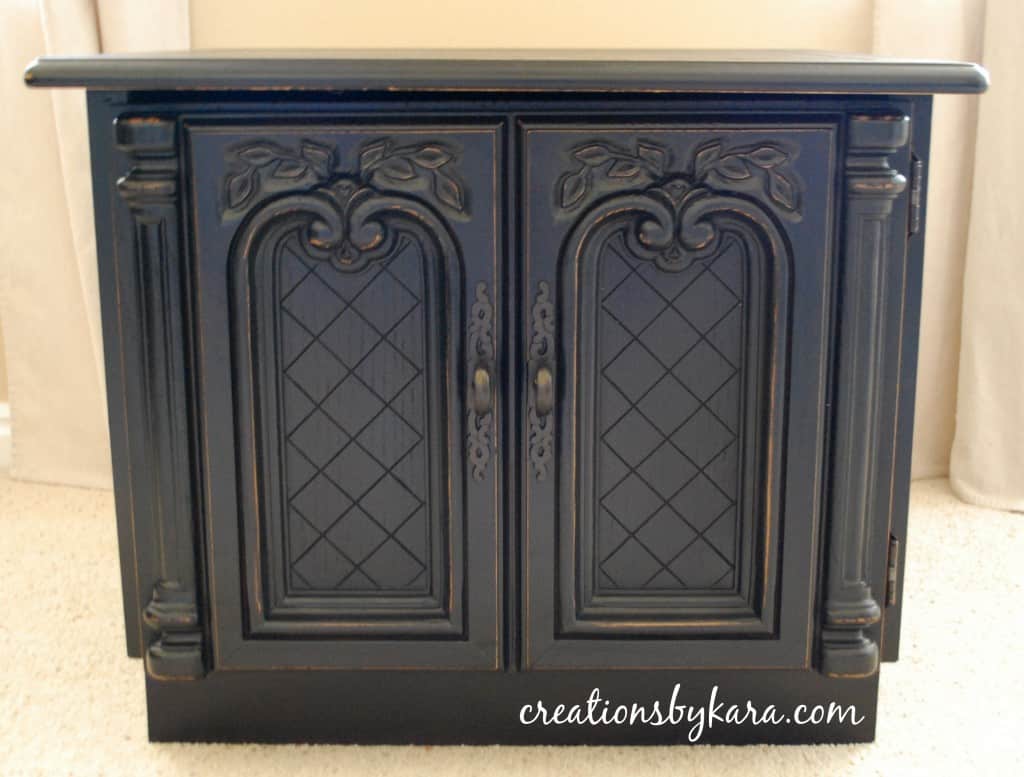
Here is my newly refinished table:

This is the first piece of furniture I’ve made-over that wasn’t solid wood. The door is some kind of plastic, and the top is some kind of laminate. But after the magic of spray paint, you can’t even tell. I’m very pleased with how it turned out. And it cost less than $15 including the spray paint. Woohoo!!

Looks great! Do you know the name brand of that end table (maybe by looking inside or underneath)? My parents had one similar and I’m trying to find the make and model to seek it out.
So sorry. When we moved a few years ago I gave it away because we didn’t have a space for it in our new house. 🙁
I’m late to the party 😉 but, this turned out great and I’m so happy to know it isn’t solid wood! I know exactly what you’re saying about “plastic” and I’ve passed so many of those types up just because I thought I’d be wasting my time, money, etc.
I am inspired! What a great blog! I think my project list just got a mile long!! LOL
I love how this turned out. I want to re-create on an old ice box I have. Question- the oil rubbed bronze for just the hardware or all over including the hardware?
I used the oil rubbed bronze just for the hardware. For the table I used Satin black. But if you like the look of oil rubbed bronze, you can paint the entire piece with it. It’s actually quite pretty. Good luck! 🙂
Thanks for the tutorial! I just bought a roll top desk that I want to spray paint and your tutorial makes me feel like I might actual be able to do it without messing it up 🙂
I love it! What a FABULOUS transformation! Thanks for linking up to Hoo’s got talent!
Lovely! It turned out GREAT! I love the details of the piece and it looks GREAT in black! I need to go garage sale shopping more (but that means getting up early, ugh)! Thanks for linking up to another Topsy Turvy Tuesday!
Also I am SOOOO excited about bloggy boot camp!
Oh my gosh, I’m so excited too! We are going to have the best time!!
Hi Kara! I found your site off of Today’s Creative Blog! I love your craft! It really turned out great! I just signed up to be your newest follower! Woo hoo! I hope you stop by my new blog. I just started it 2 months ago and would love new friends! Please come see me at modernfamilymagazine.com
-Heather-
It turned out so great! I need to find a table just like that, ya gotta love something with storage too!
Really cute! I like your blog and am going to come back and read more after I get to everyones on the show and tell link up. Thank you so much for sharing.
I love being a part of this show and tell!
Thanks
Denise
http://www.dancinglydenise.typepad.com
Thanks Denise, glad to hear you like it. 🙂
I would have never guessed it would look so good!!
It is always so amazing to see what a couple cans of spray paint can do to a piece of furniture! There was a huge buffet at a garage sale this morning that will NEVER fit in my van, but seeing that side table makes me want it even more!
Thanks for linking up to Show and Tell Saturday!
That looks great. Love the new look. 🙂
I’ve been a litte too chicken to spay paint vaneer/plastic looking “wood”. I’ll give it try, your redo looks beautiful! The black makes it look so much nicer.
It’s beautiful! Great job! Thanks for sharing your revamp with us at Anything Related!
That looks so much better in black! So, So, So, So much better!
Looks awesome. I always see those old boxy tables for sale on Craig’s List…but they never look nearly as cute as your table.
Great job.
Looks great… just don’t show it to your neighbor or they may want it back
I think is looks fabulous… I’m about ready to start some of my projects… thanks for always coming up with such wonderful ideas! Vicki
Looks wonderful, great job!
I just love the details on this piece. It looks great painted black!
I {heart} spray paint! Fabulous job!
I love your makeover!!!
The black with oil rubbed bronze looks fabulous togeter.!!!
Great job!!
Looks good! Love the price too!
It looks great! I’ve never heard of liquid sandpaper, but that sounds like the perfect solution for this way-too-impatient-to-sand-tiny-grooves girl! 🙂