How to Refinish Furniture
What you will need: paint stripper, heavy duty gloves, a large cheap paintbrush, wire brushes, toothpicks, palm sander, sanding blocks, lots of paper towels, newspaper, baby wipes, tack cloth, a paint scraper, polyurethane, stain, and several soft cloths.
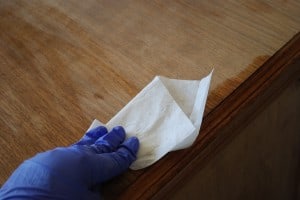
-Wipe desk down with slightly damp rag or baby wipes. You just want to remove dust, cobwebs, etc.
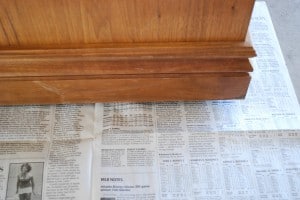
-Put down newspapers or a drop cloth to protect your floor.
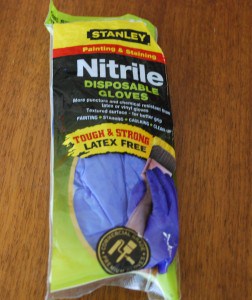
-Put on some heavy duty gloves. Not the cheap kind, it will eventually eat through those. Yes, I learned that the hard way. Then I bought these:
-Open up your bottle of paint stripper. I tried two different kinds and I preferred Citri-Strip. It is really thick so it doesn’t drip everywhere, and the smell isn’t quite as toxic. Not really pleasant, but not horrific.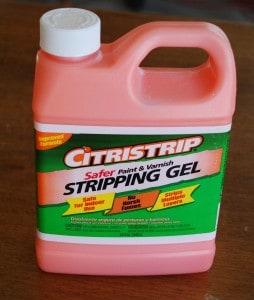
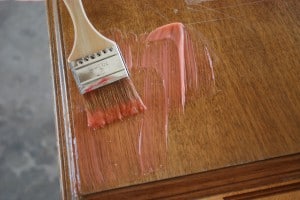
-Make sure you cover every inch of your piece of furniture: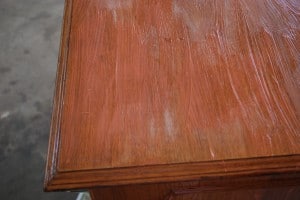
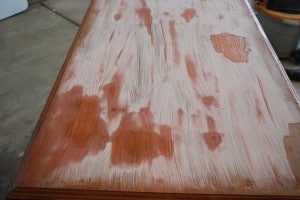
-It will start to turn white as it dries.
Don’t let it dry too long or it is harder to get off. Mine was actually ready before it turned white, so just keep checking to see how easily the varnish peels off.
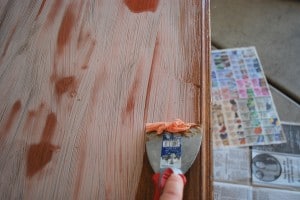
-Use a paint scraper to start scraping off all the gunk. You can use a plastic one: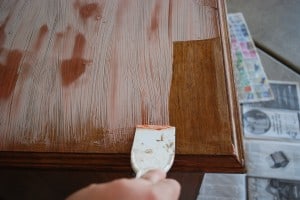
Just make sure you work with the grain of the wood and apply even pressure so you don’t make any nicks in it.
Use paper towels to get the gunk off the scraper and into a garbage can.
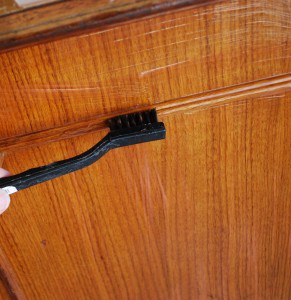
-If you have an intricate piece that has little curves or molding, you will need to use a wire brush to scrape of all the varnish. I’m not going to lie, it is hard work and I was swearing at some points. You will need a few wire brushes, because they get all clogged up with gunk and stop working very well.
-Depending on the type of varnish used on your furniture, you may have to repeat the whole process. I did. 🙁
-When you are finished, you will have residue leftover from the Citristrip:
-Use a piece of fine steel wool and mineral spirits to rub as much of it off as you can: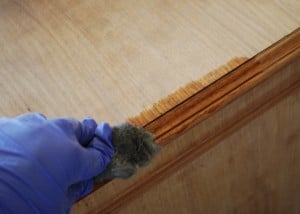
-Now you are ready to sand.
-You are going to need an electric sander. I use this one:
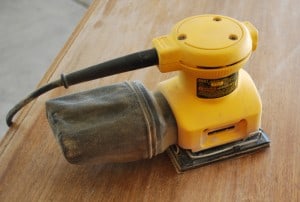
-When you complete the first sanding, wipe the entire piece with baby wipes to remove all the dust.
-Repeat the entire sanding process with the 220 grit sandpaper, and wipe it off again. Yes, I know, this is an insane amount of work!
-When you are satisfied that your project is totally smooth, wipe it off with tack cloth. This stuff is super sticky and will remove all the dust, even in the cracks and crevices.
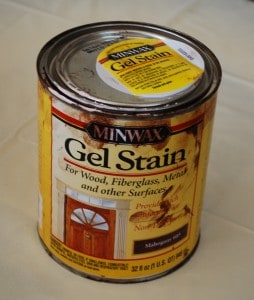
-Hooray, now you are ready to apply stain. I saw several bloggers who recommended gel stain, so I decided to try it:
It is really thick, like chocolate pudding. Stir it up really well first, and then you are ready to apply it.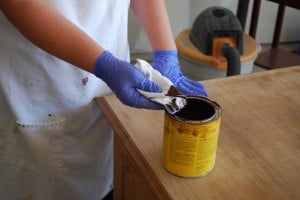
I had to use a q-tip to get into some of the tiny crevices.
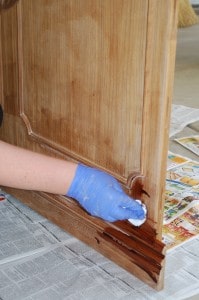
-I found that it worked best to start at the bottom and work up. Try to apply the stain evenly. After a minute or two, use another larger cloth to wipe off the excess stain.
-Continue till you have covered the entire surface of your furniture. Mine looked like this when I was done:
It had some uneven splotches, and it wasn’t quite as dark as I wanted, so after it was dry I gave it another coat. Actually a total of 3 coats.
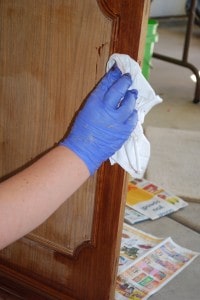
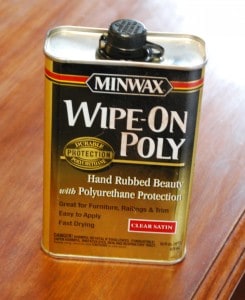
-After it is totally dry, you will probably want to apply some polyurethane to protect the surface. Because you don’t want all that hard work to be wasted, do you?
I was so excited that I was so close to being finished after months of working on this project, that I forgot to take photos. But basically it is like applying furniture polish. You just put some on a soft rag and rub it in. It says on the jar to sand it down with fine grit sandpaper between each coat, but I only did that on the top of the desk and it seemed to work just fine without the extra sanding.
When you are all finished, make sure you let it cure for at least a couple of days before you use it. More is probably better. I waited a week.
You will probably want to buy new hardware to match the new style of the furniture. It makes a huge difference!!
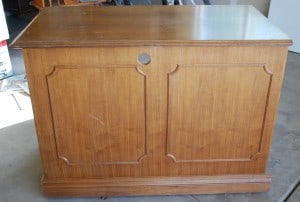
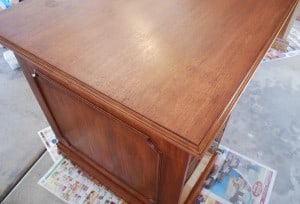
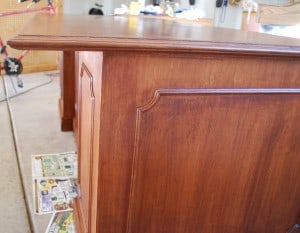
Are you ready to see the finished result?
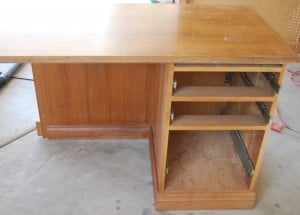
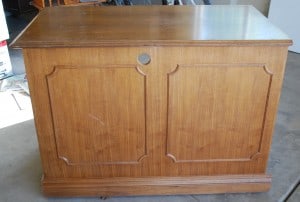
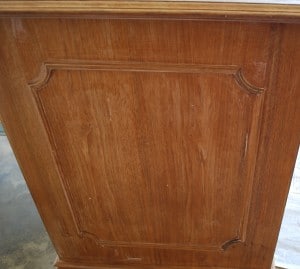
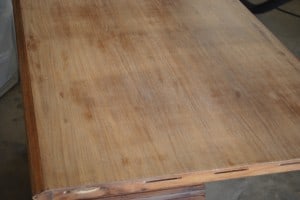
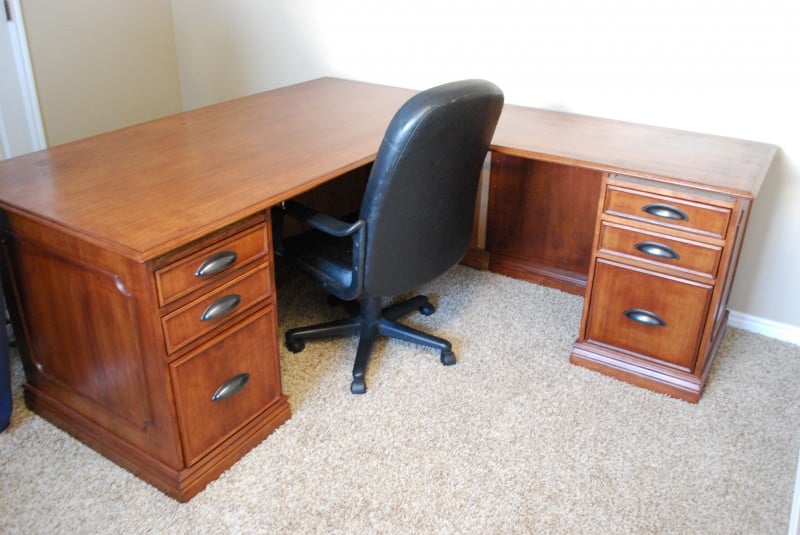
Here is the before again:
Disclosure: This post contains affiliate links.

I LOVE this! It looks awesome. I just acquired a desk for my husband and was googling ideas on how to refinish and found your post. My question is… what type of wood was this and what is the color of stain you used? I pretty much want to do this exact thing to it, but want to get the same color stain as you. Thanks!
I love that you were so honest with this project. Sometimes I see things on blogs and they make it look so easy but really it isn’t so I am glad you were just straight up with us! It looks wonderful and you did an amazing job! I need a dresser for my babies room and now I am thinking about refinishing it instead of painting it – that will make my hubby happy too!
Just to let you know, I linked your wonderful tutorial on my post today. Still haven’t gotten Citra-Solv yet, but I will soon!
Great job! I have had to use stripper for a few projects…but mine was different than yours. I have tried two types, a 30 minute one and a 15 minute one. I like the 15 minute best 🙂 Anyway, you did a great job. Sometimes it pays to do things the right way!!
It looks beautiful – but SO much work.
post free classifieds
Vicky,
You asked the color of the stain I used. It is Mahogany 605. Hope that helps!
Kara
Oh man, I feel for you. I've used paint stripper before and it SUCKS. I'd rather sit there for hours and just sand the whole entire piece. Lovely work. It looks so much better!
I have a question though. The minwax wipe on stuff… is that just for use on things that have been stained or can you use that on painted pieces also? I've been wondering about this for a while..
Oh, I know the work you're went through! I just refinished a dining table for a client…not as much fun as repainting! But…it does look beautiful! You guys did a fabulous job! -shaunna 🙂
You're right – that is an INSANE amount of work, but it looks amazing! You did a great job! It's nice to see someone staining a piece of wood furniture. My grandpa was a carpenter and I'm sure he'd be sickened by how often we slap a coat of paint on something that would be so beautiful if someone put in the time & effort to strip & stain. Great job!
Love the look of the desk!! I am about to jump into staining my family's solid oak table that has been around about 30 years!! I inherited it, b/c no one else had room for it!!
What is the color of the stain you used? My table looks about like your "Before" picture, and I love the darker look. Thanks for sharing!!
Thanks for the great tutorial. The desk looks FANTASTIC!!!
You are definitely a brave soul! I know that refinishing isn't easy. I've done it many times, along with refinishing my own hardwood floors. (tops my list of things I'd never do again) The desk turned out fabulous! Great job.
Come on by for my blogiversary giveaway. A sterling/gem necklace is up for grabs. Would love to see you there.
Lisa
I know that is a lot of work. It turned out great! I saw your post over at Reinvented and thought I would stop by!
Such great instructions! I usually dread stripping, but you've inspired me. Gotta try the CitriStrip too.
Love the new drawer pulls. Perfect!
Wow! I'm not going to lie I was scared when you mentioned "staining" it.:) Staining is a lot of work but you got a beautiful desk out of it.
LOOKS GREAT! You did a super job! Thanks for sharing at Anything Related!
~Bridgette
That sounds like an awful lot of work, but clearly it was worth it! Well done. It looks gorgeous!
Great tips, it really turned out pretty.
That looks amazing, great job.
I just gave you a blog award, go to my blog for instructions.
That is gorgeous! Love the new hardware especially. 🙂
It looks amazing, like a brand new desk. Great job!
Holy cow.
It looks beautiful – but SO much work.
What a great wife!
Thanks for all of the good tips.
Now I'm ready to tackle my own stain project!
Alyssa
Oh how gorgeous! I bet your hubby is proud of you! What a wonderful job!
Woah!! Beautiful!!
Ooooo…that is pretty, I mean handsome! 😉 You did a good good!
Looks great! Come say hi!
XOXO
Frenchy
I know that paint adds a new life a lot of times but sometimes a good stain works out great! Nice job
Incredible job. Its just beautiful!
Kathy
Wow, it looks fantastic! The changing of the drawer pulls really updates it.
Beautiful job, Kara!
I stumbled you! This is awesome! You did a freakin rocking job! The only thing I would add is that before you stain it you apply a pre-wood conditioner. No splotchiness if you use that, it evens it out and it goes on smooth. I have refinished a ton of furniture so I know how long it took you. You deserve a huge pat on the back, a feet rub, a spa day, etc. etc. You rock Kara!
It's beautiful!!! You did an amazing job. 🙂
Swearing at some points huh?! LOL. It looks great!
That looks awesome!
Wow! I know it was hard work, but it sure paid off!
Thanks so much for the wonderful tutorial! The desk is beautiful now.
Sarah
You are one amazing Modern Craftswoman! I know he must love this desk. Thanks for joining the party , and hope you'll participate next week. Rory
Gorgeous!
Wow Kara, it looks wonderful! I can know what you mean about a lot of work! In my first house I tried to do this on my kitchen cabinets but it was a total nightmare. Ended up painting them. It's great to see a positive outcome using stain, I may just have to try this again!
Holy Guacamole! It's beautiful!
I really admire your tenacity. All that hard work~and you definitely have something to show off now.
Great job! No, it is not easy to re-stain furniture and it is VERY time consuming. I applauded your tenacity, in the end it paid off and you can say you did it yourself!
It looks great!