• Skip to primary navigation
  • Skip to main content
  • Skip to primary sidebar
  • Skip to footer

Creations by Kara

  • RECIPE INDEX
    • Appetizers and Snacks
    • All Bread Recipes
      • Bread- Muffins and Scones
      • Bread: Quick Breads
      • Bread: Yeast Bread
    • Breakfast
    • Crock Pot
    • All Dessert Recipes
      • Dessert: Brownies and Bars
      • Dessert: Cakes and Cupcakes
      • Dessert: Candy
      • Dessert: Cheesecake
      • Dessert: Cookies
      • Dessert: Frozen
      • Dessert: Misc.
      • Dessert: Pies and Crisps
    • Drinks
    • All Holiday Recipes
      • Christmas Recipes
      • Easter Recipes
      • Halloween Recipes
      • St. Patrick’s Day Recipes
      • Valentine’s Day Recipes
      • 4th of July Recipes
    • Instant Pot Recipes
    • All Main Dish Recipes
      • Main Dish- Beef
      • Main Dish: Chicken
      • Main Dish: Fish
      • Main Dish: Pork
      • Main Dish: Vegetarian
    • Low Carb Recipes
    • Restaurant Recipes
    • Salads
    • Side Dishes
    • Soups
    • Non-Food
  • TUTORIALS
    • Craft Tutorials
    • DIY Project Tutorials
    • Holiday Tutorials
    • Home Decor Ideas
    • Sewing Tutorials
  • FREEBIES
    • Free Patterns
    • Printable Gifts
    • Holiday Printables
    • LDS Printables
    • Printable Home Decor
  • HOLIDAYS
    • 4th of July
    • Christmas
    • Easter
    • Halloween
    • St. Patrick’s Day
    • Thanksgiving
    • Valentine’s Day
  • TIPS & TRICKS
  • Navigation Menu: Social Icons

    • Email
    • Facebook
    • Instagram
    • Pinterest
    • YouTube
This post may contain affiliate links, which gives me a small percentage of the sale, at no cost to you.
Home Ā» Home Decor Ā» Dollar store projects Ā» Dollar Store Antiqued Plaque Tutorial

Dollar Store Antiqued Plaque Tutorial

September 20, 2010 by Kara Cook 44 Comments

  • Share
  • Tweet

Fall has hit here in our little town. I can see the mountains from my craft room window and the trees are gorgeous!!! I love fall. Unfortunately, here in Utah it seems likes fall lasts about one week, and then the snow hits and we’re freezing our patootskies off. OK, that may be a bit of an exaggeration, but fall is seriously short around here. And I’ve got lots of spray painting to do before the snow flies.  I had a few minutes of free time today, so I decided I’d better get cranking.

While I was working, I decided to do a little tutorial for you. I love buying cheap trays from thrift stores and dollar stores, then spray painting them and using them in my home decor. I like adding vinyl lettering to mine, but you could also glue a monogram or set of vintage keys in the middle. The possibilities are endless. Use your imagination. And if you come up with a fabulous idea, make sure you let the rest of us know about it. 🙂
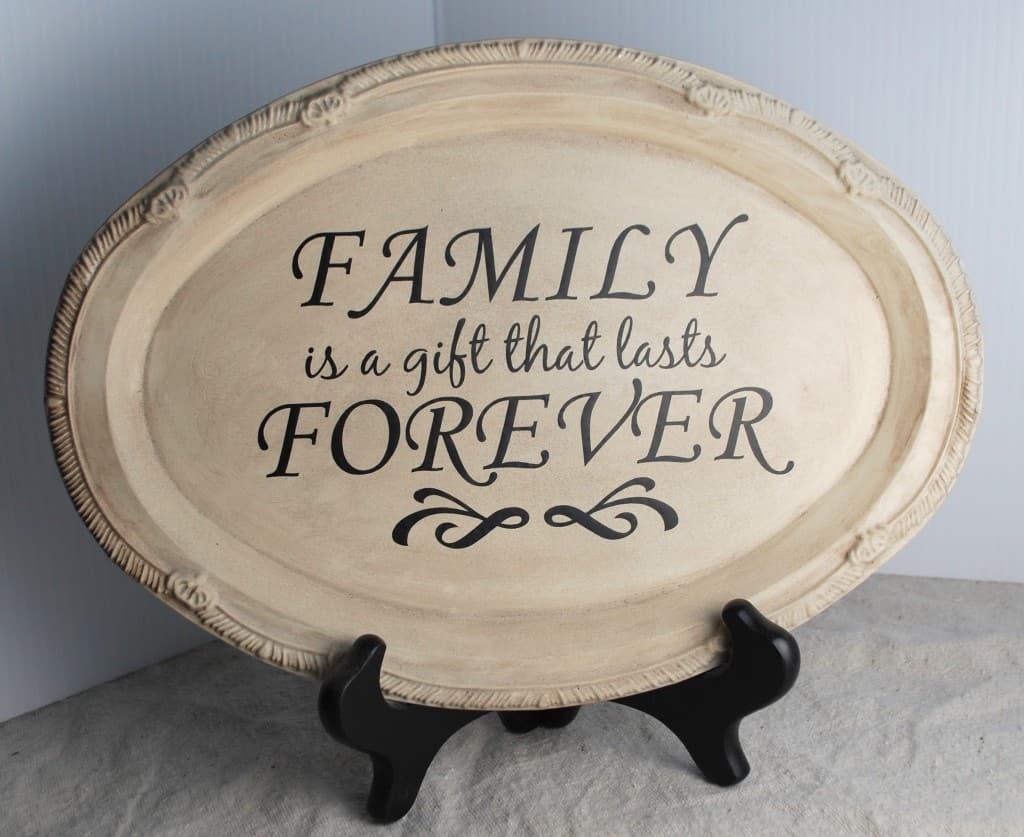
dollar-store-craft-tutorial
Dollar Store Antique Plaque Tutorial

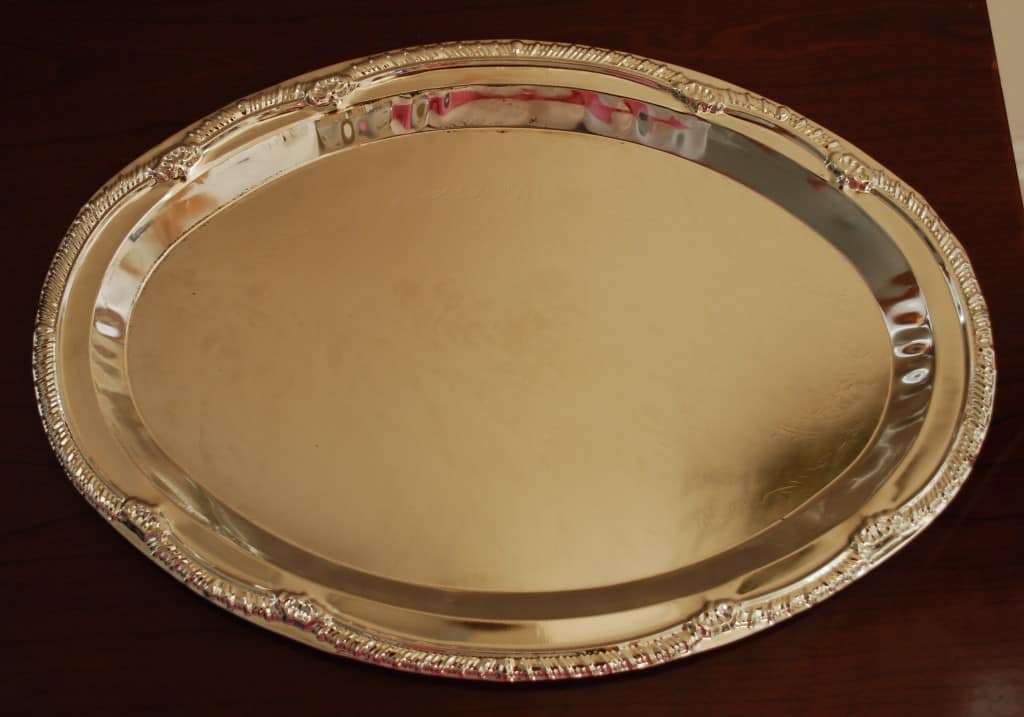
Start with a ceramic or metal tray. I used a metal tray from the dollar store.

dollar-store-craft-tutorial

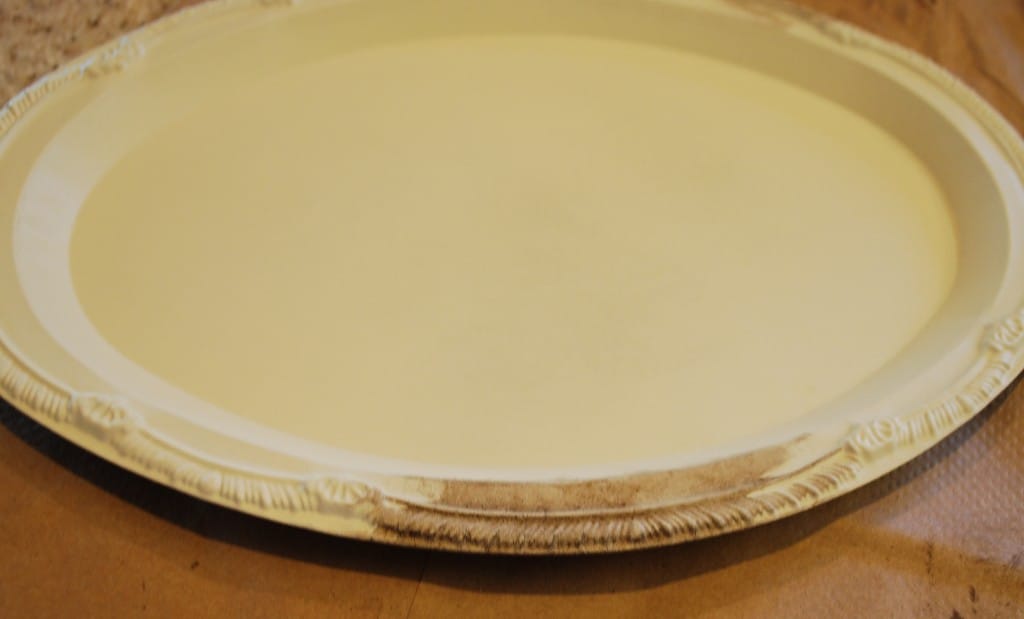
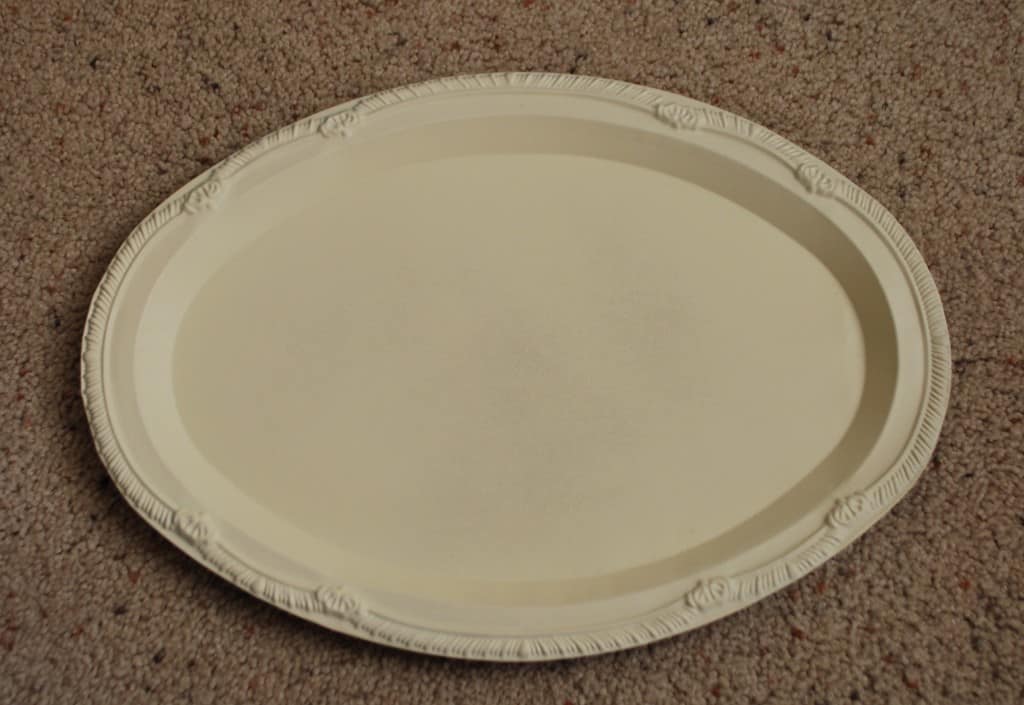
Spray paint it with a few coats of antique white spray paint.

dollar-store-craft-tutorial

Let it dry completely, and you are ready to start antiquing.

I used craft paint that I watered down. It’s cheap, and I already had it on hand. I wanted my finish rather dark, so I mixed brown and black paint together till I got the shade I wanted. It doesn’t take a lot, just a few little squirts. I mixed mine in a paper cup with a popsicle stick.

Then I added water till the paint was thin, like ink. I poured some on a paper plate just so you could see how thin it is. See how it runs all over like ink? That’s how you want it.
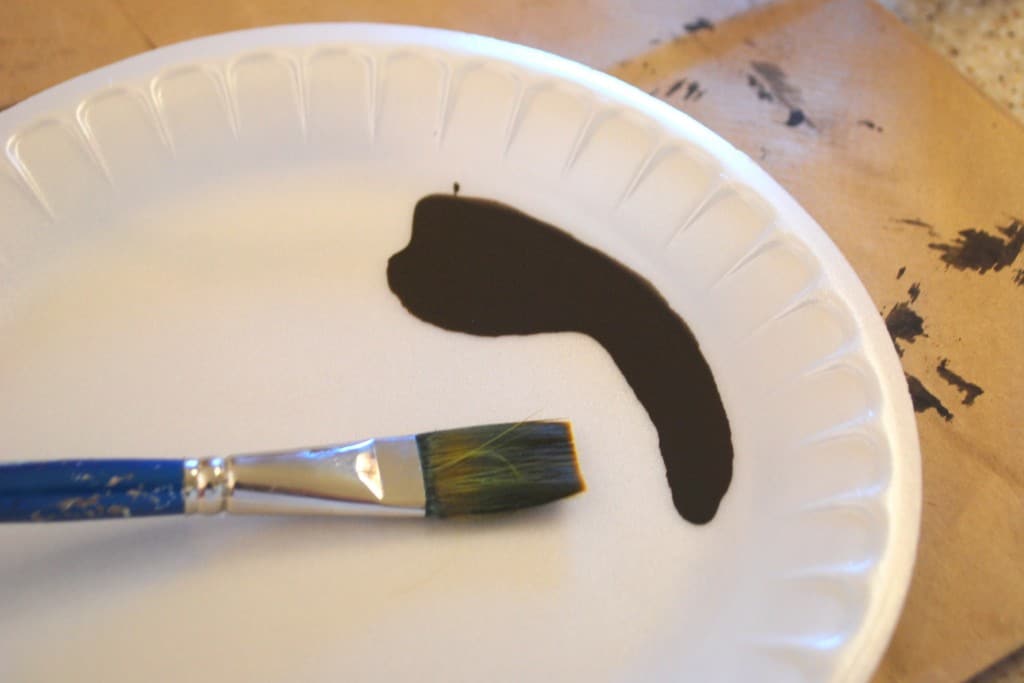
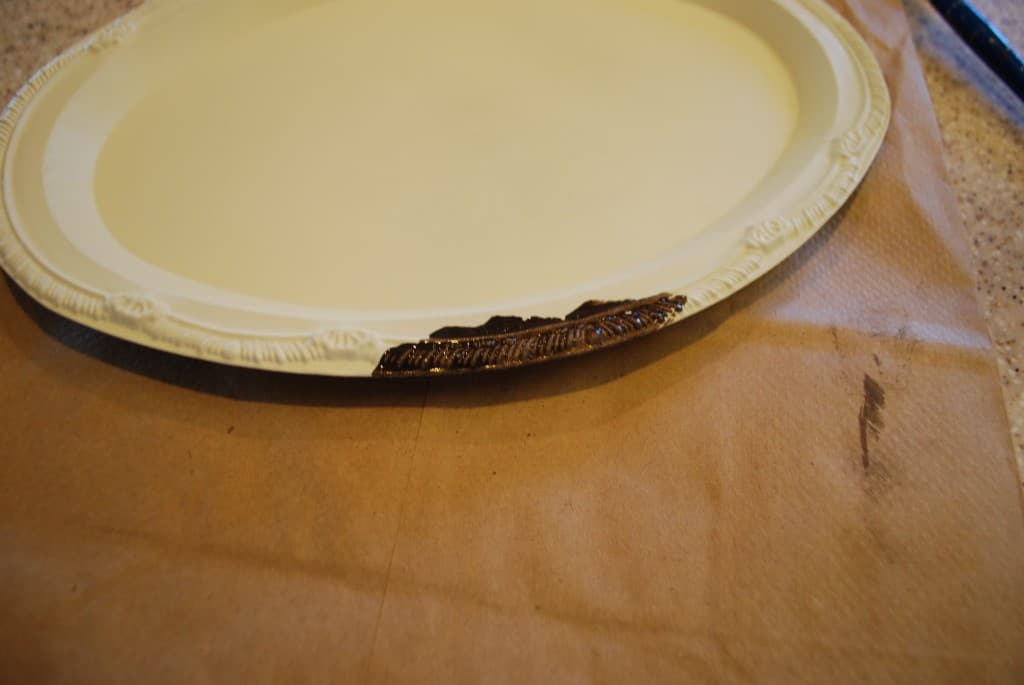
dollar-store-craft-tutorialNow it’s time to do some antiquing. I find that it works best to work in small sections at a time. Use your paintbrush to add some of your watered down paint to the edge of the plaque.

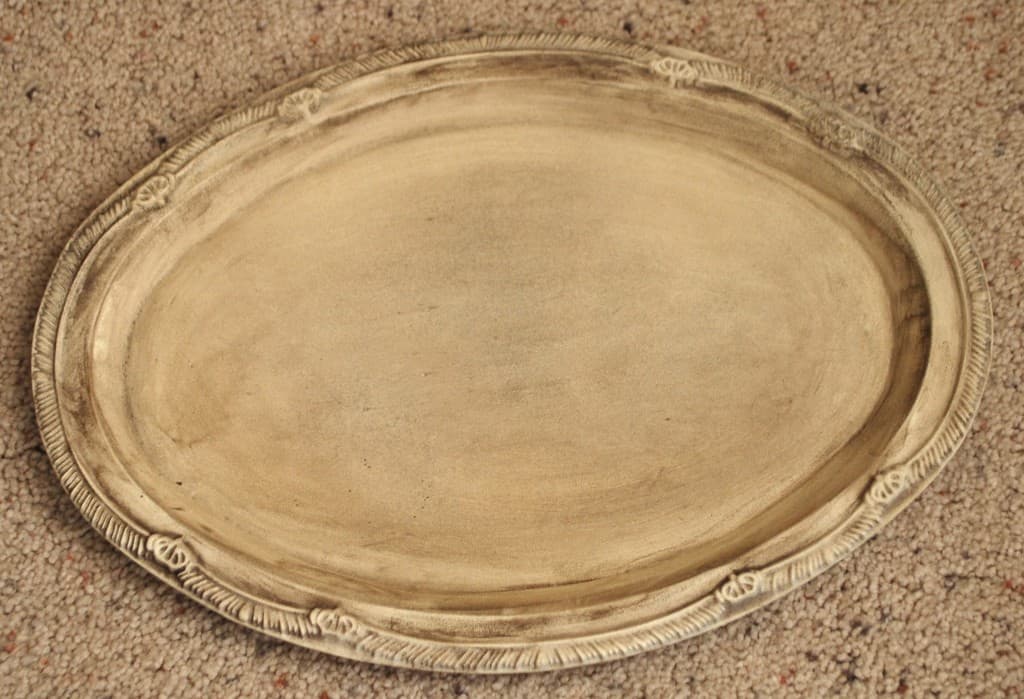
dollar-store-craft-tutorialImmediately wipe it off with a soft rag. I used an old t-shirt that I cut up. I found that paper towels didn’t work because they ripped and left pieces of fuzz everywhere. It should look something like this:

dollar-store-craft-tutorialContinue adding and wiping off the paint till the whole tray is antiqued.

dollar-store-craft-tutorialNow you can add some vinyl lettering, or anything else you’d like.

dollar-store-craft-tutorial Hope you have fun! No one will ever guess that you started with an inexpensive metal tray from the dollar store. 🙂

Filed Under: DIY & Tutorials, Dollar store projects, Thrifty Makeovers Tagged With: spray paint, vinyl

Previous Post: « Inside Out Tied Quilt Tutorial
Next Post: Raspberry Cheesecake Trifle »

Reader Interactions

Comments

  1. Rhonda

    July 3, 2020 at 8:51 pm

    Hello everyone I’m wondering where do you find the vinyl lettering I just have no idea please give me some sites thank you so much and God Bless you all

    Reply
  2. Sheila McNeill

    September 22, 2019 at 12:24 pm

    What is chalk coutor? And how do u use it?

    Reply
    • Kara Cook

      September 27, 2019 at 11:26 am

      Chalk Coutor is a company that sells home decor projects. I’ve never used them because I can make my own transfers at a fraction of the cost. But they do have some cute things!

      Reply
  3. Bonnie Barrucci

    March 18, 2019 at 3:03 am

    Thanks for the idea! I needed the new idea. You can only make so many wreaths. LOL. Great for the next trip to the DT. Thanks for sharing.

    Reply
  4. Nancy

    March 5, 2018 at 4:55 pm

    Tell me about chalk couture please.

    Reply
  5. Brandi Tamplen

    October 25, 2017 at 4:49 pm

    Where do you find the vinyl quotes?

    Reply
    • Kara Cook

      October 31, 2017 at 9:33 pm

      I cut mine myself with my Silhouette machine, but you can find them in most craft stores, or on Etsy or even Amazon.

      Reply
  6. Louise Voisin

    October 31, 2016 at 7:18 am

    I saw these trays at Dollar Tree!! I wanted to do something with them and this is perfect!! I don’t have a Cricut to make vinyl letters. Did someone say Dollar Tree has the rub on things?!

    Reply
  7. MyKin

    March 11, 2015 at 10:42 am

    would I be able to use mod podge to put a personal twist on this? I have printed out a last name and watched a tutorial on how to use mod podge on wood. Do you think it would work on this?

    Reply
    • Danielle Campbell

      October 4, 2017 at 4:19 am

      Yes. You can pretty much mod podge anything. Good luck.

      Reply
  8. Sonya

    February 28, 2014 at 10:39 am

    Love it and it would go perfect in my home. Did you use any sort of primer? I ask becasue I find on things like this the paint will peel off very easy if I don’t prime them. Just wondering becasue I don’t want to use primer if I don’t need to. Lord knows I should own at least half of the Kilz company šŸ™‚

    Reply
  9. nancy carlson

    November 18, 2013 at 3:39 pm

    A great idea. And for those of us without fancy machines, and who really want to keep it cheap, pick up one of those rub-on saying thingy’s from DT as well. There are all kinds of them available.

    Reply
  10. Debi

    February 17, 2013 at 1:14 am

    Hi:
    I’m a beginner DIYer and need to ask you a question about this tray. What Cricut cartridge did you use for the vinyl lettering?

    I’d appreciate, really appreciate, if you could assist me with this.

    Thank you,
    Debi

    Reply
  11. Beth @ Free Stylin'

    October 4, 2010 at 9:55 pm

    Wow! What a clever idea. Inexpensive but still looks like a million bucks. Thanks! I’m visiting from Thrifty Decor Chick’s Before and After Party.

    Reply
  12. Kathy @ Creative Home Expressions

    September 27, 2010 at 4:41 am

    Love this, Kara! I’m printing you out! : ) I bought a few of those trays when I did my daughter’s baby shower in June and I glued oval wood pieces to the centers, spray painted chalkboard black. We did an Alice in Wonderland tea party theme so I wrote on them “Eat Me” and “Drink Me”. I’ve just pulled them out again and think I will write Halloween words on them. Love your idea for these trays, though. Congrats on your feature at Cheri’s!

    Reply
  13. Leanna

    September 25, 2010 at 2:29 pm

    Super cute!!

    Reply
  14. niki

    September 23, 2010 at 7:53 pm

    Okay, I saw those very trays at my dollar store and thought, hey, those would make a really cool craft, but what I don’t know.

    Thanks for the inspiration! I love your finished result.

    Reply
  15. Kim

    September 23, 2010 at 5:56 pm

    What a great idea. And great tutorial on glazing.

    Reply
  16. Mela Kamin

    September 23, 2010 at 3:01 pm

    What a great idea … I am going to try it! Thank you for sharing – just lovely.

    Reply
  17. Julie Bagamary

    September 22, 2010 at 5:03 am

    Great idea

    Reply
  18. Julie Bagamary

    September 22, 2010 at 5:03 am

    Great idea!

    Reply
  19. Michelle

    September 21, 2010 at 10:43 pm

    Looks great!

    Reply
  20. Cara@HomepsunKitchen

    September 21, 2010 at 12:53 pm

    Oh thank you for this!!! I have an old silver platter from my Grandparents that I want to redo. Plus, I have all the tools needed, woohoo!!!!

    Reply
  21. Lolly Jane

    September 21, 2010 at 11:25 am

    ps: we’re twins that run Lolly Jane and my twin Kristi just adopted her 1st baby, a little boy. it was such a miracle and beautiful process. i really hope you get your own baby soon!! xo

    Reply
  22. Lolly Jane

    September 21, 2010 at 11:24 am

    DARLING! visiting from sugarbee.

    Reply
  23. Janet@Today's Fabulous Finds

    September 21, 2010 at 12:06 am

    Thanks for the great idea. I know what I’ll be looking for on my next trip to the dollar store!

    Reply
  24. Alison ~ Under the Big Oak Tree

    September 20, 2010 at 8:50 pm

    I love this idea! I’m thinking Christmas gifts for the grandparents! I’ll have to check out your vinyl lettering!

    Reply
  25. Aimee

    September 20, 2010 at 8:48 pm

    Love this idea!! It looks great, and you’d never guess it was from the dollar store! Thank you for sharing your tutorial!!

    Aimee @ Justkiddingaroundatlanta

    Reply
  26. Rhonda Steed

    September 20, 2010 at 8:46 pm

    oooh love it! I was at the dollar store a couple days ago looking at these kind of trays and thinking they could be made into something cute but I didn’t know what. I guess you answered it for me šŸ™‚

    Reply
  27. April @ HomeHinges.com

    September 20, 2010 at 7:59 pm

    Great idea. I recently did a plastic framed mirror in a similar way. It was so easy. I’ll have to keep my eye out for a cheep tray now too. Thanks

    Reply
  28. April

    September 20, 2010 at 7:49 pm

    Looks great!!

    Reply
  29. Erin

    September 20, 2010 at 5:40 pm

    I love it Kara! I’ve seen those trays a million times and it’s never occured to me to paint them. šŸ™‚

    Reply
  30. michelles cozy cottage

    September 20, 2010 at 5:32 pm

    Wow, I woulda never knew that was a dollar store tray once you painted it! Nice job. Im a new follower, check mine out sometime!
    XoXo

    Reply
    • michelles cozy cottage

      September 20, 2010 at 5:33 pm

      Bad spelling, sorry!

      Reply
  31. Lisa

    September 20, 2010 at 5:01 pm

    I agree whole-heartedly with the messages on your plates.

    Reply
  32. Chris

    September 20, 2010 at 4:45 pm

    Nice! I have not tried antiquing yet but this may be a good one to start with. Thanks for sharing!

    Reply
  33. Charlotte

    September 20, 2010 at 4:39 pm

    I love this idea. Keeping it in mind for the new house.

    Reply
    • Kara

      September 21, 2010 at 8:33 am

      Have you found a house yet?

      Reply

Leave a Reply Cancel reply

Your email address will not be published. Required fields are marked *

Primary Sidebar

Hi. I’m Kara, and I love to create! I share recipes, DIY tutorials, craft projects, and thrifty home decor. I hope that I can inspire you to create something!
MORE ABOUT ME

Categories

Footer

PRIVACY POLICY | ABOUT ME | DISCLOSURE

Copyright © 2023 Creations by Kara on the Foodie Pro Theme

1239 shares