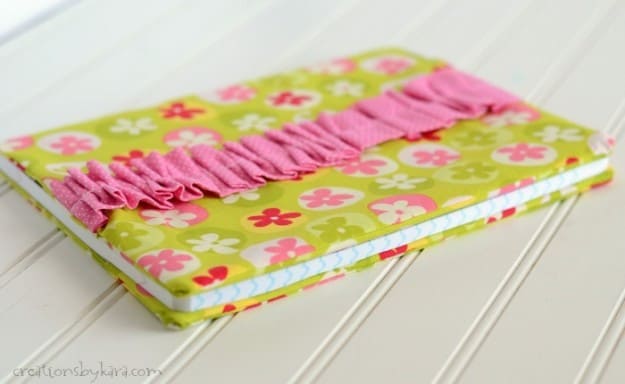
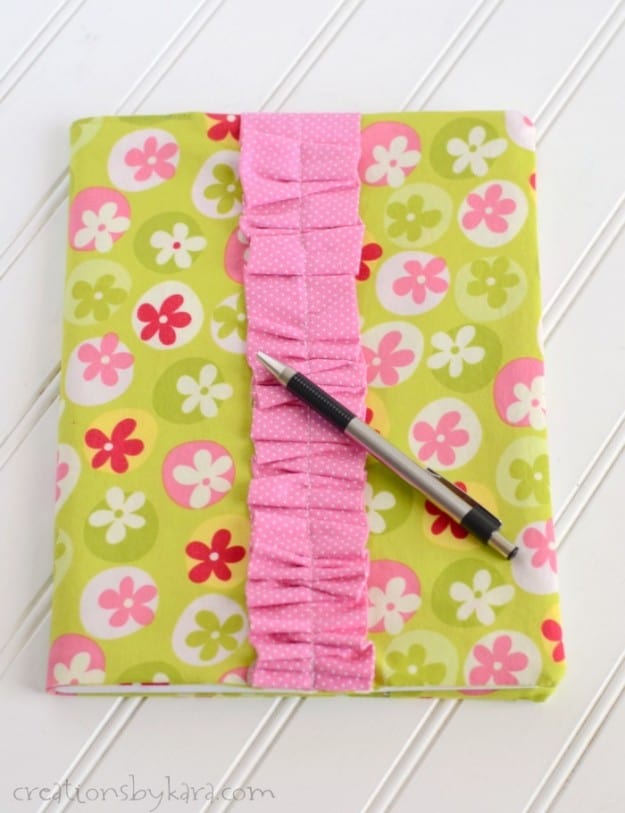
With a few simple step, you can make a lovely composition notebook cover that can be used over and over again. These fabric notebook covers are so pretty, they even make to-do lists a little more fun to write!
 I am a list writer. I write lists for everything. I make a to-do list every day. Truth be told, sometimes I will write things on my list that I have already done, just so I can have the satisfaction of crossing something off. I know, I’m slightly crazy.
If you have a friend who is addicted to list writing, or who simply likes to take notes or keep a journal, these cute fabric covered composition notebooks make the perfect gift! I was actually given one by a friend several years ago, and I adore it!
It is just so fun having a cute notebook to write in. As a bonus, my kids know it’s mine, so it doesn’t get taken, used for scratch paper, and then misplaced.
I take mine with me to blog conferences, and use it to take notes in the classes. Then all my notes are in one place, so I can reference them later. So handy, and so much more functional than having slips of paper everywhere that I couldn’t keep track of. I love some organization in my life, even if it is only in notebook form. 🙂

Composition Notebook Cover Tutorial
Supplies:
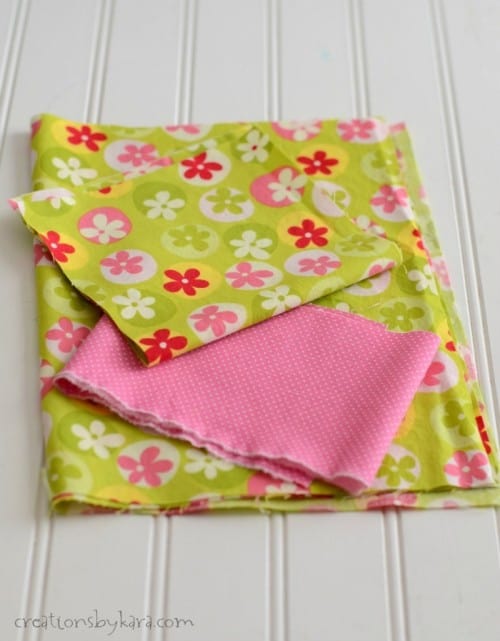
– 2 pieces of fabric 11″ x 16 1/8″ for the front cover and inside
-2 pieces of fabric 6″ x 10 3/4″ for the pockets
– 1 piece of fabric 3-4″ x 22″
-Sewing machine/thread
-Iron
-Fabric scissors
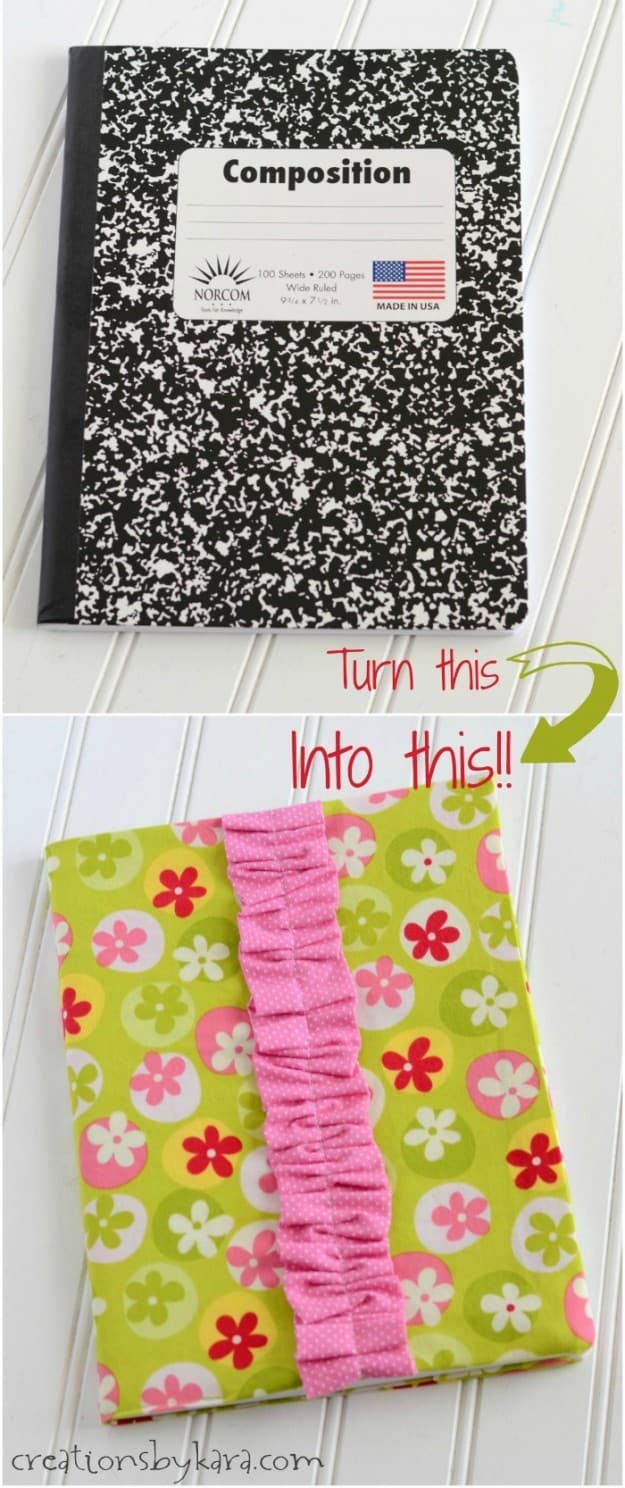
-Composition Notebook (9 3/4″ x 7 1/2″)
Instructions:
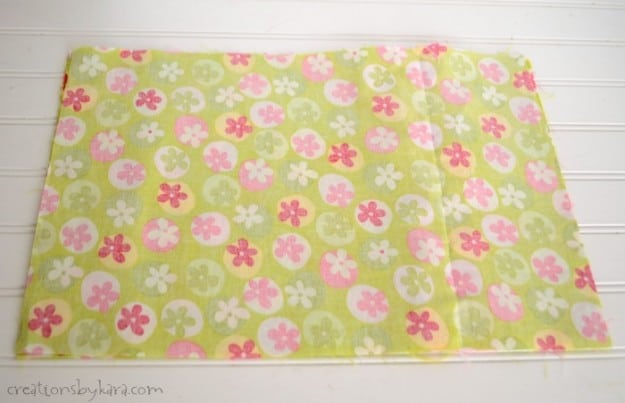
1- Cut out all your fabric pieces. You can use coordinating fabrics for your pockets and cover, I used the same fabric. It’s cute either way!
 2- Sew the ruffle. Fold the 22″ piece of fabric in half lengthwise, right sides together. Sew a 1/4″ seam along the edge. Then turn it right side out. (I like to use a dowel stick to help the process along.) Make sure the seam is in the middle, and iron it flat. Then hand or machine sew a straight stitch up the middle. Gather till you have a ruffle about 11″ long.
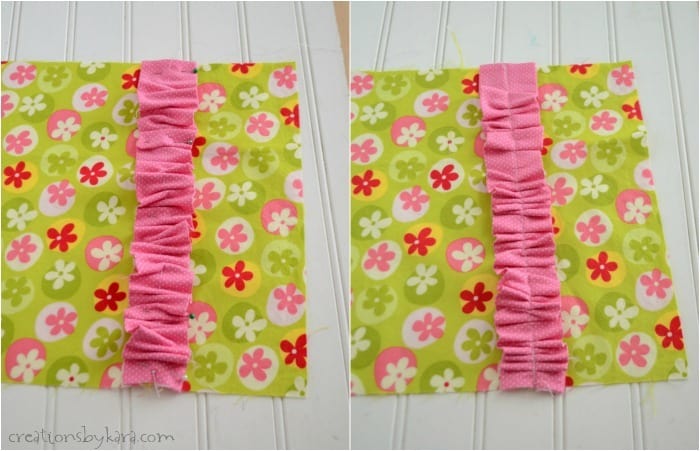
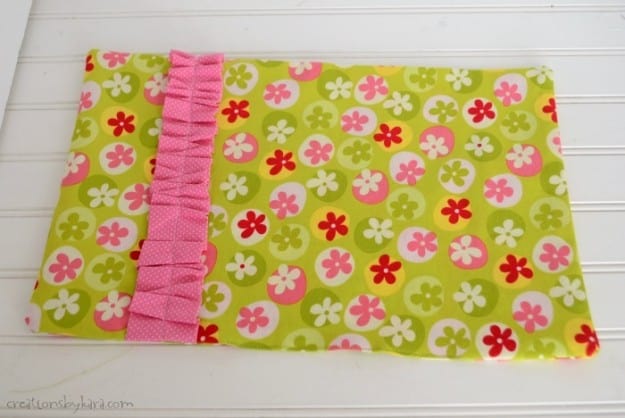
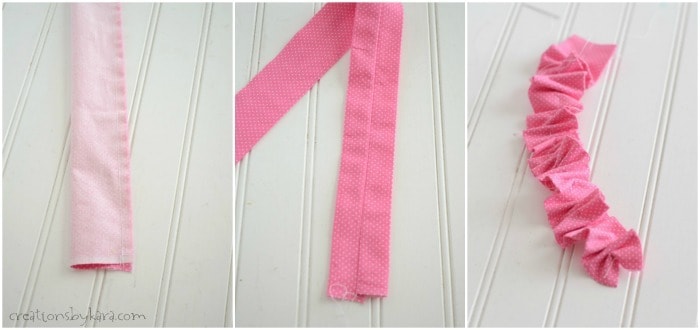 3-Pin the ruffle to the front of one of the 11″ x 16 1/8″ pieces, about 3 1/4 inches from the right edge. Sew it down the middle with a straight stitch. This is your outer cover piece.
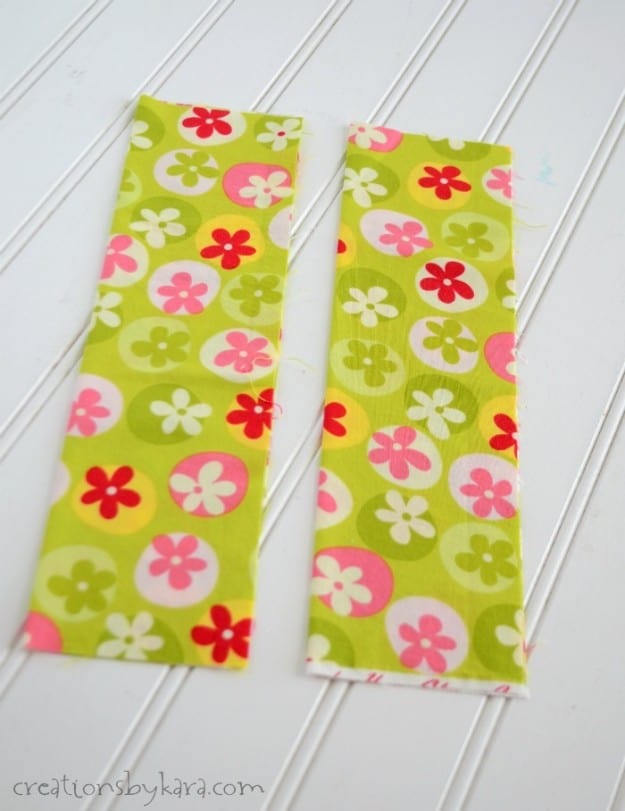
 4- Fold the two 6″ x 10 3/4″ pieces in half lengthwise, and iron along the fold. These are your pocket pieces.
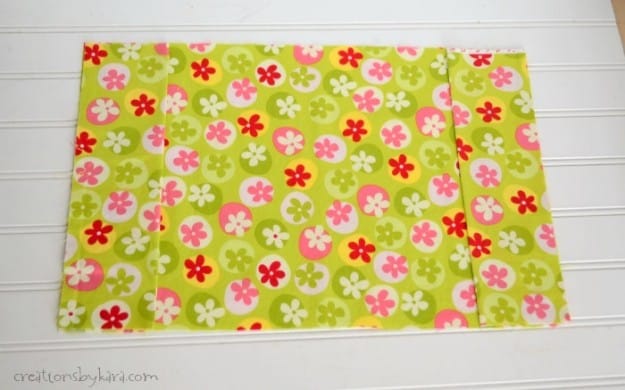
 5- Place one pocket piece on each edge of your remaining fabric piece with the folded edges facing towards the middle.
 6-Place the piece of fabric with the ruffle face side down on top of the two pocket pieces. Kinda like a sandwich. 🙂
 7- Pin all three pieces together, then sew around the edges with a 1/2″ seam. Leave a space about 5″ open at the bottom so you can turn everything right side out. Then clip your corners.
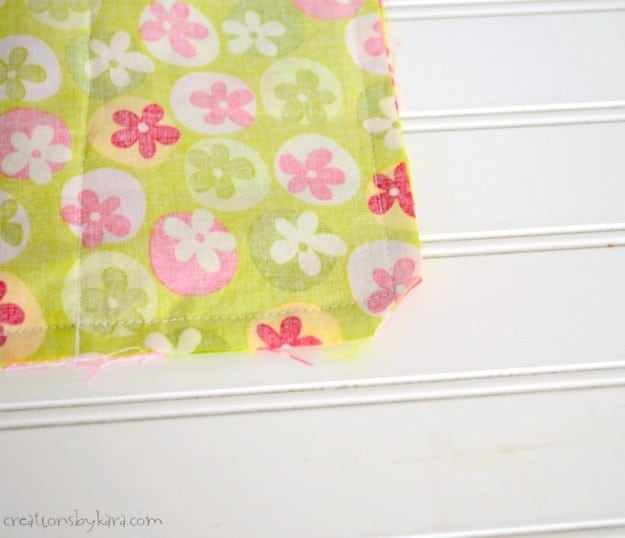 8-Turn right side out, then press all the edges, folding in the raw edges that you left open. Sew the opening shut with a top stitch.
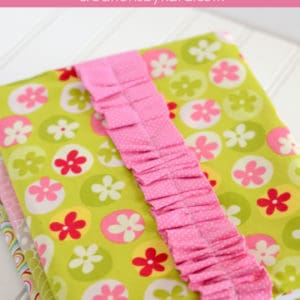
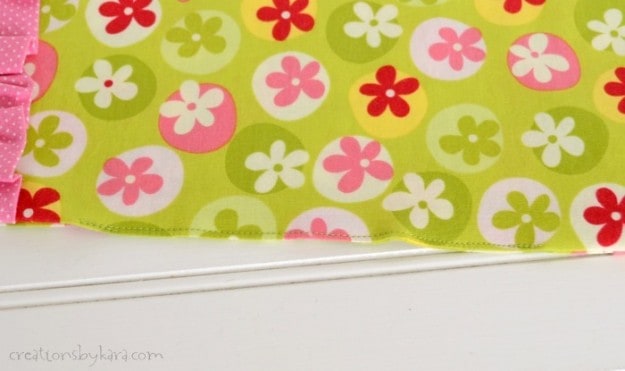
 Here’s a close up:
 That’s it! Now you have a pretty little notebook that is all ready to be filled with great ideas. 🙂
Top Stitching at end. Is this an 1/8” ?
Also is ruffle
For decoration only or could it be a bookmark? ?
Loved tutorial
For the top stitching at the end, I just sew it as close to the edge as I can get without it catching on the sewing machine foot. I use the ruffle just as decoration, but I think if you only attach it at the top, it could be folded over and used as a bookmark. Let me know how it works!
Kara,
Darling darling darling! However, I do not own a sewing machine, therefore I am going to attempt this darling idea & use craft glue & figure out a way to make sure it’s not tacky & ruins the project. I am A BLING BLING type of girl who has a home Jewlery business. I have tons of broken pieces I have removed & saved. I am going to attempt to jazz the proto book I make with rhinestones & charms etc…..I will make one & see what my harshest critics think, then move on from there. I have signed up for your sight & am thrilled silly to have found you! I appreciate your imagination & easy step by step directions; thank you again & keep creating & sharing 🙂
Thanks so much Leslie, glad you found me. 🙂 I think this would work with craft glue, but hot glue might be easier. I love the idea of adding some bling. My daughter for sure would be a fan of that idea!
Thank you so much for sharing this!! I’ve made several of these, but never could figure out how to do them without raw edges showing! As I read this, it was an ephifany!
So happy to hear that I helped you figure it out! 🙂
Kara!!! This is fabulous and darling and spot on!! Your instructions are perfect and easy to follow and oh so easy to understand. Thank you so very much for posting this!
Aw, thanks Glenda, I really appreciate that. Hope you have fun sewing up a few! 🙂