These Circle Punched Paper Christmas Trees are a fun and easy way to add some charm to your Christmas Decor. You can make them any color you want!
Christmas decor has been popping up for weeks, but now that Thanksgiving is over, it’s officially Christmas season. Hooray! I mean I love Thanksgiving and all, but really- Christmas is the best ever!
I started putting my Christmas decorations up a few days ago, and I just adore how festive my house is starting to look. I actually made these paper Christmas trees last year, and I’m excited to share them with you!
 My cousin and I saw similar trees on display at our local scrapbook store, and decided to recreate them. The original trees were made with a scalloped punch, but I don’t have one of those, so we just went with circles. Either way, this is a fun and easy Christmas craft that even older kids could make.
The best part about them is that you can use any paper you want, and come up with a totally different look! Are you ready to make your own?
Bust out the craft supplies, here are the instructions!
Circle Punched Paper Christmas Trees
Supplies:
-Patterned paper (the thinner kind is easier to work with)
–Paper mache cone
–Circle Punch
-Hammer, nail, and scrap wood
–Tiny brads
–Hot glue gun and glue sticks
-Scrap of cardboard for base
-Piece of dowel or branch for trunk
Instructions:
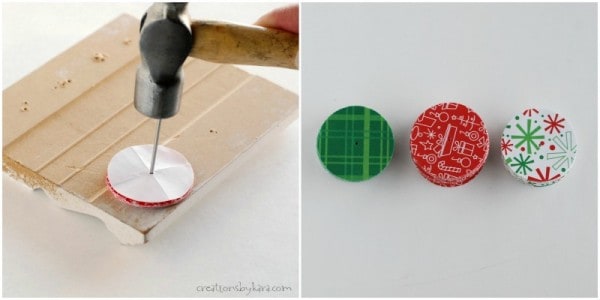
1- Punch out all your paper circles. I used a 1 1/4″ circle punch, but they can be hard to find. A 1 1/2 inch or even a 1″ circle would be fine.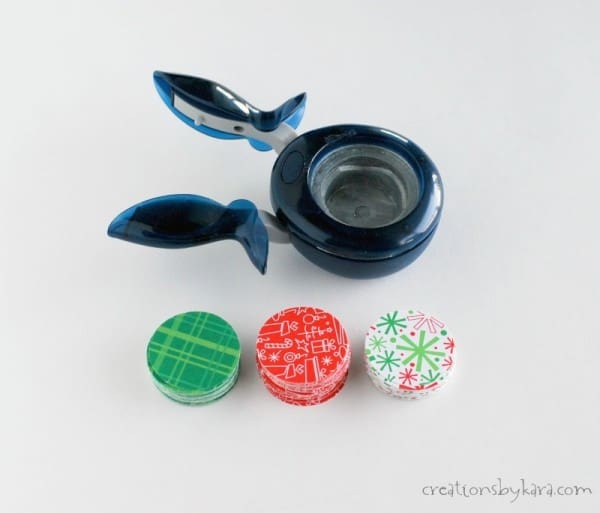 2-Now you want to make tiny holes in the center of all those circles. I found the easiest way was to make a template by folding a circle in fourths to find the center of the circle. Then place about 8-10 circles on a scrap piece of wood and hammer a nail through that little hole in the template. Viola! So much easier than punching the holes one at a time!
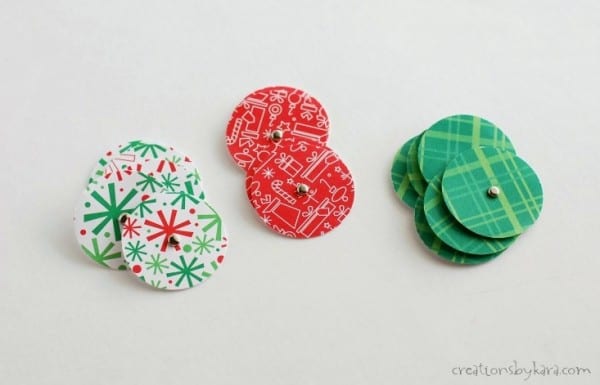
 3- Insert your brads into the pre-made holes in every paper circle.
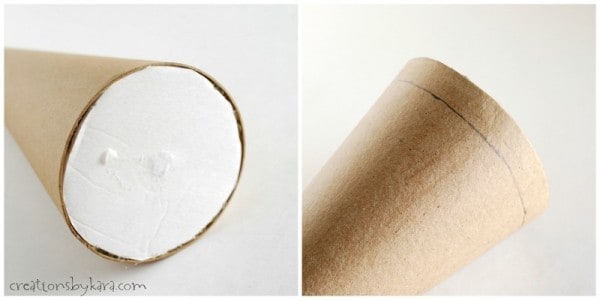
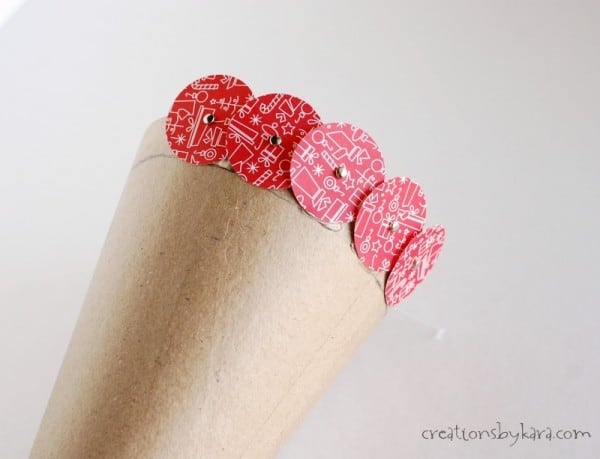
 4-Now it’s time to prep your cone. You need to cover the bottom so you have something to glue your tree trunk onto. I cut out a piece of foam board, for this one, but I used cardboard for my second tree, and it was actually better. I also discovered that it’s kind of tricky getting the first row on straight, so it’s helpful to draw a line around the cone where you want the top of the circle to be. I did mine with the circles hanging over the edge about halfway. You’ll see that in the next step.
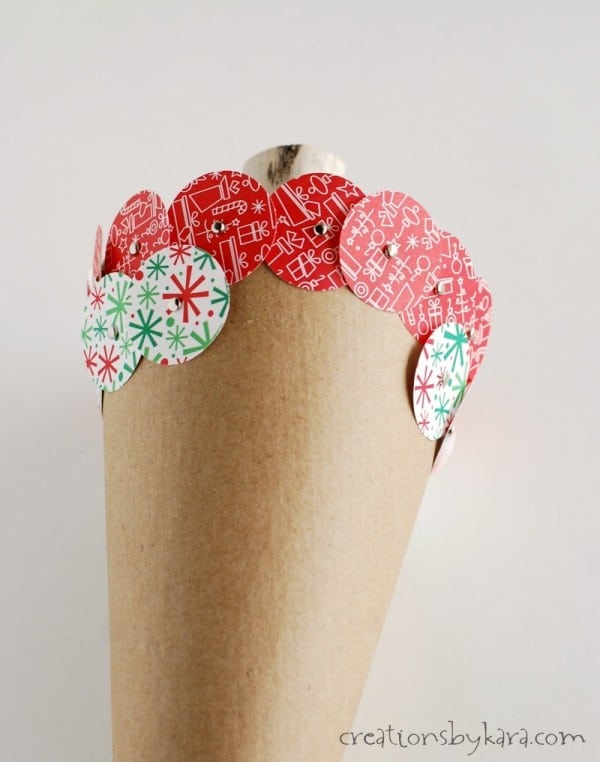
 5-Now attach your first row of paper circles along the bottom of the cone, lining the tops up with the line you drew, and overlapping them slightly.
I found it helpful at this point to line up a row of circles to the top of the tree so I could space them evenly apart and make sure the last one ends right at the top of the tree.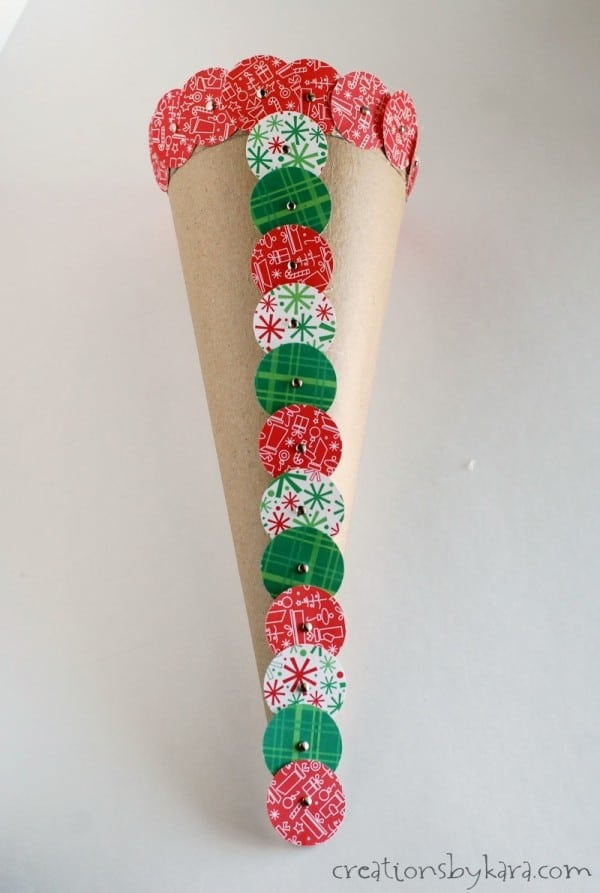 Now just add your next row of circles, overlapping the bottom row, and overlapping the side of each circle.
Continue till your tree is completely covered. Then just hot glue a tree trunk on the bottom. I found that it was easier to glue the trunk on last. As you can see in the photo above, for my first tree I glued it on at the beginning, and it kind of got in the way. I cut a piece of dowel and stained it, but you could use a wooden spool, a wood block, or even a branch.
Aren’t they pretty?
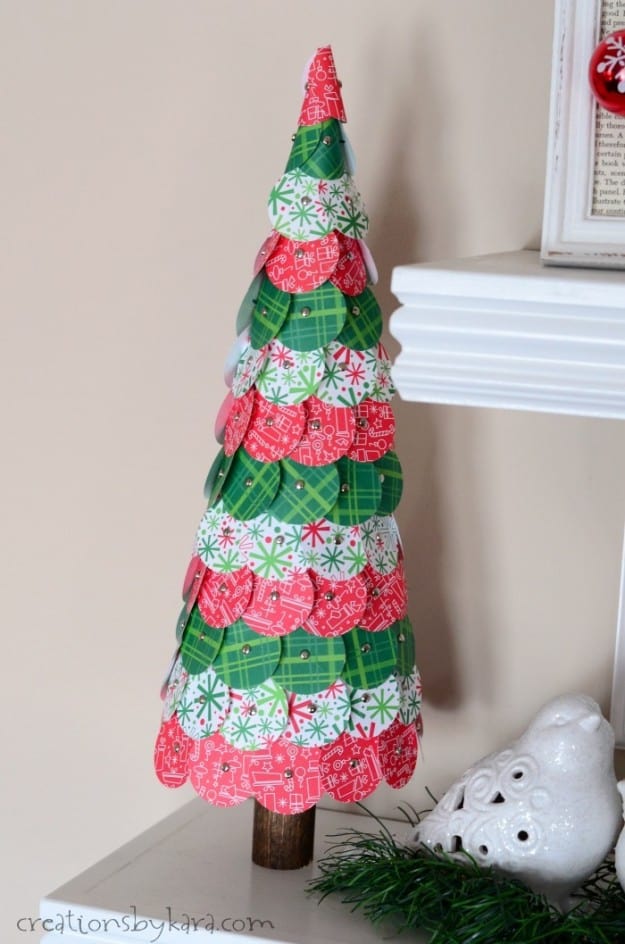 Here’s mine on my Christmas shelf from last year. I love the traditional colors of Christmas, but you could decorate yours to match your favorite Christmas decor!
 Let me know if you make some!
As always, if you love this project, I’d appreciate it if you’d pin it!

A few more Christmas projects you may enjoy:
Felt Poinsettia Yarn Wreath
Wrapping Paper Christmas Trees
Book Page Christmas Tree Banner
Ruffled Tree Skirt
While I think the brads are cute, I’m going to go the hot glue route. I’m thinking that since I won’t be punching through with the brads, I could make the cones out of cardstock, and size them up and down. I recently (finally) bought a 2″ hole punch for making the round ornaments with the folded circles of cardstock to be given as gifts for Christmas 2026. So of course I’m looking for crafts made with 2″ cardstock circles! I love your idea and am looking to run with it; thank you for such a fun-looking craft!
Yes, I think cardstock cones should work fine, as long as the cardstock is thick. Hope you have fun making your trees! The hole punch is definitely handy; so much easier than cutting them out! 🙂
Where can I find brads this small? Would it look ok if they were bigger??
I found mine at a scrapbook store, but they should also have them at craft stores like Hobby Lobby and Michaels. If you can’t find them, the large ones are pretty as well.
These are adorable! I will definitely give this a try!
The so much for sharing this! Happy creating!
So you hot glue each circle to the cardboard tree?
Yep, hot glue every circle. You can use other glue, but hot glue is definitely the easiest because it dries quickly.
Why the brads? Thank you!
The brads help stabilize the paper so it doesn’t wrinkle when you add the glue. I also like the look of them. 🙂
But you could absolutely make them without the brads.
I love the trees!
Thanks so much Virginia, they really are a fun project!