
I had a picture hanging on the wall in my kitchen. It got knocked off the wall and broken. . . Um, back in December. And I am finally getting around to replacing it. I decided to go with something totally different. I’ve loved the wood slat signs I’ve seen all over the place, so I decided to make my own. I don’t have access to reclaimed wood or palettes, so I used paint sticks instead.
It was a fun project for me, and I love how it turned out. I whipped it up in an afternoon, and I spend half the time just trying to get photos with the sun peeking in and out of the clouds and making me change my camera settings every five minutes. 😉

DIY Paint Stick Wood Sign Tutorial
Supplies (Contains affiliate links)
-Large Paint Sticks
-Paint and paintbrushes
–Sandpaper
– Wood Glue
-Quote for your sign- printed on paper (not cardstock)
–Frog Tape
-Pen or stylus
-Small banner (optional)
Instructions:
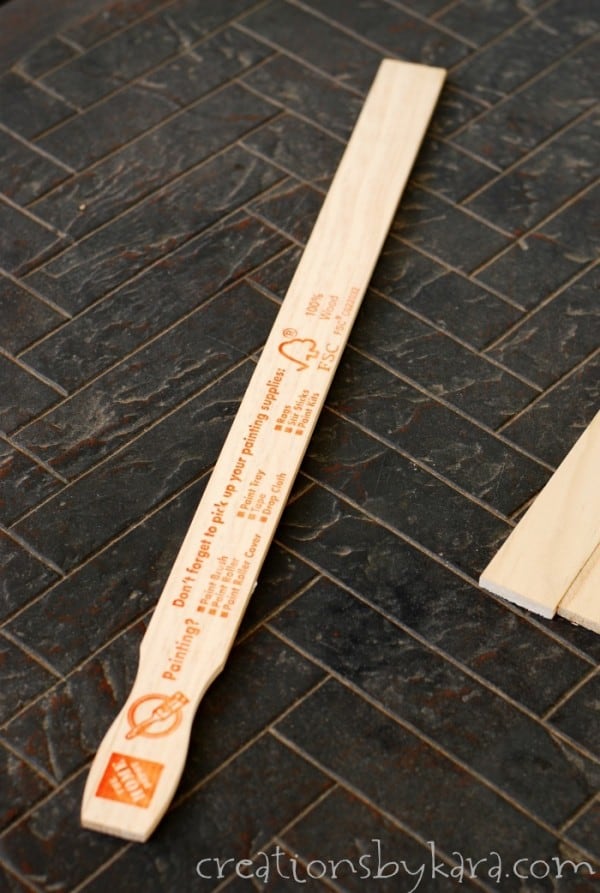
Get some large paint sticks from the hardware store – the kind that are used to stir the gallon size buckets. I already had a bunch in my stash from when we painted our walls.
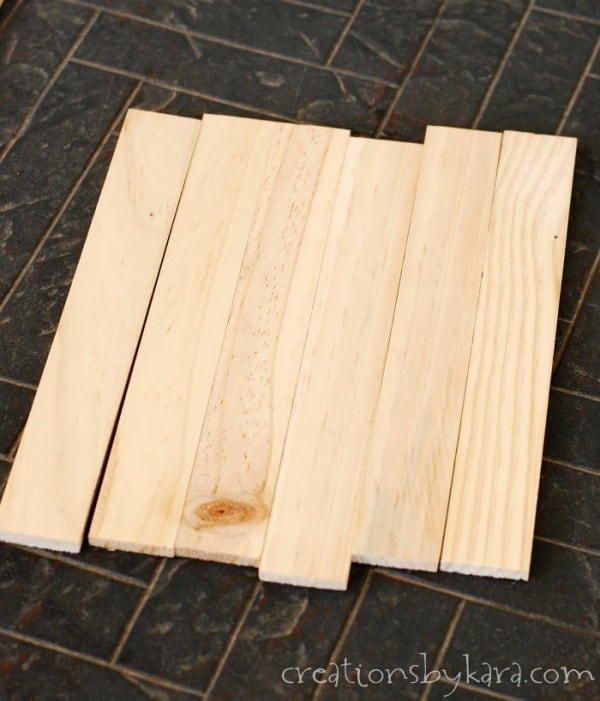
 Determine the size of your sign, and cut your paint sticks down to size. I was going to use my miter saw, but it was still in storage for the winter, so I used my scroll saw. The sticks are thin enough that you could even use a hand saw. I used 6 sticks for this project.
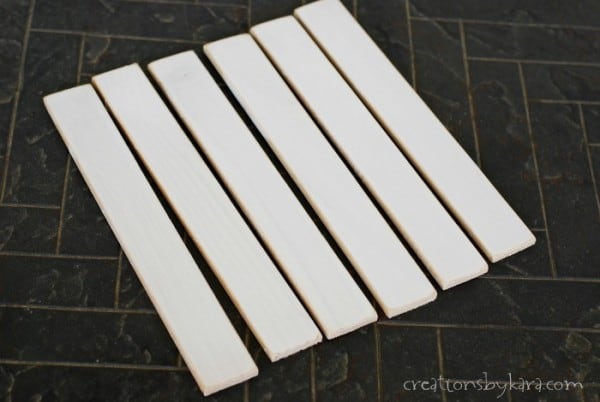
 Paint your sticks. I know I would be distressing mine, so I only did one coat of white paint, and I just painted the tops. After the paint is dry, sand the edges of the sticks if you want a more distressed look.
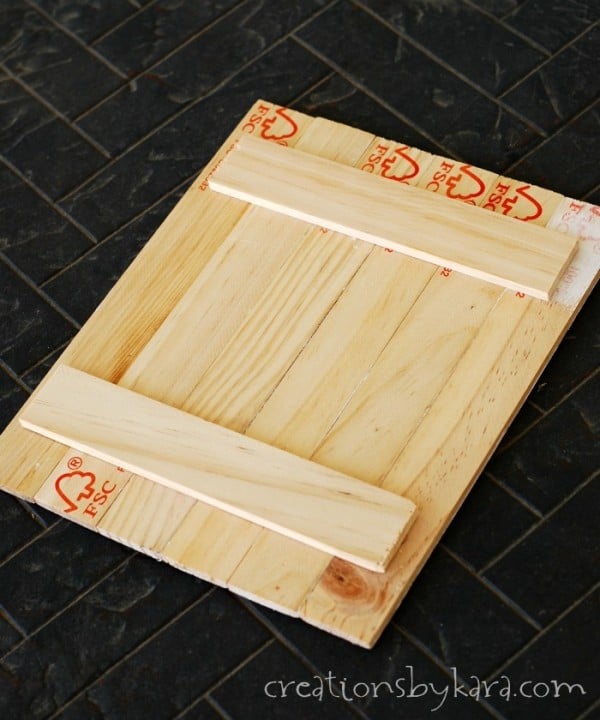
 Then it’s time to glue your paint sticks all together to make your sign. You can use any thin wood scraps, but I used the leftover pieces of paint sticks. Handy. I lined my sticks up, then used wood glue to attach a shorter piece across the top and bottom.
Tip: After I put the wood glue down the middle of the scrap strip, I put a little hot glue on each end. Then I pressed the scrap onto the longer pieces. The hot glue holds everything firmly in place while the wood glue is drying. Works like a charm!
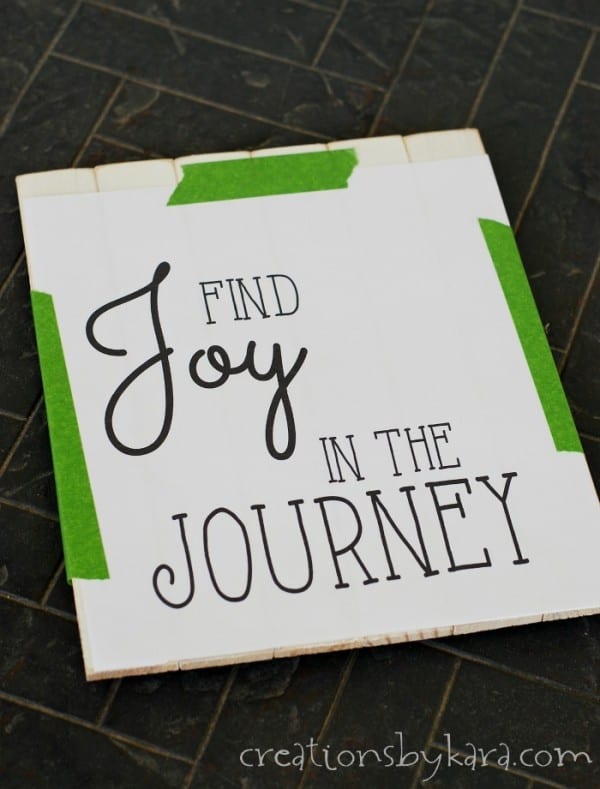
 After your glue is dry, attach your design to the front of the sign. Tape it in place with Frog Tape.
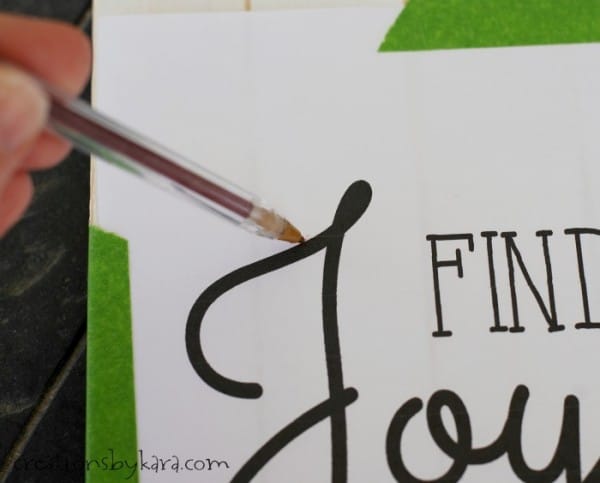
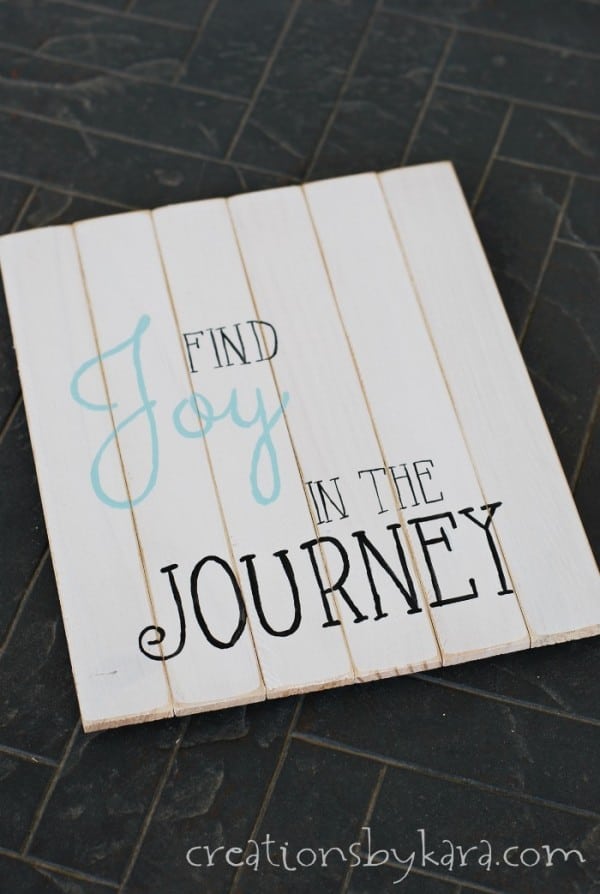
 Take a pen or stylus and carefully trace the edges of the letters (or shapes if you have those). Press firmly- you want to leave an indentation in the wood. If I had it to do over, I wouldn’t use a font any thinner than the one I used to spell “Joy”. Those thin fonts were hard to paint!
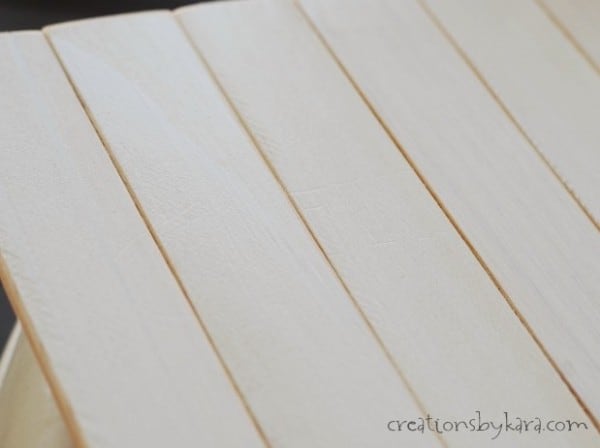
 It is really hard to see, but if you look close, you can see the little marks that the pen left. In real life it is much easier to see, I promise. Just use fine tipped paintbrushes top paint the words, using the indentations as a guide.
 After my words dried, I sanded my sign to make it look a little more rustic. But with the thin fonts that I used, it looked kinda crappy. So I had to go back and add paint. That was a pain in the bum. So don’t do what I did. Use larger fonts!
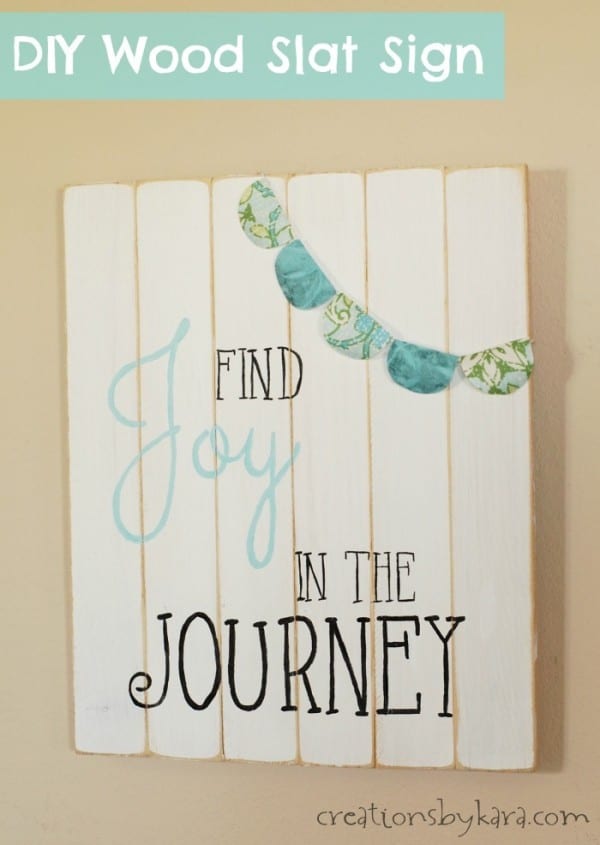
It did look good in the end though. And don’t worry if it doesn’t look perfect. I think that adds charm, and makes it actually look unique and handmade!
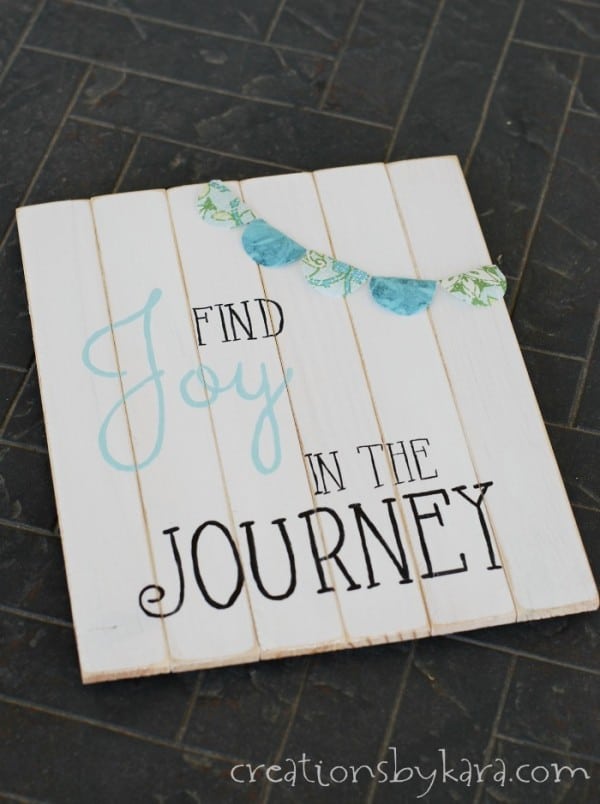
 I added a little fabric banner to the corner of mine. I followed this no-sew banner tutorial, except I didn’t attach my fabric to canvas, so it was even easier. You can use paper, or pom poms, or flowers instead, whatever you like!
 Now all you have to do is add a picture hanger to the back and hang it on the wall!
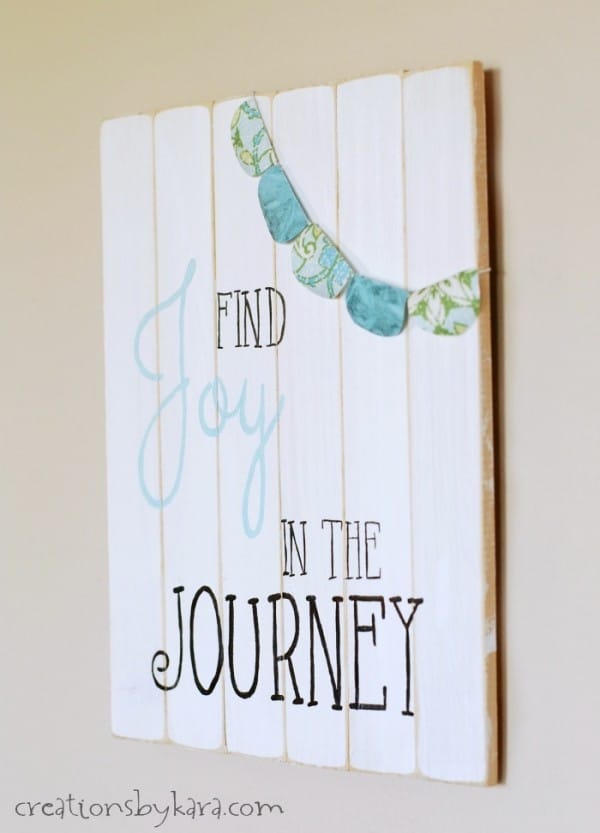 And there you have it. A custom wood slat sign that you can proudly display in your home!
Other easy wood decor projects you might enjoy:
Can you tell me what fonts you used? I love yours!
The cursive font is called Sacramento, and the block font is called AlwaysHere. Can’t remember exactly where I got them, but both of them are free. I use both of them all the time!
Kara!! I love this. Thank you for sharing at Project Pin-it. I will be featuring this wonderful idea this week.
xoxo
Denyse
I forgot to mention that I featured you on my blog today.
Love this sign! Thanks so much for sharing it on the Creative Exchange!
This looks great! I would love it if you joined and contribute your awesome posts at my link party at City of Creative Dreams starts on Fridays 😀 Hope to see you there at City of Creative Dreams Link Party.
This is perfect! I love that you didn’t use a machine to do your words! The banner is the perfect touch. 🙂 I love it! Thanks for linking up!
So pretty. I love how it looks like a miniature fence, and the banner and hand letter are adorable. I also love the saying. Pinning this.
I love crafting with paint sticks, especially since they are free! I’ve also made signs out of them but put them horizontally. I like the vertical look, and your quote is awesome!
That was me! Such a nerd, clicked comment before filling all the info.
This project is so cute! The techniques, colors, the no-sew banner! Well done! I’d love for you to share this at our weekly link up, the project stash! You can find it here.
4you-withlove.com/2014/05/5-summer-time-sewing-projects-project.html
Happy TGIF Eve! 😀
Thanks so much Marilyn! I just linked up. 🙂
This is so cute! I love the technique you used to get the words on it. I need something for my laundry room-I’m going to do something like this! 🙂
Thanks Melanie! Let me know when you get yours done, I’d love to see it!