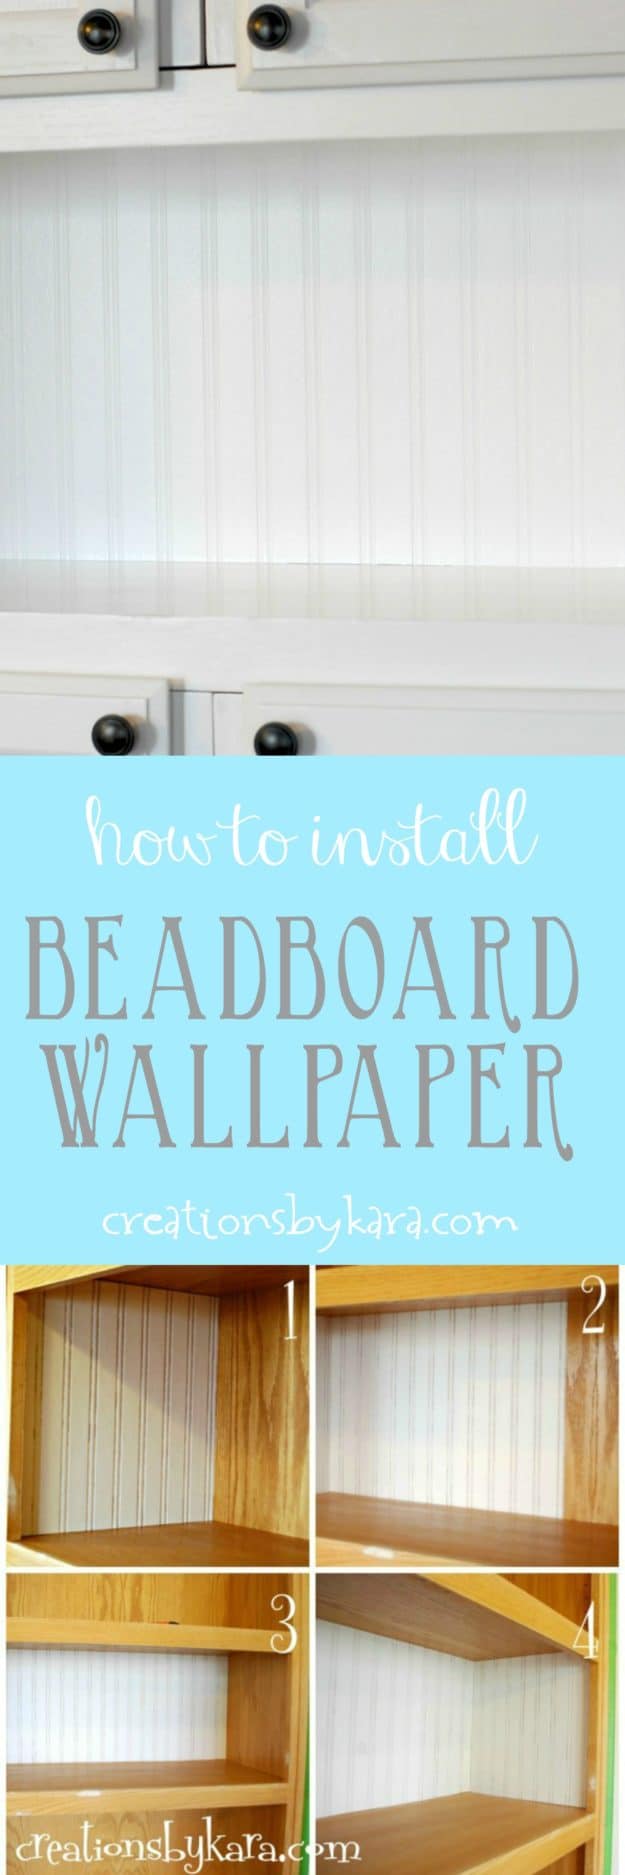
With this step by step tutorial, anyone can learn how to install beadboard wallpaper with professional results!
We have a cabinet ledge in our family room, which is right next to our kitchen. I removed the doors and painted them with my kitchen cabinets, but the actual cabinet just sat there with its orange oak finish. Mocking me. As soon as I had my kitchen cabinets all finished, I knew I had to tackle it.
I knew I would be painting it white to match my cabinets and my fireplace mantel. But I wanted to do a little something to spruce up the space between the top and bottom cabinets. I had some leftover beadboard from our kitchen island makeover, and I thought it would be a great way to tie the two spaces together. Unfortunately I didn’t have quite enough. Then I remembered the beadboard wallpaper I purchased over a year ago. Perfect! It turned out to be really easy to work with, and it looks just fabulous!
If you love the look of beadboard but don’t want to tackle power tools, you should give beadboard wallpaper a try! I got mine at Lowe’s, but Home Depot and Amazon sell it online.
I wrote up the step by step instructions for installing the beadboard wallpaper. It really is quite easy!
How to Install Beadboard Wallpaper
Supplies:
–Spackling
–Beadboard Wallpaper
–Rotary Cutter (or scissors)
–Measuring tape and pencil
-Sink or container large enough to hold your wallpaper
Instructions:
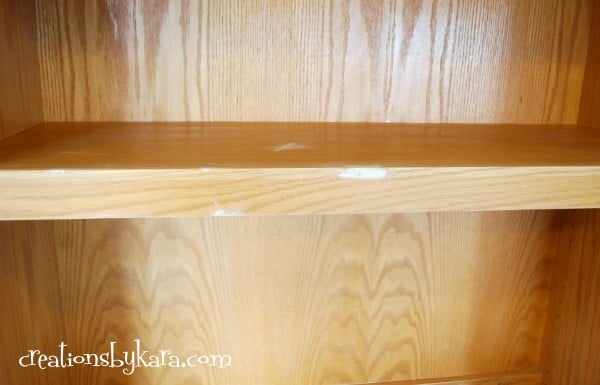
-Before you even start on the beadboard, use spackling to fill any scratches or holes on the surface you will be applying the beadboard wallpaper. Let it dry completely.
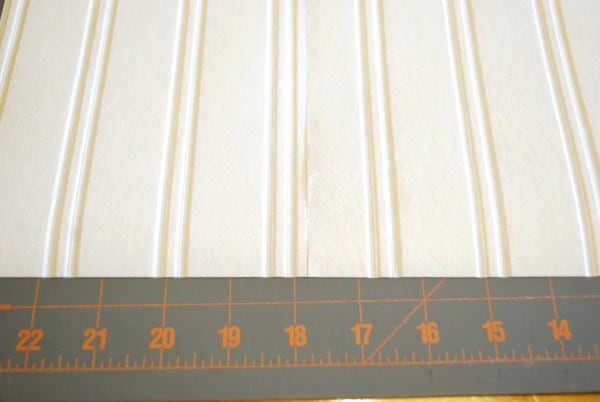
-Carefully measure the spaces that you will be installing the beadboard. You want to get exact measurements. Now cut your beadboard wallpaper. I found that a rotary cutter worked just perfectly for getting straight lines! Tip: If you are installing in a space that is narrower than the wallpaper, make sure you cut so that the pattern aligns correctly. On mine, the seam is at the very right edge of the beading.)
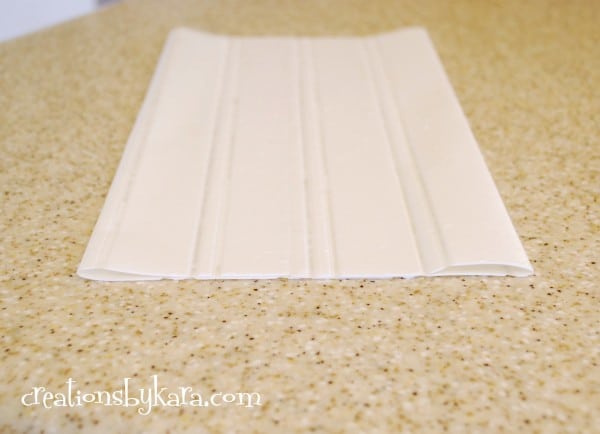
-After you have all your pieces cut, it’s time to hang your beadboard wallpaper! Follow the instructions that come with your wallpaper on how to activate the glue on the back. After soaking, mine had to sit on the counter for a few minutes with the sticky sides folded in.
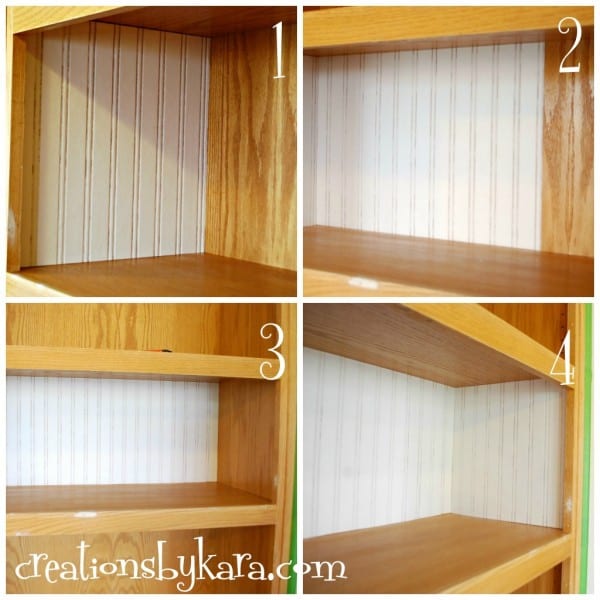
-Work with just one piece at a time, making sure you hang each piece level. I just placed it up on the wood, wiggled it into place, then smoothed out any bubbles with my hand. You can use a credit card as well, but be very careful, because when the wallpaper is wet it tears and creases very easily! I found it easiest to work from left to right.
At this point, it doesn’t look very good because you can see through the wallpaper. But don’t panic. After it dries thoroughly, it will look much better. And make sure you let it dry overnight before attempting to paint it!

-After mine was dry, I gave the entire cabinet a coat of primer.
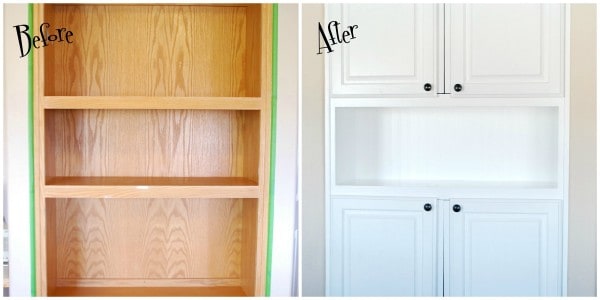
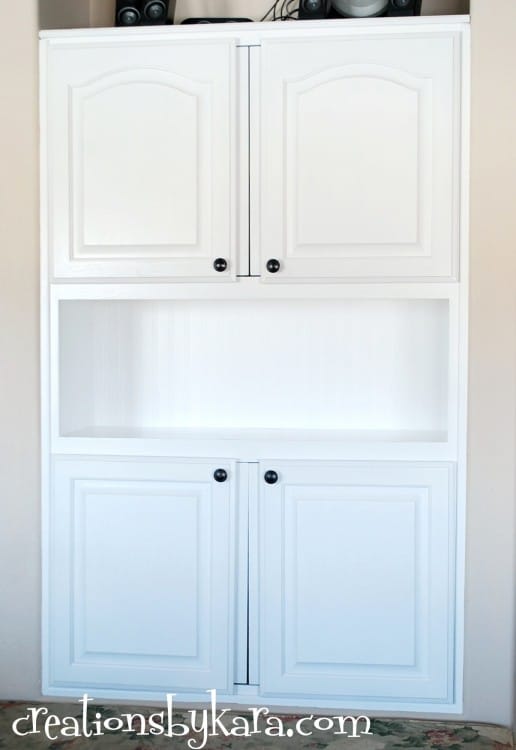
After that dried, I painted the whole thing, including the beadboard wallpaper, with a couple of coats of semi-gloss white latex paint. I used Home Depot’s Behr Premium paint and primer in one. At that point I got a little excited and forgot to snap a picture before I attached the doors and knobs. What can I say, I couldn’t wait see it all pretty and happy!
Here is a shot of the finished cabinet:
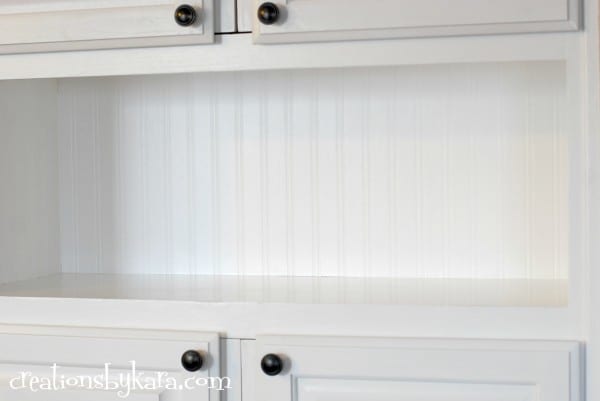
Here’s a close-up of the beadboard wallpaper. You’d never guess it wasn’t wood beadboard!
Now I just need to accessorize!
A few more DIY tutorials for updating your home:
- Tips for Spray Painting Furniture
- How To Install Molding Like a Pro
- How to Refinish Furniture with Stain
I’m looking into having beadboard wallpaper installed in a half bath and possibly kitchen cabinets and wondering how it’s help up for you over time. Have you had any issues? Any information you can provide will be much appreciated!
We have since moved from that house, but I didn’t have any issues while we were there. However, mine was in a family room, not a bathroom or kitchen where wallpaper is exposed to water. I think it would be fine, but there is a chance that with a lot of steam or water, over time it may start to peel.
Cute cabinet? Did it already have the doors or did you add them?
Thankfully it already had the doors!
Oh my goodness! Such a fantastic tutorial and I LOVE the finished look! Pinning!
Thanks so much Trish!
Beadboard wallpaper? I had no idea they made that stuff! I love the look of beadboard, and we have it along one wall in my kitchen. But this? This would look fabulous in my bathroom. Just added it to my list of stuff to look for next time I’m at Home Depot. Thanks!
If you haven’t already, I’d love if you’d come join my How To Tuesday link party, too.
Thanks for the invite Katie! I just linked up. 🙂
……P.S. I am pinning this too 🙂
I love love love this shelf makeover! I recently purchased a roll of beadboard wallpaper for my mudroom redo and I have leftovers that would totally work for something like this! Thanks for sharing. Your shelf turned out great! Its very pretty!
Thanks so much Jennifer! Whoever invented beadboard wallpaper sure was a genius, right?
Wow, That looks great! Thank Wes for test driving our van… although I don’t feel to excited to be driving the big beast around & parking it………… at least we can all fit 🙂
I know how you feel. It took me awhile to get used to driving the Tahoe. And I still have a hard time parking it in tight spaces!