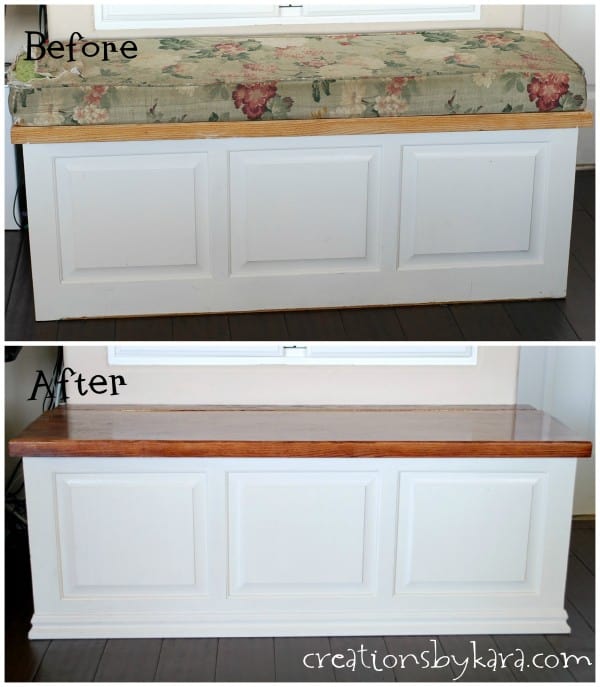
How to Stain Wood Like a Pro – tips and tricks for getting professional results every time you stain wood.
A few weeks ago at the SNAP! Conference, I was able to take a wood staining class from Bruce, the spokesman for Minwax stain. That guy knows his stuff, and I learned a lot about how to stain wood! I’ve been trying to write up this post for two weeks now, but I’ve had no less than 83 interruptions, (give or take a few).
For this project, I stained over a piece of furniture that was previously stained, but these tips will work with raw wood as well. In fact, it is even easier to stain raw wood!
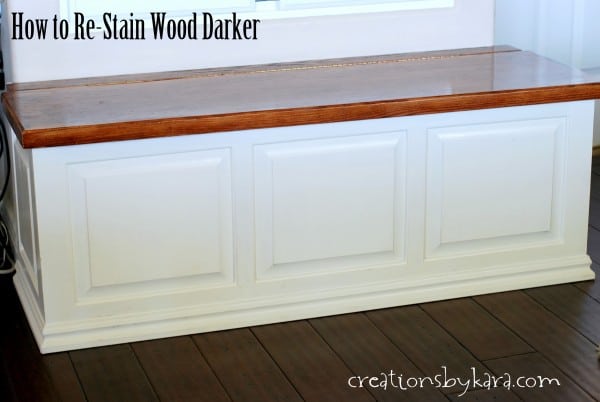
Note: You can re-stain a piece of wood darker, but not lighter. In this case I am restaining an orangey oak storage box to a darker cherry walnut color.
How to Stain Wood Like a Pro
Supplies: (contains affiliate links)
Wood Filler
Sandpaper
Palm or Orbital Sander
Tack cloth
Wood Conditioner
Wood stain
Lemon Oil
Wet Sandpaper
Polyurethane
Bristle Brush
Rags
Note– You want to use either water or oil base for all three of your products. So if you are using an oil base stain, also use an oil based wood conditioner and oil base polyurethane and vice versa.
Oil base is better for large surfaces, because it dries slower, giving you a more even finish. But water base comes in more colors, so that’s a fun advantage. Pick your stain first, then choose the other two products to match it. Make sense?
Prep Wood for Staining!
First up you want to clean off your surface really well to remove any grease (or food if it’s a tabletop).
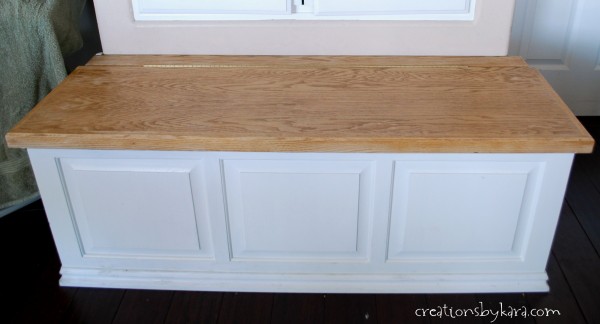 Next you want to fill any holes or deep scratches in the wood. You want to use a stainable wood filler. I used Minwax. Wood fillers shrink a bit when they dry, so make sure you use plenty and mound it up a little on top. I just use my finger to spread it.
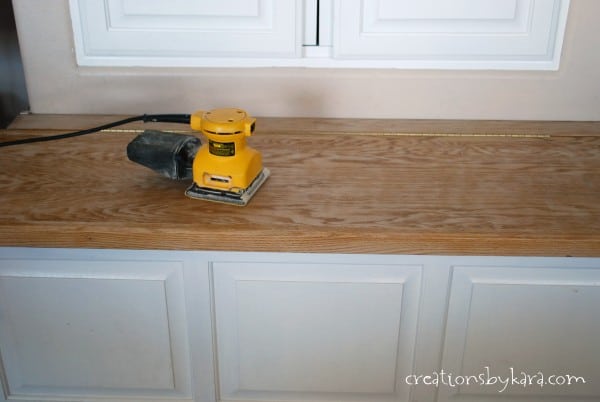
 After the wood filler is totally dry, it’s time to sand. Start with medium grit sandpaper, then work your way down to fine grit. I use an electric palm sander. I think it is a must for sanding any large surface! It takes forever to get the same results by hand. Make sure you always sand in the direction of the grain, not across it!
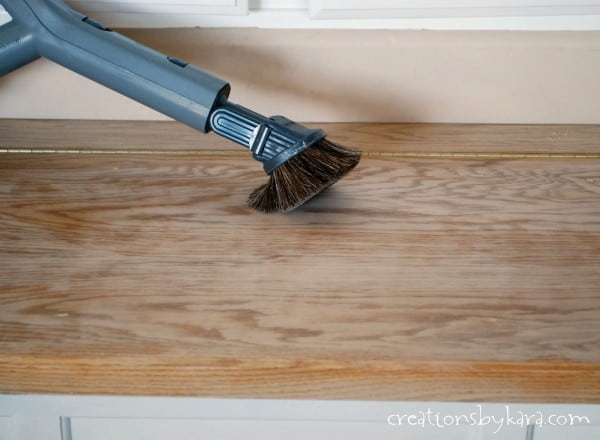
 Sanding makes a lot of dust. A lot. As I’m going along, I like to suck up the excess dust with the brush attachment on my vacuum.
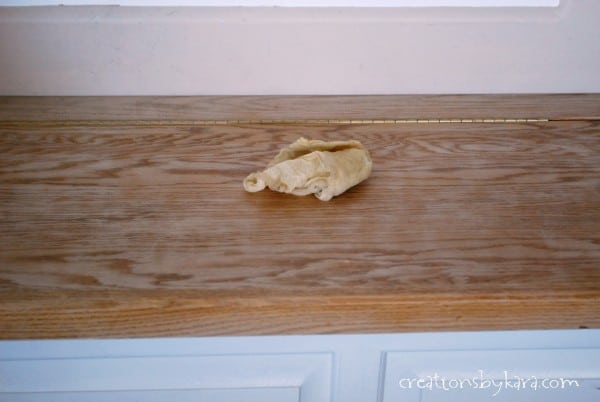
 For a perfect finish, you must remove every last trace of dust. In a pinch, I’ve used baby wipes or a slightly damp rag, but for the very best results, you gotta wipe the wood with tack cloth. It is a dust magnet!
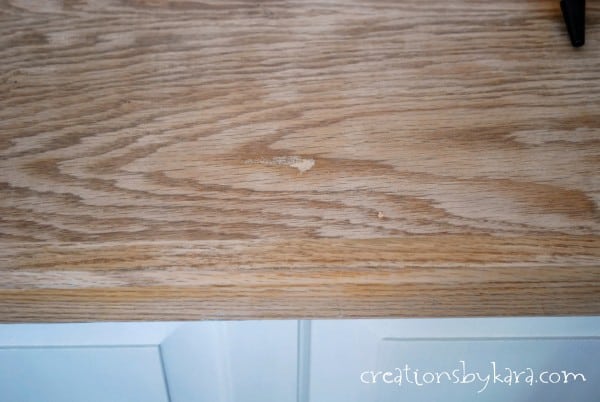
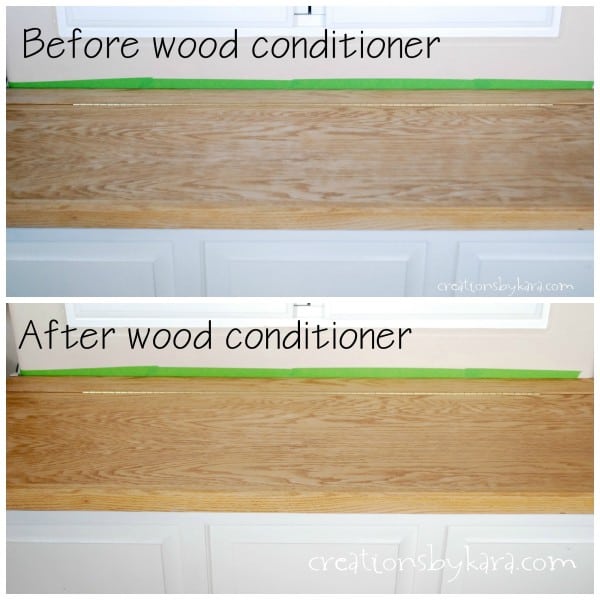
 To help your wood accept wood stain more evenly, you want to use wood conditioner. I applied mine with a soft cloth, but you can also use a brush. I could tell right away that it evened out the wood. See?
Staining the Wood:
After the wood conditioner has soaked in for about 15 minutes, it’s time to apply the stain. I used Minwax Wood Finish in Red Mahogany. Sometimes I use a brush when applying wood stain, but I tend to flick stain everywhere. That’s fine when I’m working with a piece of furniture outside, but since this is a built in, I used a soft cloth just to be safe. I applied three coats of stain.
Pro Tip: For the best, most even results, let each coat dry completely, then sand with 220 grit sandpaper. Wipe off any dust, then re-coat.
Here’s mine after three coats. It actually looks much darker in real life.

This next step is optional. It is a tip is straight from Bruce. I had never heard of it before. But let me tell you, it will make your wood surface smooth. Like smooth as a baby bum smooth.
You take some lemon oil and. . .waterproof sandpaper. Super fine. I used 400 grit. Did you know such a thing existed? I didn’t.

Anyway, apply the lemon oil to the sandpaper liberally. Then use it to lightly sand the wood. When you are finished wiped off any extra oil with a soft cloth. Your surface will now be silky smooth. I couldn’t stop rubbing it. 🙂
Now it’s time to apply your protective coat. I used Minwax Polyurethane in a satin finish. For polyurethane, you don’t want to use a rag, it will leave lint. A foam brush will leave air bubbles.
You need to use a bristle brush. Make sure you brush with the grain, not across it. This little storage box gets a lot of use, so I did three coats, letting it dry completely between each one.

Here it is all finished:
Now that you know how to stain wood like a pro, what project do you want to tackle next?
Disclaimer mumbo jumbo: I was not compensated in any way for this post. Minwax didn’t send me free products (although I would sure love that!). I just love Minwax products. They are awesome. For reals.
MORE DIY PROJECTS:
- Oak Banister Makeover
- Slat Sign
- Picket Fence Sign
- Mudroom Cubbies
- Corner Bench
- Spray Painting Fireplace
- How to Install Trim
- Spray Painting Metal Patio Furniture
- DIY Key Holder
Thanks for the tips! Its actually good that i’ve come across your blog this gave me ideas.
Hi, I am amazed on the result of your project and the amount of work you put up. May ask, what is the total cost of all the materials used in this project.
Thanks
So sorry, I’m not sure on the cost. It was almost seven years ago, and I have a hard time remembering things from last month. Haha. Also, I had half of the supplies on hand already, so even at the time it was hard to calculate the cost.
Hey dear, Thanks a lot for sharing such great stuff on how to stain wood. I have got some fantastic tips and ideas in your post. You have just noted an essential point, “STAINING THE WOOD: After the wood conditioner has soaked in for about 15 minutes, it’s time to apply the stain. I used Minwax Wood Finish in Red Mahogany. Sometimes I use a brush when applying wood stain, but I tend to flick stain everywhere. That’s fine when I’m working with a piece of furniture outside, but since this is a built in, I used a soft cloth just to be safe. I applied three coats of stain.” Most of the woodworker does not know about this very well. I do hope this post will be more useful for the new and old woodworker.
Hey dear, Thanks a lot for sharing such great stuff on how to stain wood. I got some fantastic tips and ideas in your post. I do hope this post will be useful for the new and old woodworker.
Great article! What brush would you recommend to use for staining cabinets? I’m trying to figure it out using this article woodimprove.com/best-brushes-for-staining-wood/ but it’s still a problem.
What steps do I need to do to stain pine trim
I would use the same steps, doing as many boards at the same time as you have space for. When I’m working with long pieces like baseboard, I cover an old table with a plastic tablecloth and line all of the prepped boards up. I paint or stain the one closest to me, then move it to the back of the table and work on the next one. I stained some pine trim in our old house that way, and it worked great!
Hi,
I have a question..
I used stain over chaulk paint on my dining table.
By the time I was almost finished I had figured out what I was doing wrong.
However, how do I fix the horrible brush strokes I made in the beginning?
Thanks
Don’t forget to wipe any wood conditioner off before staining
I’m having a little issue here. I restained my bedroom set the same it color it is black and I used the minwax ebony. After I stain it, wait the 15 minutes, and then wipe it down I end up with visible streaks. Is there something I’m doing wrong or what can I do to prevent this?
It could be that it is drying too fast, so I’d try wiping it off before 15 minutes have passed.
Hey there! Thanks for all the tips. I was just wondering, how soon after applying the lemon oil do you apply the poly? Let me know at your earliest convenience. Thanks again!
I added the poly right after I applied the lemon oil. As long as you’ve wiped it off well, you should be fine.
I have a problem and now I am desperate. While searching for answer to my problem, I found your site. I am taking a chance to see if you have an answer or not. I started refinishing a large room wall unit. I used Minwax wood-sheen rubbing oil stain and finish, rosewood. I ran short and went out to find more. Store after store only had one with water base.
I am not sure if these two products will work. So, could I put a coat of the Minwax stain that is water base. Apparently, I have had mine for a while. It went on beautifully and the rosewood color matches. Now, I am half finished and can not find the product.
I appreciate any help that you might have to offer. Thank you.
Oh man, that is a bummer! I’m not an expert, but I’ll give it my best. . . I know that oil based products can be applied over water based, but not the other way around. The oil repels the water. If the color of the two stains is exactly the same shade, you might have luck using them next to each other, but I don’t think you would be able to add a second coat over the oil coat you already put on. I’d first test the color in a spot that doesn’t show, to see if they match. Then just try a very small amount next to the oil based stain to see if the look blends well. IF it does, I’d proceed. If not, you might have to use a darker stain to cover up the discrepancy. Good luck!!
…best tips on refinishing and staining I’ve found!! Thank you!! I either found an encyclopedia on refinishing or major information was skipped… again thanks… now I can proceed with confidence!! 🙂
Thanks for all your tips – this is exactly what I was looking for to restain my kitchen table – and my two chests, if it ever stops raining!!! TFS – BTW – it looks great!
So glad to hear it. I wish you could send your rain my direction. We are burning up around here!
Came across your blog from Pinterest and love it. Started with zucchini bread and now I even know how to stain my table! Thanks for the great info! I just started a garden blog at theradishpatch.com ….and you’re an inspiration..Thanks! Great Job!
Thanks Donna! I checked out your website, and I love your little succulent garden ideas! I love the one with the tiny pond in it. So cute!