

Fabric Carrot Tutorial – these cute stuffed carrots are perfect for spring and Easter decor! You can use them on a wreath, in a bowl, or just tied together on a shelf.
 Fabric Carrots
I love Easter! To me it means the end of a loooong winter, and the promise of spring. I love all the fun Easter foods. I love the pastel colors of Easter. In a house full of boys, I don’t get to use them very often, so I take any opportunity I get!
I’m glad Easter is late this year, because it gives me more time to work on cute Easter decorations. I’ve got several projects planned; we’ll see how many I actually get finished. 😉
I started with these fabric carrots. A few days ago I saw a wreath at the store that had some similar carrots on it, and I knew I could make them myself. I love how they turned out. Now I just need to get the rest of my entry table Easterized. Bring on the bunnies!

Fabric Carrot Tutorial
Materials:
Orange fabric
Triangle cut out of paper (Mine was 4″ across the top and 9″ long.)
Fabric scissors
Needle and orange thread
Fiberfill
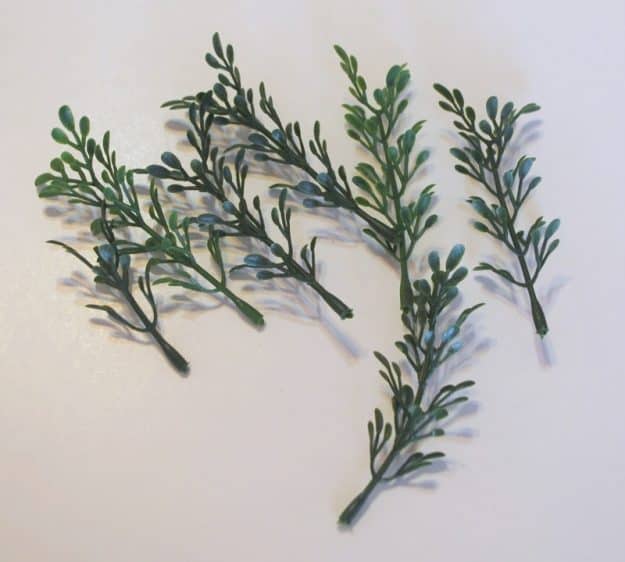
Greenery for carrot stems
Brown craft paint (Optional)
Hot glue gun and glue sticks
1- Fold your orange fabric in half and place the triangle on top. Trace around the carrot with a pencil. Move the pattern across your fabric and trace as many carrots as you would like.

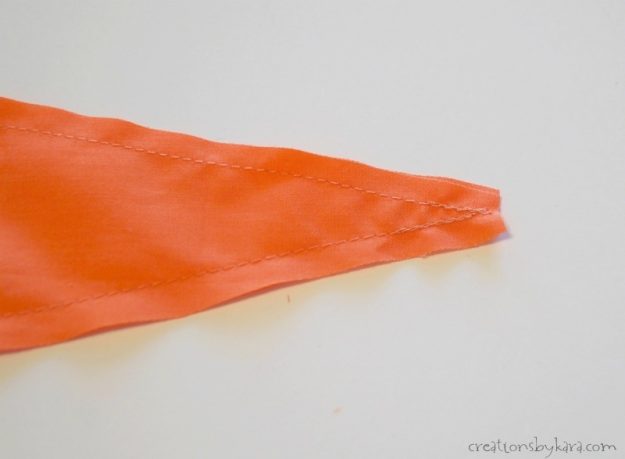
2- Cut out your carrots and sew a straight stitch up both sides, making sure you backstitch on both ends.

3- Cut off the end of the carrot, but make sure you don’t snip the seam.
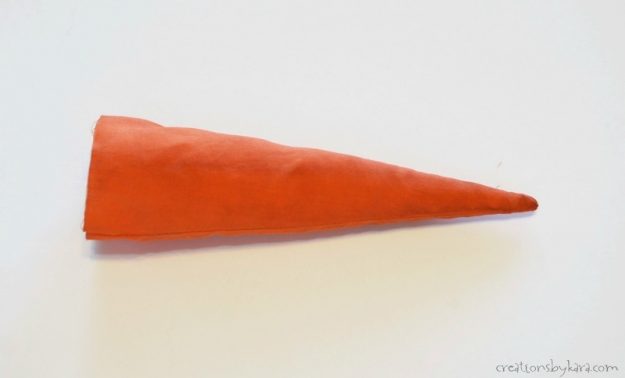
4- Turn your carrot right side out. I use a chopstick to push the tip out. A blunt colored pencil works too.
5- (optional step) At this point I decided that my carrots were way too brightly colored. So I mixed up a little brown craft paint in some water till it was the consistency of ink. I dipped all my carrots in the brown mixture, then squeezed them dry and set them out on the counter to dry.
OK, not really. I got impatient and baked them at 200° for a few minutes. But I promise I watched them very carefully. I cannot be held responsible if you try this and burn your house down. 😉
This is what they looked like when they were dry:

Nice and grungy!
6- Next you want to fill them with fiberfill. Use a fair amount, but they don’t need to be stuffed full.
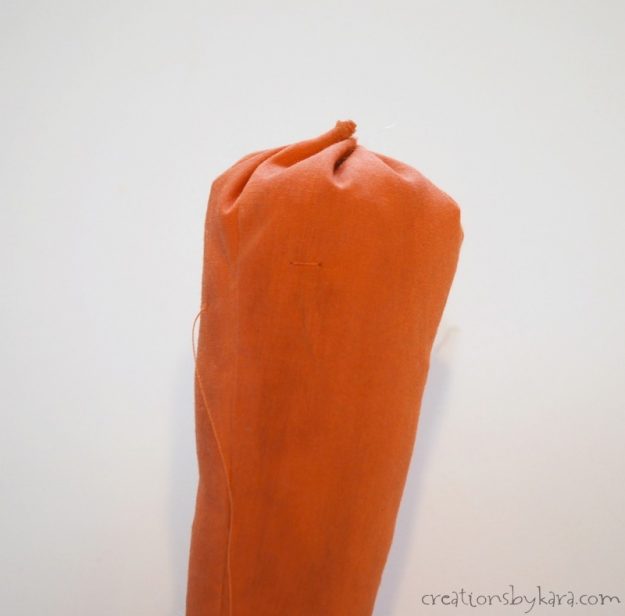
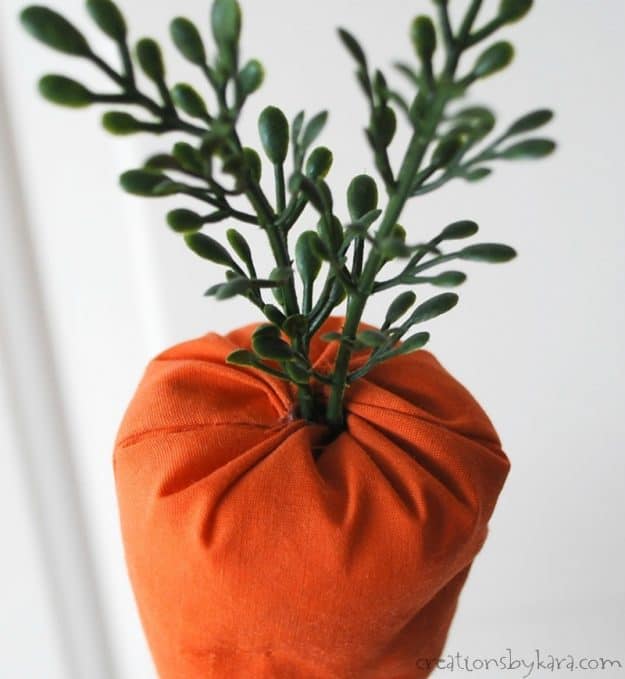
7- Now you need to tie off the top. You are going to need a looong piece of thread for the next step. I cut mine 36″ long. Tie a knot in the end and stitch a running stitch around the top of the carrot about 1/4″ down from the top.

8- Now pull the thread till the top is all gathered together. Don’t pull it too tight, you want to have room to stuff in your greenery. Tie a secure knot, but DO NOT cut the thread. See how mine is still nice and long?

9- Now you are going to make little puckers in your carrots so they have wrinkles like real carrots.
Take your needle and insert it at an angle, coming out the side of the carrot.

Now make a tiny stitch, and come out on the back side of the carrot.
Make a tiny stitch in the back and come back at an angle to the front of the carrot. Continue going from side to side, making stitches on the front and back of the carrot. Pull your stitches tight enough that they pucker, but not so tight that you break your thread. That’s no fun.
When I got to the bottom, I tied a knot.
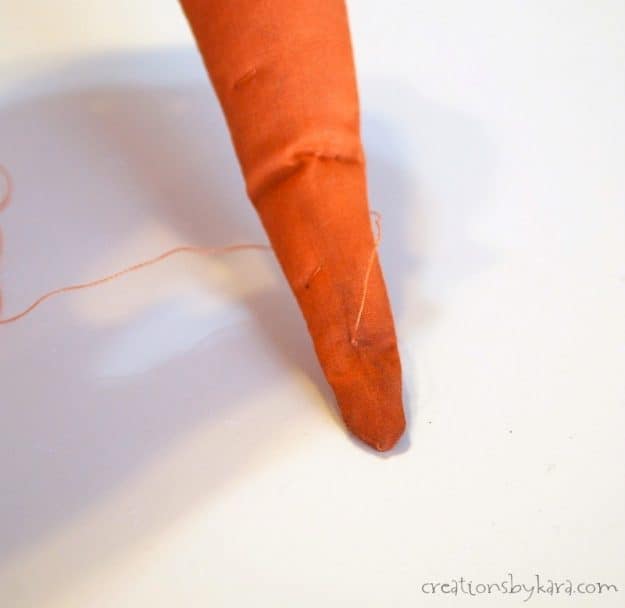
Then I inserted the needle into the carrot really close to the knot and came out the back of the carrot. I pulled it till the knot went through to the inside, then clipped the thread. Hope that makes sense. It will look something like this when you are finished:
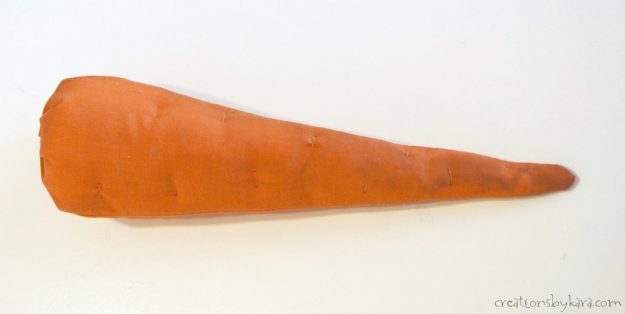
See how those little stitches add texture and make it more realistic? Love it!
(Note: You can skip the step of adding the tucks, and they will still be really cute.)
10- Next you want to add your carrot tops. I had some of this greenery left over from my spray painted bucket project.
All you have to do is add some hot glue at the top and shove a few down into the hole.
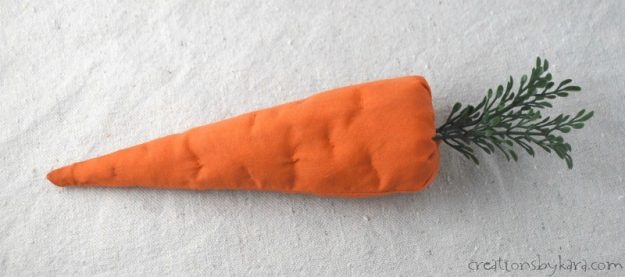
Totally cute, right?
You can toss them in a bowl:

Tie a piece of burlap around them and tuck them in amidst your decor to add a little bit of spring bling. Or put them in a little basket or bucket like I did.

I love the pop of color that these fabric carrots add to my decor. They are fun to decorate with!

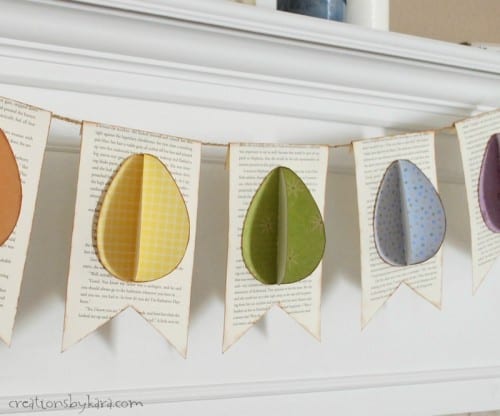
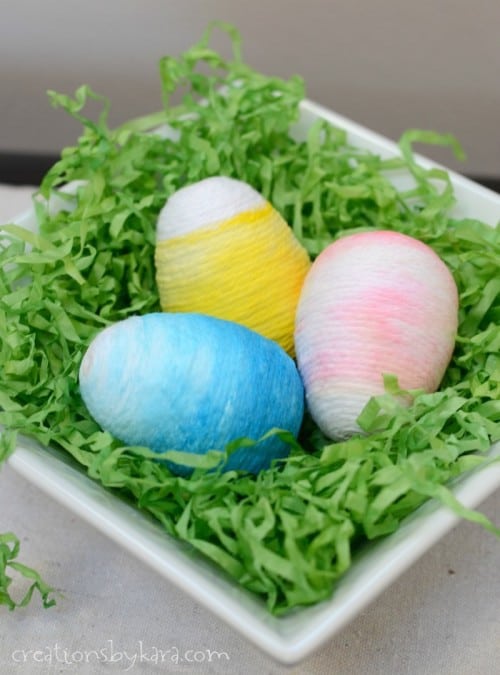
More fun Easter projects:
Ombre Yarn Wrapped Easter Eggs
So adorable! I’ve been looking forward to making these all week! Can’t wait! Going to grab my items tonight!
Really cute! I love the little dimples 🙂
Kara! How cute are these?! Great job my friend!!
Totally adorable! I love your Easter book page wreath and I adore these. I can only imagine the other decor in your house for the season 🙂
Claire
Thanks Kara,
Your carrots are so real, amazing!!!
xoxo
Carine
I LOVE this! I will totally be making these!!
So cute! I love how simple they are to make, too! Thank you for sharing this!!! 🙂
Hi!
Your idea is great.
I published it in my new post.
Hope you will enjoy it.
CIAO!
Hello!
Your idea is great!
I published it in my new post.
Hope you’ll enjoy it!
CIAO!!!
Kara I LOVE these! The details and the puckers are just amazing! love love LOVE! them. I’m featuring them today on Topsy Turvy Tuesdays’! Thanks again for linking up!
Love this Kara! Thanks for linking! I’ll be featuring this on BCK on Thursday!
Love this Kara! Thanks for linking! I’ll be featuring this on BCD on Thursday!
These are adorable! Thanks for linking @Creative Itch’s “Sew Cute Tuesday”! I’ll be featuring these tomorrow, so be sure to stop by!
I just saw your carrots featured on One Pretty Thing and had to drop and tell you how much I love them! Great job and tutorial.
these look super easy, could even be used in our easter themed homeschool projects
Stop by and feel free to link up to my MAKE & SHARE first edition Fridays.
~Christy
Thanks for the heads up Christy! I have added your party to my linky list. 🙂
These are so adorable, thankyou for sharing! I will have to make some of these for sure. I would like to share your project on my blog…they are a perfect addition to my easter egg patchwork I plan to share again on my blog.
This looks lovely and so cute 🙂 Hope to see you at My Dream Canvas!
Very Cute! I want to make a giant one for my front door. Saw a metal one at hobby lobby, but yours are so much cuter!
Oh my gosh, that is a great idea! I have an empty door just waiting to be decorated, so I might have to try that. If you make one, I’d love to see how yours turns out!
You were featured on Today’s Top 20! Woo Hoo!
Thanks so much Amanda. I love the other projects you featured too! 🙂
Adorable!
Love these they are sooooo cute!!!
I am featuring these tonight at somedaycrafts.blogspot.com!!! Love them!
Found you on Tatertots and Jello… I love the carrots! I’m your newest follower!
I live at homeroad.net 🙂 Great to find you!
Susan
Welcome aboard Susan!!
They are so cute! Great job!
What a great idea. They turned out so cute. Your tutorial is great, makes me want to give the carrots a try. Thanks for the inspiration!
These are wonderful! I can even picture them made out of patterned fabric as well. Your tutorial is awesome. Thanks!
I love the little tucks… makes them look more “carrotish.”
How cute, looks like we have the same idea! I made some sort of like yours! Very Cute!
So cute!
I love carrots and the thing I love most about your carrots is the dimples! They look almost real and so adorable~!
Okay, I think I need to make those. So cute!
Love these! So cute that I might be able to whip some up. With my glue gun of course! I would love for you to look at my Sham wow carrots. Just in case your bored and you wander through the dollar store and happen to stop and look at the all of the things that are orange, just in case you can make carrots out of them. 🙂
Just checked out your sham wow carrots. Love how you made them into a wreath!
Love these little carrots and great tute. Now I just need to find a cute little rabbit to go with them. Thanks for linking up.
This is so cute! I am definitely going to try it out.
Oh you did such a great job! They look fabulous!
Very cute! Perfect for Easter. 🙂