
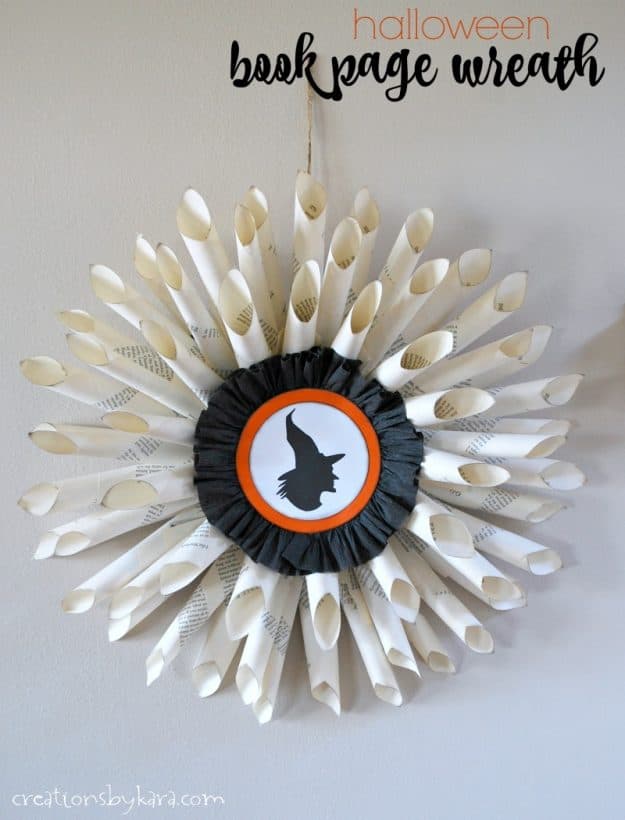
This Halloween Book Page Wreath is quick, easy, and can be made to match any Halloween decor.
Remember the Interchangeable Book Page Wreath I shared back in April? With Halloween just around the corner, I decided it was high time I came up with an appropriate Halloween embellishment for it. It took me quite awhile to come up with an idea that I liked, but once I decided, it was really simple to put together. I’m excited to show you!
So without further adieu, here she is. My Halloween Book Page Wreath:
And yes, now it is a she. 🙂
And for those of you who want to make one, here are the instructions:
Halloween Book Page Wreath Tutorial
If you haven’t made an interchangeable book page wreath before, head on over to my Interchangeable Book Page Wreath Tutorial and whip one up.
When you have that finished, you can proceed with the center of the wreath:
First I took a piece of black crepe paper about 1 1/2 yards long and used my sewing machine to stitch along one edge using the longest stitch. Then I pulled one of the threads to carefully gather it.
 Next up I cut a circle about 4″ across out of orange cardstock and inked the edges black.
 I flipped it over and adjusted the ruffle length to make sure it would fit all the way around the circle. Then I hot glued the ruffled crepe paper around the edge. You want to make sure that you glue it in far enough that the string doesn’t show from the front.

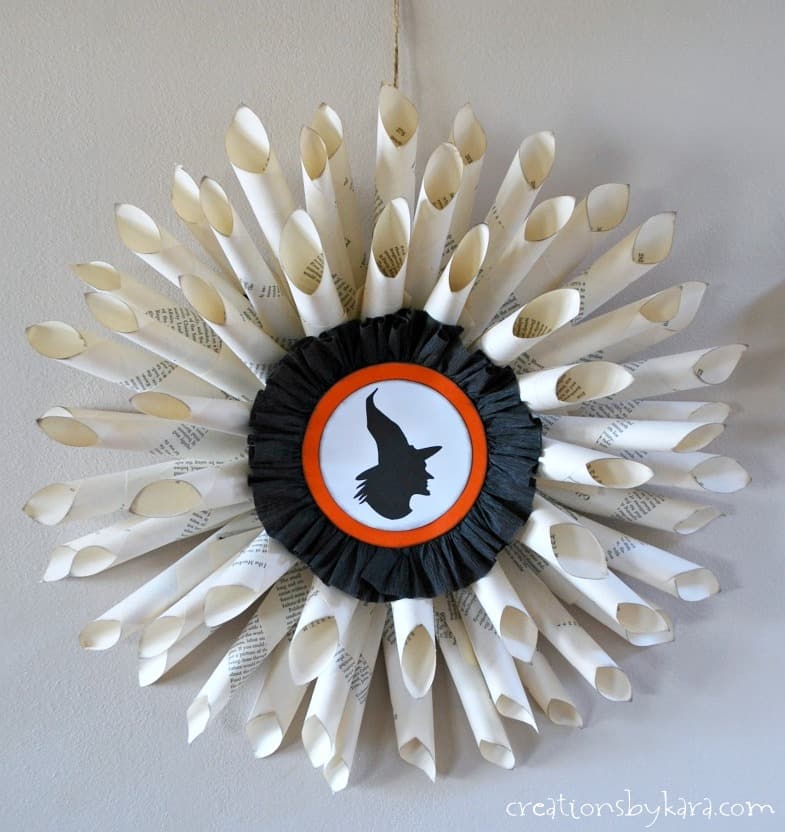
I used a witch silhouette I found at Martha’s. I simply printed it out on white cardstock, cut it into a circle and inked the edges. Then I glued it to the orange circle.
 For the next step, cut out a piece of cardboard in a circle and glue it to the back of your embellishment. I totally forgot to take a picture of this step, so just imagine this without the block of wood on it.

If you are not making your wreath interchangeable, you can just hot glue your Halloween embellishment to the center of your wreath. But if you are really cool like I am, you will need to do one more step. Don’t worry, it isn’t hard.
To make the embellishment stand out on the wreath and not get squished, but still be able to reach the velcro on the wreath, you need to make a spacer. I used a block that no one in my house plays with anymore, but any piece of scrap wood will work. (A small spool of thread or a pop bottle lid would probably work too. Just use whatever you have.)
Glue your spacer onto the back of the cardboard, then cut another circle of cardboard and glue it on top of the block. Then cut your piece of velcro and attach it to the back, making sure that it matches up with the velcro on your wreath. I used hot glue for all of these steps.
 Now all you have to do is attach your Halloween embellishment to your wreath. Voila!

More fun Halloween decor projects:
Book Page Pumpkin
Easy Fabric Pumpkins
Dollar Store Framed Pumpkin
Nice job! I love it. Thanks for sharing. 🙂
Reply
So cute & pin worthy! 🙂
Reply
This is so adorable Kara! I love the book pages combined with the black and orange. Pinning this 🙂
Reply
I love so many things about this 🙂 The pages…the crepe paper..the witch 🙂 Great job!
Reply