Stenciled Nightstand with Vintage Decor Chalk Paint- one of my favorite furniture makeovers to date!
Have you tried chalk paint yet? I’ve tried several brands, and I’ve had great luck with all of them. Today I’m sharing a project that I completed using the new Martha Stewart Vintage Decor Paint. I am beyond thrilled at how cute this little nightstand turned out!!
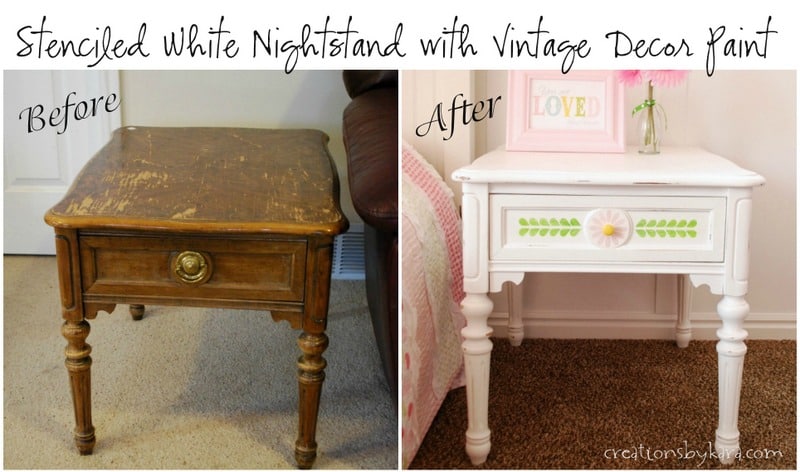

I found a side table at a yard sale years ago for $8. It was really beat up, but it was solid wood and I loved the curves, so I bought it. I started painting it a cream color to go in our family room. Then I realized it didn’t work in the space, so I never finished it, and it has been sitting in my garage ever since.  I just knew it would be perfect for Rachel’s room, so I pulled it out and started the transformation process.
Side Table to Nightstand with Vintage Decor Paint
Supplies:
-Piece of furniture (duh)
-Martha Stewart Vintage Decor Paint (I used Wedding Cake and Seashell)
-Martha Stewart Vintage Decor Clear Wax
-Brush to apply paint
-Brush to apply wax (I use a separate brush for all my waxing.)
-Stencil if desired (I used the Daisy Petal stencil set)
–Cheesecloth or soft cloth for buffing 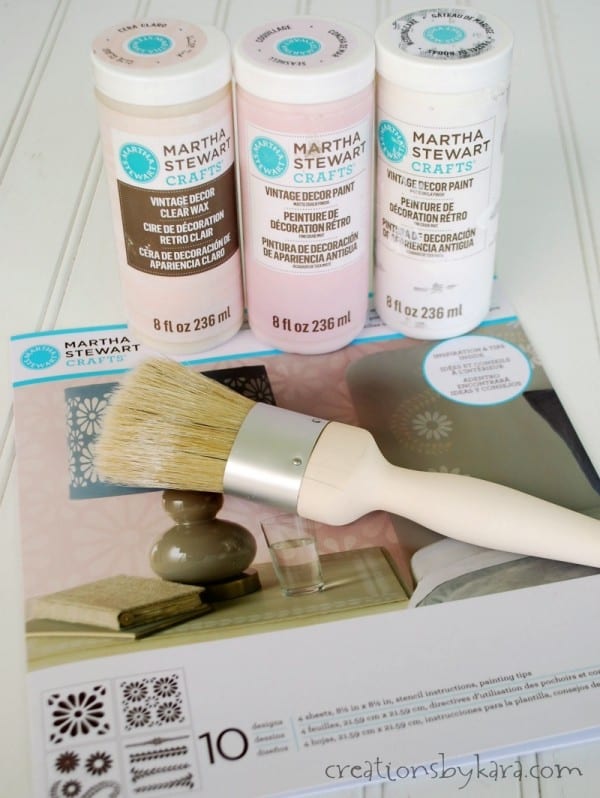
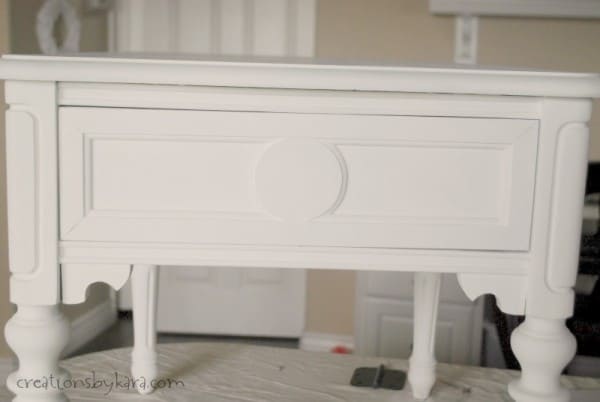
I painted at night, so I couldn’t take any great action shots, but here is the front of the nightstand after two coats of Wedding Cake (white). The awesome thing about this new paint is that it requires no priming or sanding. I just gave the side table a good wipe down to remove dust, then got right to work painting. The paint leaves a matte chalk finish, which is perfect for distressed pieces!
 After the final coat of paint was dry, I used the small daisy and stenciled the front of the drawer. I only needed the daisy part of the stencil, so I didn’t use the trailing leaves. And for the straight line of leaves, I cut my stencil so it would fit in the inlaid part of the drawer.
When working with stencils, you can be creative! You don’t have to use the whole design, you can adapt it to your liking! You can get so much more use out of stencils that way. 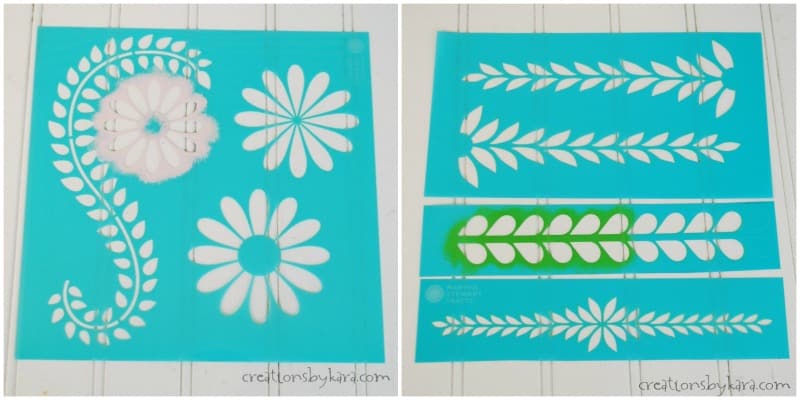 So much prettier, right?
 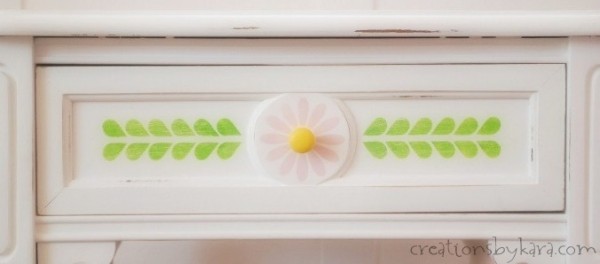 After stenciling, I used a piece of sandpaper and lightly distressed some of the edges for a vintage look. Then I applied the wax to the whole piece. I thought this wax was easier to use than other brands I’ve tried, because it is much thinner, so it is easier to apply a thin coat. It went on like a charm. I used two coats, then buffed the nightstand and drawer with cheesecloth. I added a wooden knob that I painted yellow, and I think it turned out totally cute!
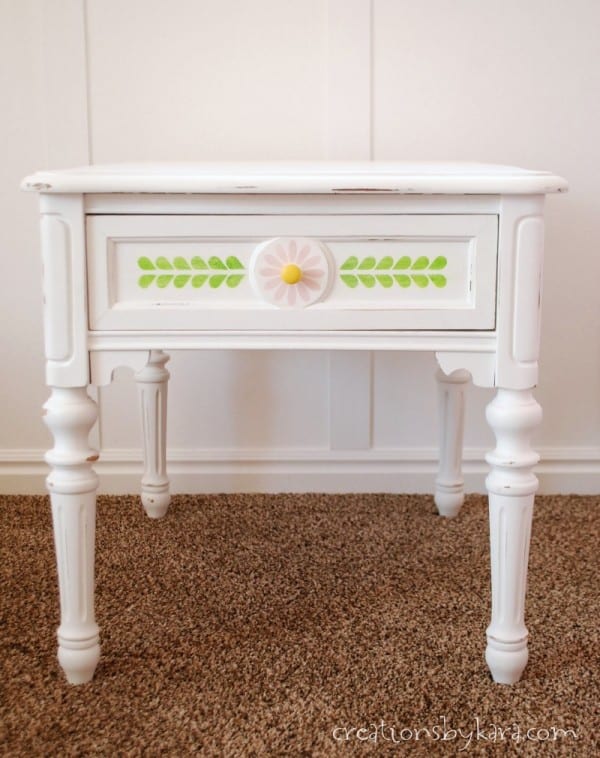
After finishing the piece, I decided to take it one step further. The inside of the drawer was covered with some ugly vinyl paper type liner. It was torn up in one place, and just looked bad. I decided to paint the inside of the drawer. I sanded over the torn part to smooth the edges, then wiped it down really well.
I was a little worried that the paint wouldn’t stick, but it worked like a charm! I used the large daisy stencil in the middle of the drawer. Rachel’s face when she opened the drawer was priceless. I wish I would have had my camera handy. She was so excited that there was a flower inside! 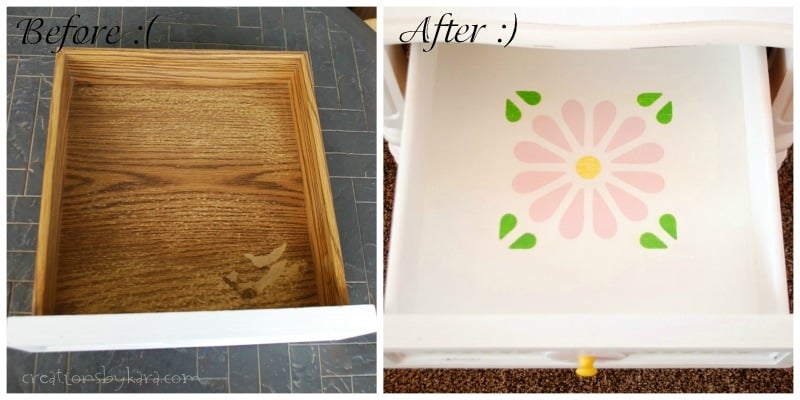 Here it is all styled up in Rachel’s room. She loves it and so do I!
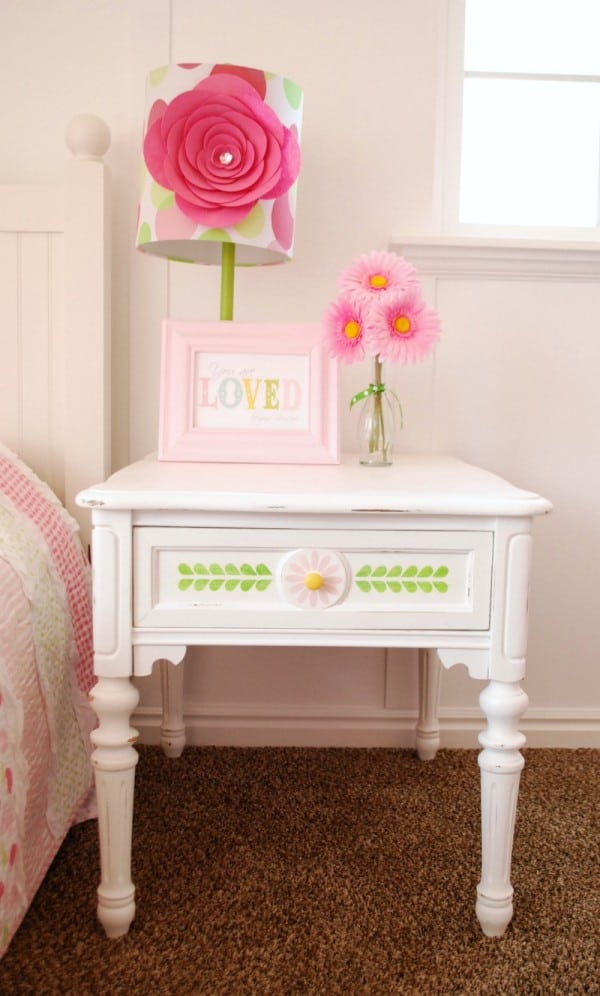
More DIY paint projects you might enjoy:
Favorite Home Paint Color
Chalk Painted Chandelier
DIY Stained and Painted Staircase
Your attention to detail in the stenciling process is evident, and the decision to distress the edges for a vintage look is a fantastic touch. The choice of a thinner wax for its ease of application is a valuable tip for fellow DIY enthusiasts.
I am desperately looking for Martha Stewart Wedding Cake chalk paint! I need a small bottle to finish a project. ANY chance you have a partial bottle I can buy?? It is out of stock EVERYWHERE!
No, unfortunately I don’t have a bottle. I’ve also had a hard time finding it. 🙁
That’s so cute!
Thanks Melinda!
Your table turned out soooo pretty. From drab to fab and the way you set it up is perfect. 🙂
Thank you so much Debbie!
The table turned out beautiful. Love It.