I put off painting my living room for years because it is attached to our two story entry way. I did not want to have to paint the entry, because it involves the use of scaffolding. I wasn’t sure how to make the transition from one room to the next when they shared a wall. So I put it off.
Then one day I was browsing one of my favorite blogs, Thrifty Decor Chick. I watched her video on how to install molding. And a light bulb went off. Two actually. First I thought, “Hey, I think I might actually be able to do that.” Then the real flash of inspiration: “I could totally use trim to separate the space between my living room an entry. Duh, why didn’t I think of that sooner?” I decided to give it a go.
So, I painted the living room. And was left with this:
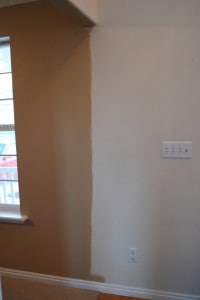 I headed to Home Depot and picked up some wood trim. I wanted it to be pretty substantial, so I ended up buying a trim piece and two pieces of pencil trim for the sides.
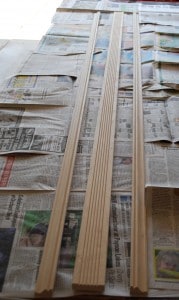 I primed and painted them a nice white color, then brought them inside.
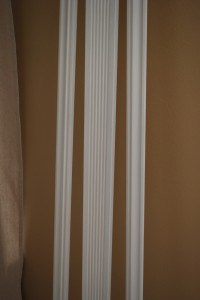 Next came the exciting part. Using my new Hitachi nail gun from CSN stores for the very first time!
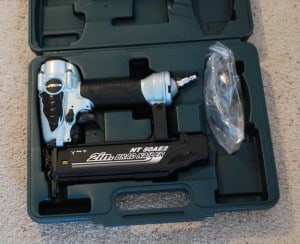 I’m comfortable with power sanders and my scroll saw, but I’ll admit that I was a little nervous to use something attached to an air compressor. I had my husband put in the first nail just so I could see how it was done. After that, I did all the rest by myself. And it was much easier than I thought it would be. Woohoo!
I put all three trim pieces up together, made sure they were level, and had my husband hold them in place while I nailed them in.
Now there is a distinct separation between the two spaces.
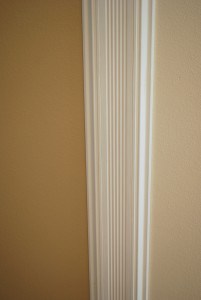 I just love how it turned out:
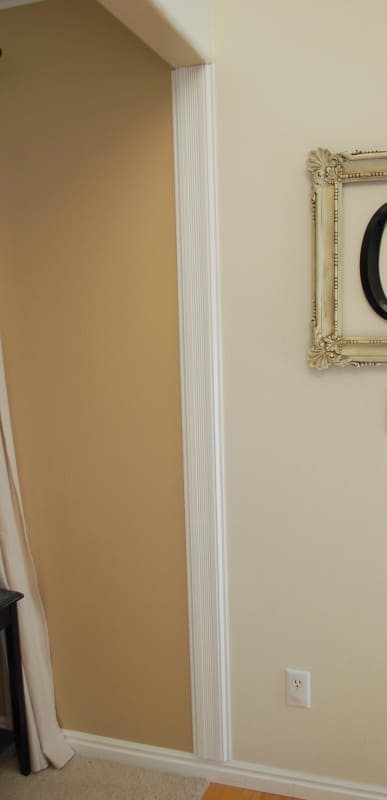 Now that I’ve done the wood trim in my living room, I can’t wait to use my nail gun for more projects in 2011!! Thanks Sarah!!

WONDERFUL!!!! I finally used my nail gun (I got them same one for my review for csn) too. For my board and batten, making a tv stand, making my own mantel, etc… What a fun project. Thanks for linking up to Topsy Turvy Tuesday’s!
I love it! Looks like it came with the house! Very well done.
Looks really good, very creative fix. I love using power tools and just got my own air compressor and nail gun for the wedding. Haven’t used it yet, but I have big plans for it. Thanks for the fresh inspiration.
Lucky you, what a great wedding present! 🙂
Genius! 🙂
Ooo! What a great idea 🙂
I love that look of molding separating a rooM!
Nice work!
~Shelley Smith
Thanks Shelley. I hope someday my house will look as fabulous as yours does! 🙂
It looks very good! I’m glad you tried and succeeded!
wow. that looks great, and definitely like 2 completely separate spaces. and look at you doing it completely on your own-i am impressed and more than a little jealous of your mad skills!
Aw, thanks so much!!
Wow, looking good Kara!.
Looks Fabulous! How exciting! Way to go!