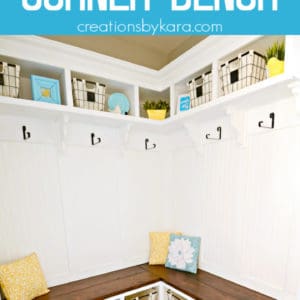
DIY Mudroom Corner Bench – with this step by step tutorial, you can make a mudroom corner bench that adds both beauty and function!

I am so excited to finally be showing you our completed laundry/mudroom corner bench! It was a massive project, even more time consuming than the staircase makeover in our old house. I am so glad I had help from my husband, or I would still be working on it!
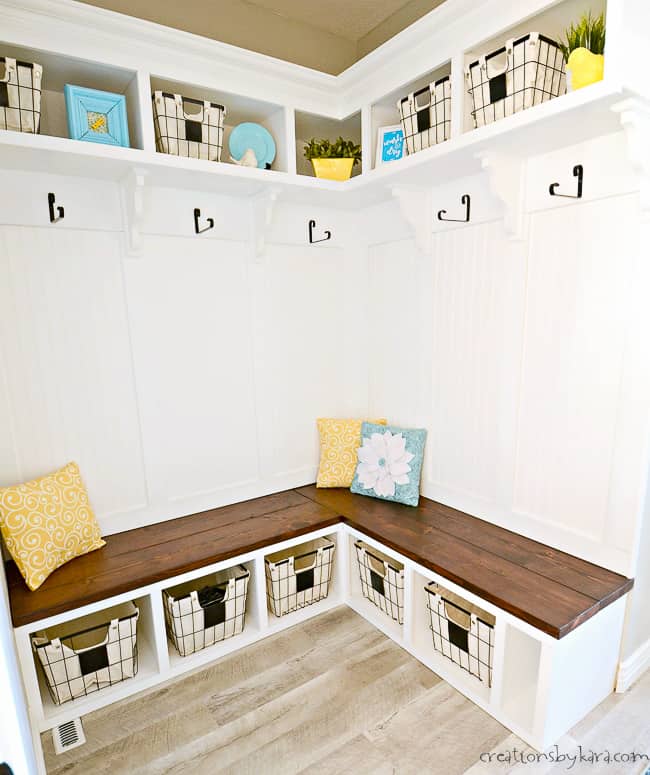
When we moved into this house, it didn’t have a mudroom or laundry room. The washer and dryer are just in a hall in between the kitchen and garage. This room was actually a bathroom. We knocked out the wall, and the space is so much more functional now. Having baskets for storage is awesome, and I really love it that I finally have a place to hang clean laundry!
When we set out to build our mudroom/laundry bench, we couldn’t find an actual tutorial for a corner bench anywhere. We did use several of the tips on building a mudroom bench from my friend Heidi at Honeybear Lane. For the rest of it, we came up with our own plans.
Although this was a time consuming project, it wasn’t really difficult. We have included detailed instructions, so you should be able to tackle it. Trust me, you can do this!

How To Make A Mudroom Corner Bench with Cubbies
Tools I Used:
Miter Saw
Table Saw (you can use a circular saw with a Kreg Rip-Cut Saw Guide)
Ryobi Brad Nailer with 1 1/2″ nails
Kreg Jig and screws
Power Drill (I have a Ryobi)
Home Right Paint Sprayer (you can just use paintbrushes and/or a roller)
Supplies for Corner Bench:
4′ x 8′ sheets of 3/4″ MDF (for bench top, bottom x2, dividers, and back support brackets)
2″ x 10″ pine boards (for stained bench seat)
1″ x 2″ primed trim boards (for front trim pieces)
Primer
Paint (I used Behr Premium Plus Ultra Bright White in a satin finish. I love how the bright white contrasts with the repose gray on the walls.)
Wood Stain (I love General Finish Java Gel Stain)
Polyurethane (I used General Finish Satin Urethane)
1 1/4″ coarse Kreg Jig Screws (for assembling bench base)
2 1/2″ coarse Kreg Jig Screws (for connecting the bench seat pieces)
2 1/2″ long wood screws
1 1/2 ” long wood screws
Caulk and caulk gun
Spackling or nail hole filler
Sandpaper or sanding blocks
Pencil, painters tape
Clamps
Metal Framing Square (optional but helpful)
INSTRUCTIONS:
This is a pretty labor intensive project with lots of steps. I recommend that you read through the full tutorial before you start!
Planning:
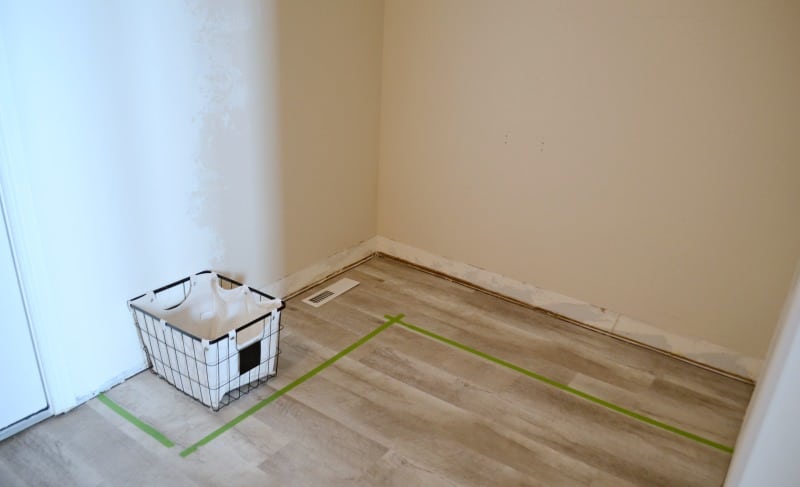
First up you want to measure your space and decide how large to make your bench.
1- You will need to decide how deep and how tall you want your bench. We made our bench 18″ deep and about 18” tall because that felt comfortable, and it was just big enough for the baskets we wanted to use. We placed our baskets on the floor and taped off the space to make sure we were leaving enough walking room.
2- Consider floor vents, baseboard and other things you may need to build around or match in the room. We decided we didn’t want to cover the floor vent so we flipped it around, but that still would leave about half of the vent poking out from under the bench. We had to sink our floor vent into the flooring (Luxury Vinyl Tile) so that the bench could stay flush on the floor. My husband carved out the flooring with a Dremel Multi-Max.
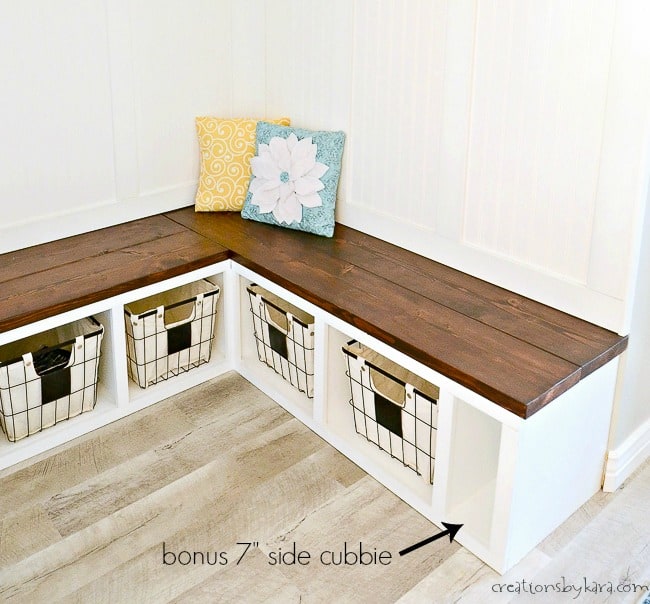
3- You also need to decide how many cubbies you want. I already had the baskets picked out, and we were able to fit 3 on one wall, but only two on the other wall with 7″ left over. We decided to make a small cubbie with the 7″ space rather than ending the bench 7″ away from the edge of the wall.
4- Decide what features you want, all the way down to the trim. Consider the types of front trim you want; we did 1″ x 2″ squared pine trim. You can use a 1/4 round to put on the floor like Heidi did, but we chose not to.
Buying:
1- After you have measured your space, determine the materials you need to buy. We used MDF for the bench boxes.
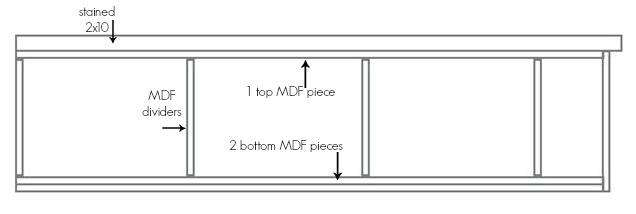
The bottom of the bench actually has two pieces, so you need three for each of the benches. So that makes six total.
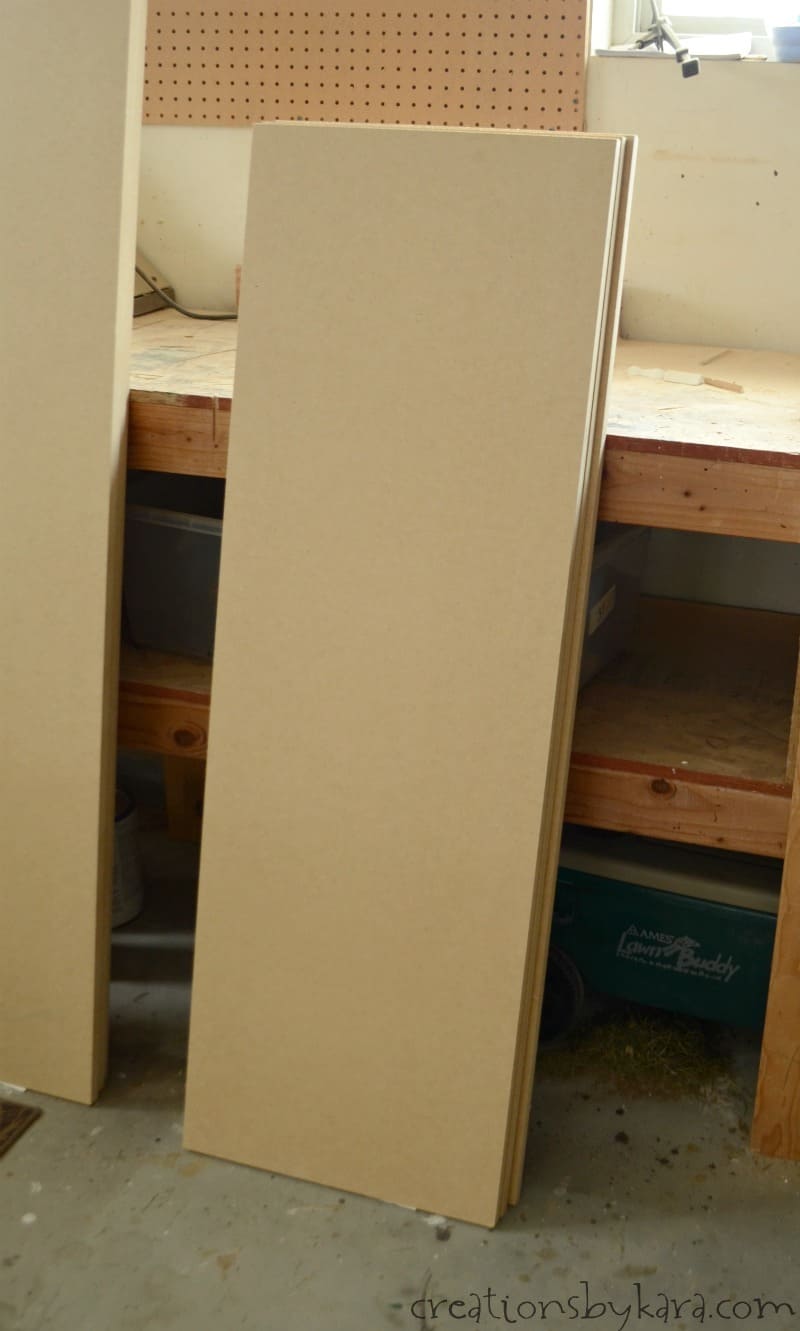
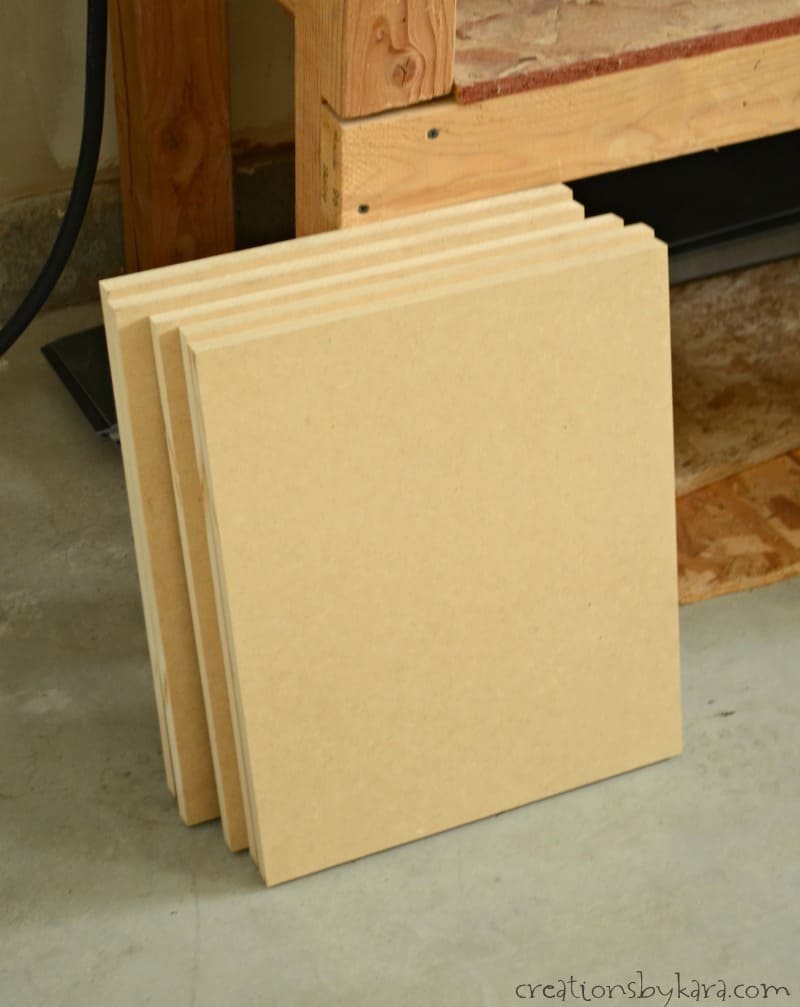
2- After you have measured your space, buy your MDF and all your other wood and supplies. I love buying mine at Home Depot because they will cut it for you. A huge time saver! We had them cut our 4×8′ sheets of MDF down into the large pieces for the tops and bottoms, as well as the smaller pieces for the cubby dividers. We used the leftover pieces to cut the support brackets for the back of each cubby.
MDF tip:
It works out nicely if you have a 17″ deep base and 14″ tall dividers. One sheet of 4′ x 8′ MDF would fit 2 of the large bench box bottoms/tops, and a row of the cubby dividers on the 4′ side.
A- Bench bottoms (2) and top (1) for each bench: 17″ x (length)
B- Dividers: 14″ x 17″
C- End: 16 1/4″ x 17″
D- Back support brackets: 3″ (tall) x (cubby widths) … these aren’t visible, so they don’t have to be uniform or exactly 3″ tall. Also, they are not represented in the diagram below.
The dotted lines are the cut lines.
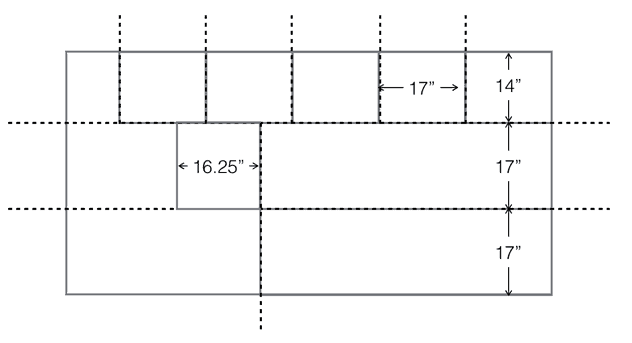
The number of cubby dividers depends on how large you want the spaces. We cut extra just in case. Tip: The exposed end pieces of the bench will be 2 1/4” taller than the dividers because rather than fitting between the two pieces of MDF, they butt up against the ends. This gives a more finished look. With an “L” shaped bench, at most two of the four ends will be exposed. For us, because one side of the L goes wall to wall, we will only have one end exposed.
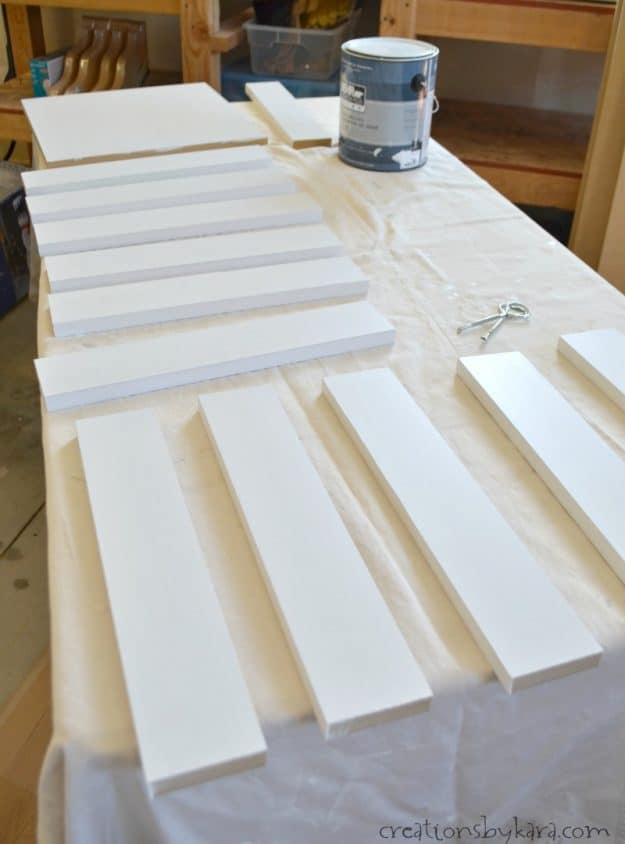
Painting/Staining the Corner Bench:
1- I think it is much easier to paint everything first rather than crouching down on the floor later. I used a large paint brush to prime my pieces, then I sprayed on the paint with my HomeRight sprayer.
You need to paint both sides of the dividers, the fronts and one side of the support brackets, and the strips of MDF that will show on the interior of the cubbies.
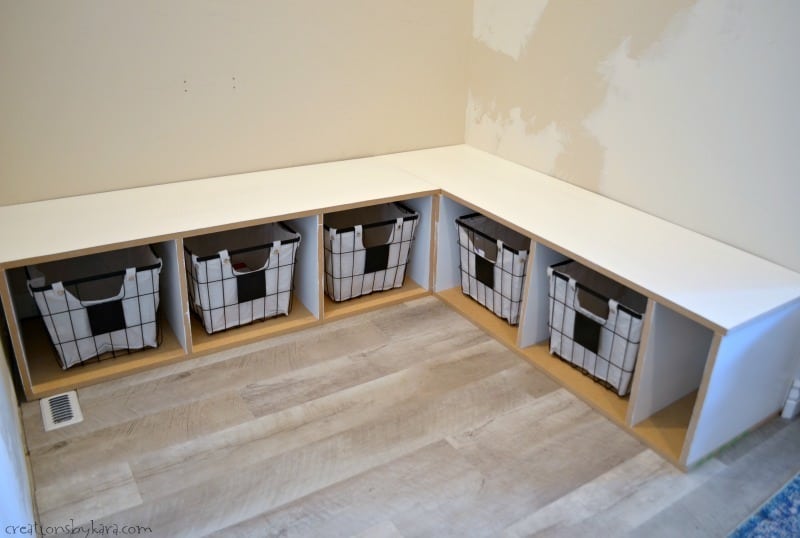
2- (This step is optional, but we found it helpful.) After we had everything painted, we brought it all in just to see how it actually looked in the space, and to see exactly where we wanted to place the dividers. At this point, we actually decided to flip our bench to the opposite wall.
3- I didn’t take a photo of this step, but you need to paint the wall behind the bottom cubbies white. You can see it, so you want it to match the rest of the cubbies. It is much easier to paint before you install the benches.
4- Stain the 2×10″ pine boards that you are using for the bench seat, then seal them with polyurethane. I used two coats of gel stain, three coats of urethane.
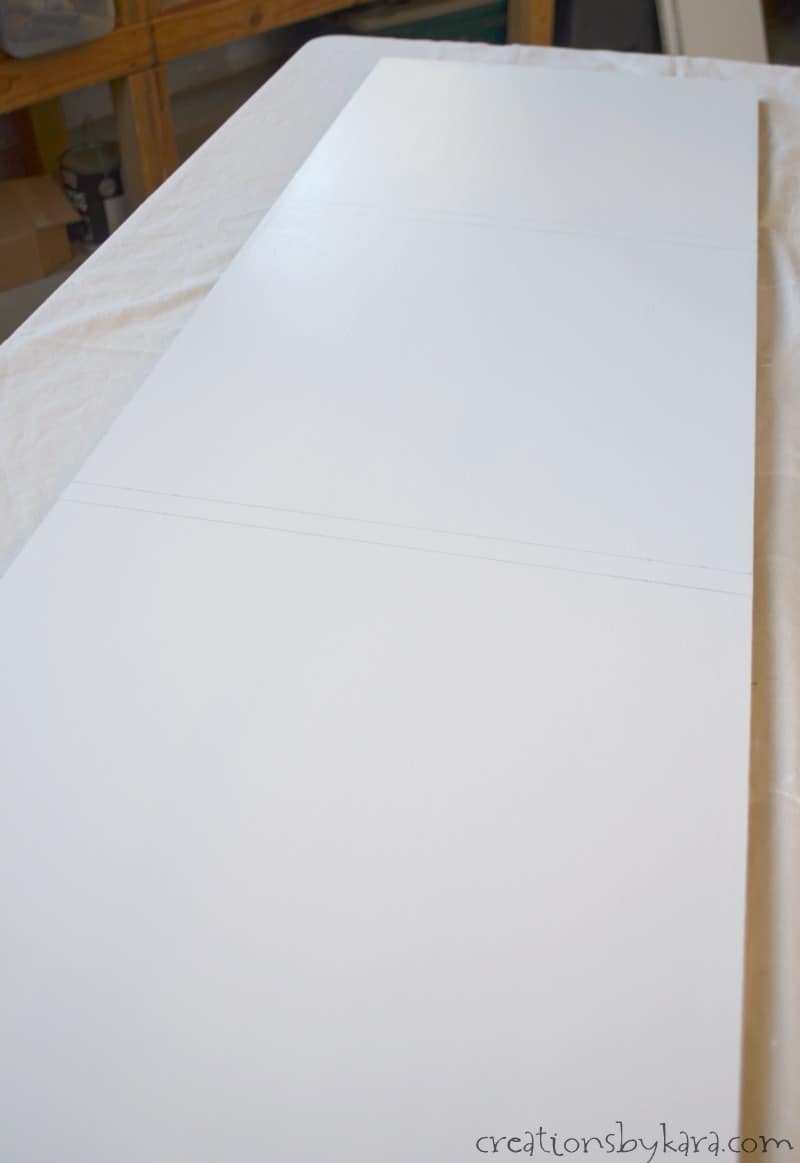
Building the Corner Bench:
1-Woohoo, time to start assembling the benches! Mark the spaces on the bench top and bottom where you want your dividers and use a square to draw two parallel lines exactly where they will line up. Do this for each of the dividers.
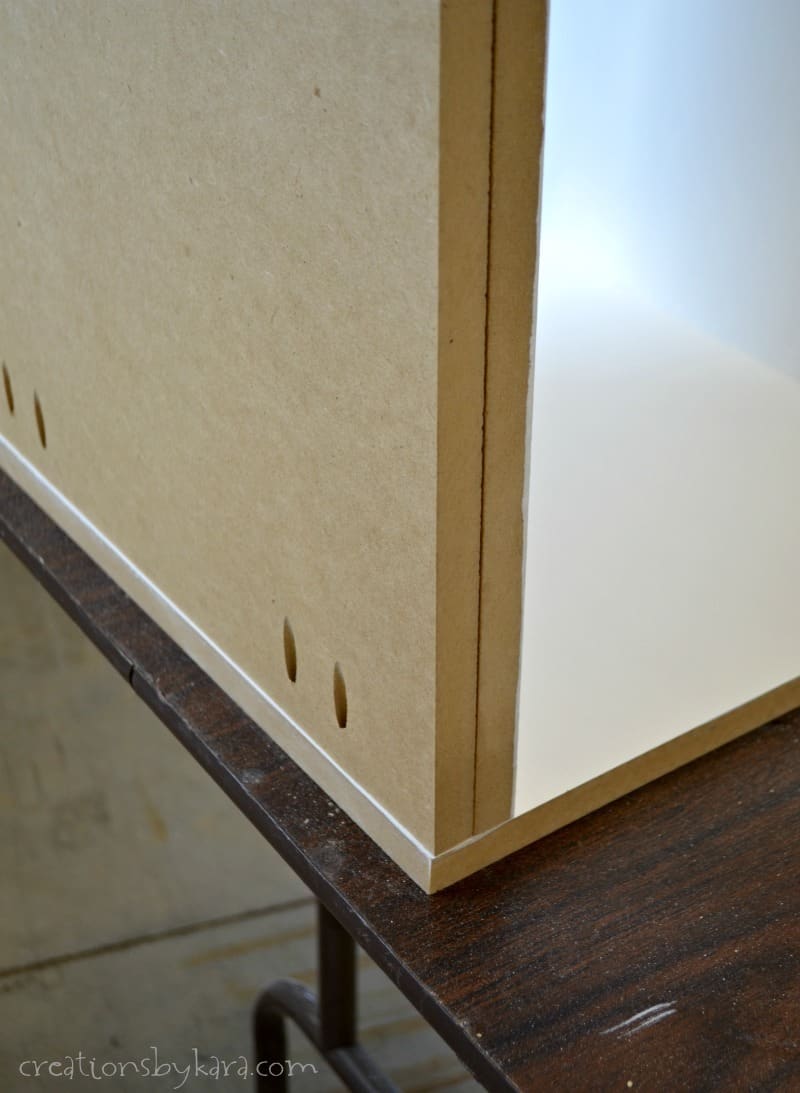
2- Make pocket holes in on the unpainted side of the top bench piece. Repeat for the two bottom bench pieces.
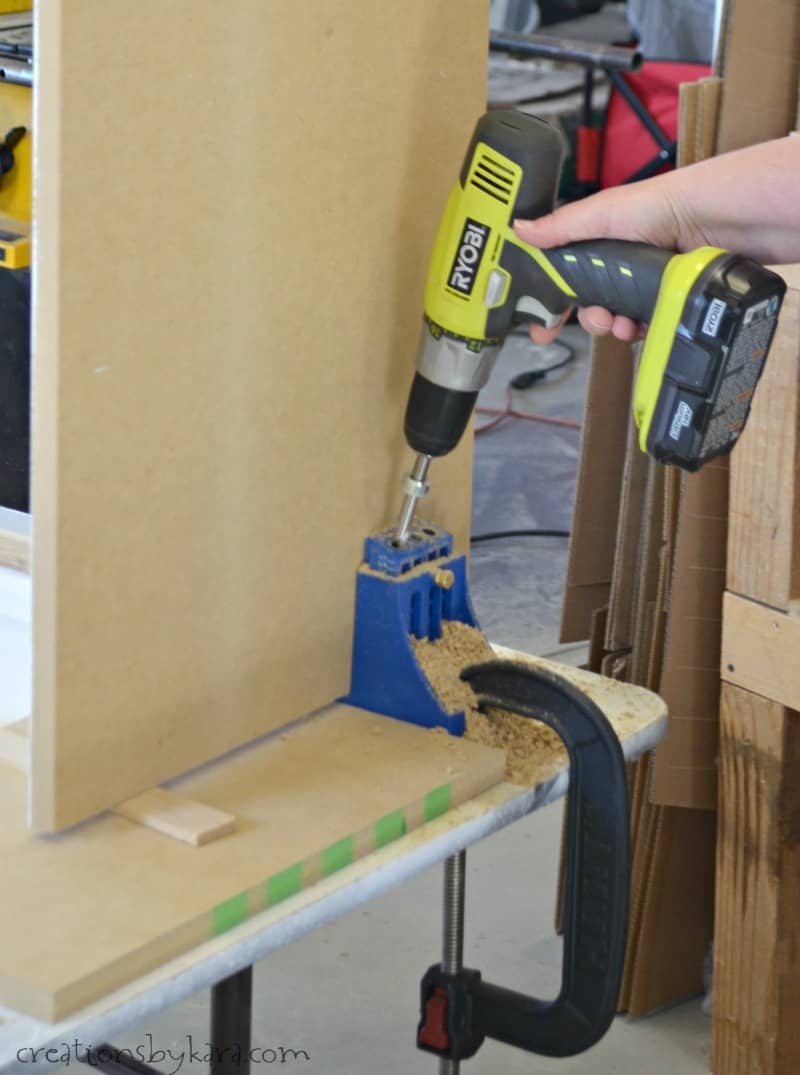
You will only have three pieces for each bench, but they should look like this:

3- Screw the top bench piece, paint side facing in, to the end divider, using a power drill.

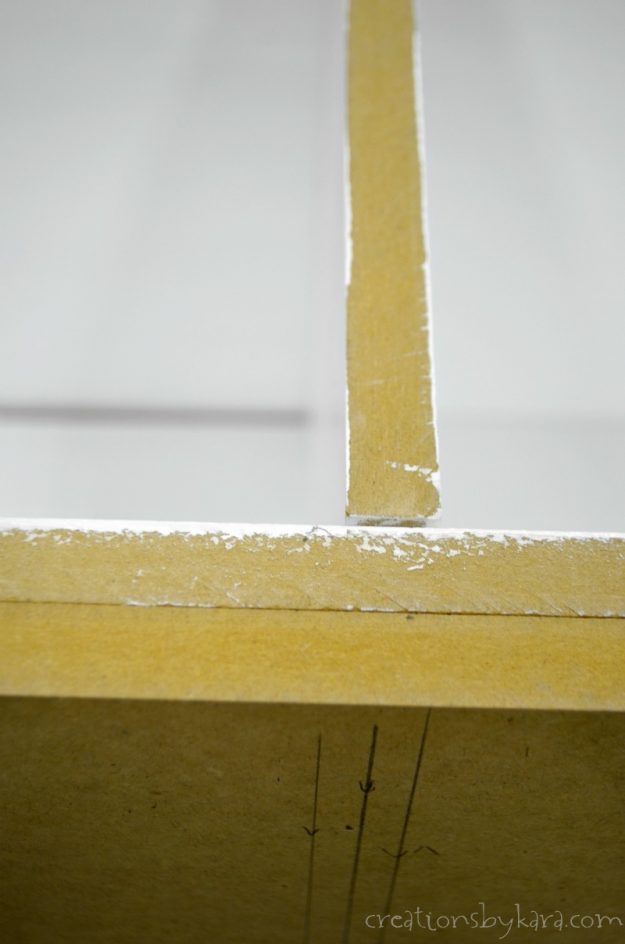
4- Now you need to attach both bottom bench pieces. Screw the first one in 3/4″ from the edge using a power drill.
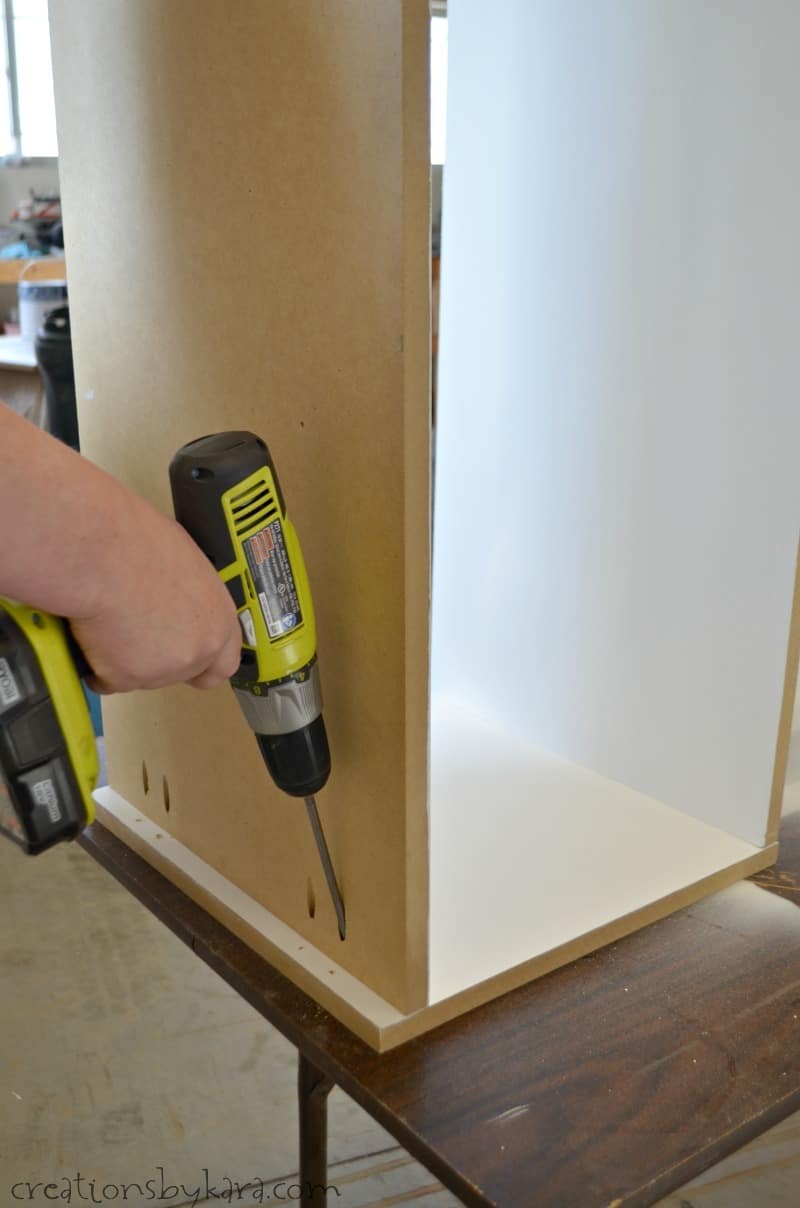
5- Repeat the process for the second piece, attaching it flush to the edge. (The two pieces add stability to the bench. Plus it makes the 1 1/2″ trim piece flush with the bottom of the cubby.)
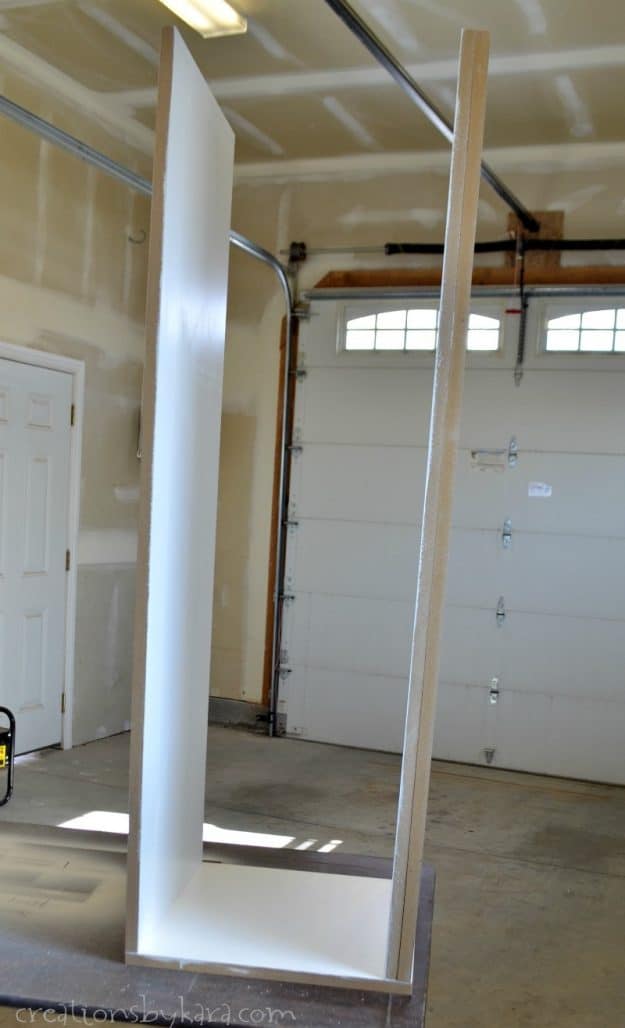
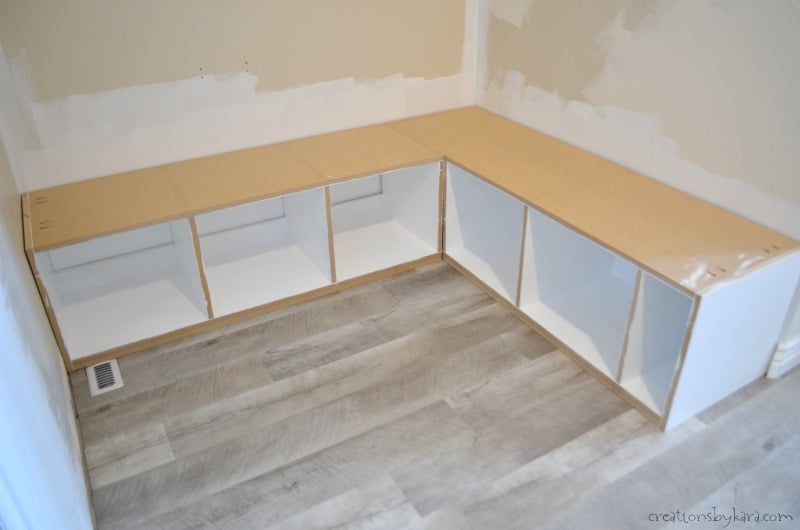
You should now have a long three sided box.
6- Using the lines that you marked in step #5 as a guide, make the same parallel lines on the outside of the box on both the top and bottom.
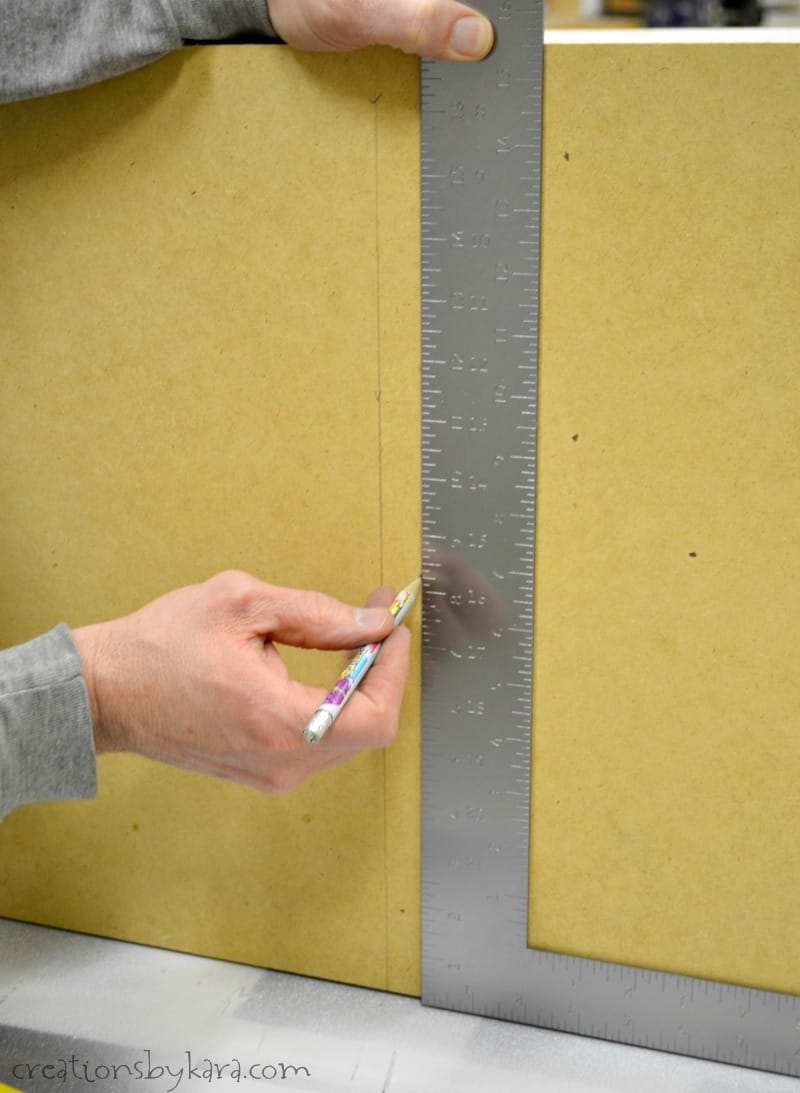
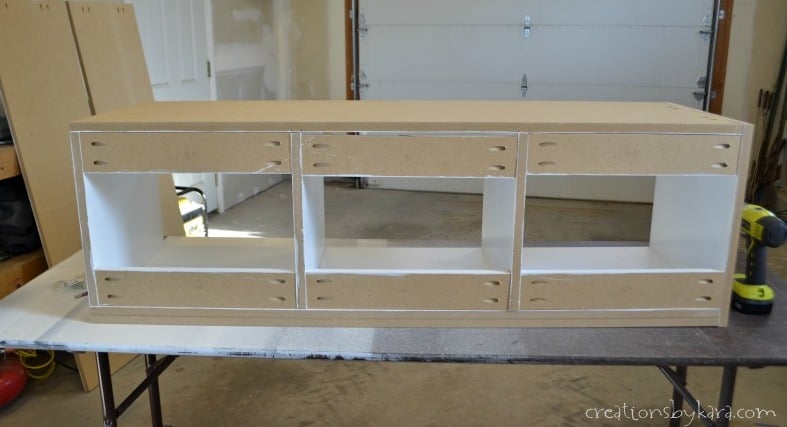
7- Place the dividers inside the box and line them up on both ends with the lines you have marked. (I realize the angle of the photo makes it look like it’s off to the right. It’s not.)
8- While holding the dividers firmly in place, pre-drill holes in between the lines you drew. Then attach the dividers using 2 1/2″ long wood screws on the bottom and 1 1/2″ screws on the top.

9- Do the same thing to attach the last end piece.
10- Now use a table saw or circular saw to rip your extra MDF into pieces approximately 3 inches wide. Then cut them the exact length to fit into the cubbies. As you can see, ours are 16 1/8″ long. You need two per cubby.

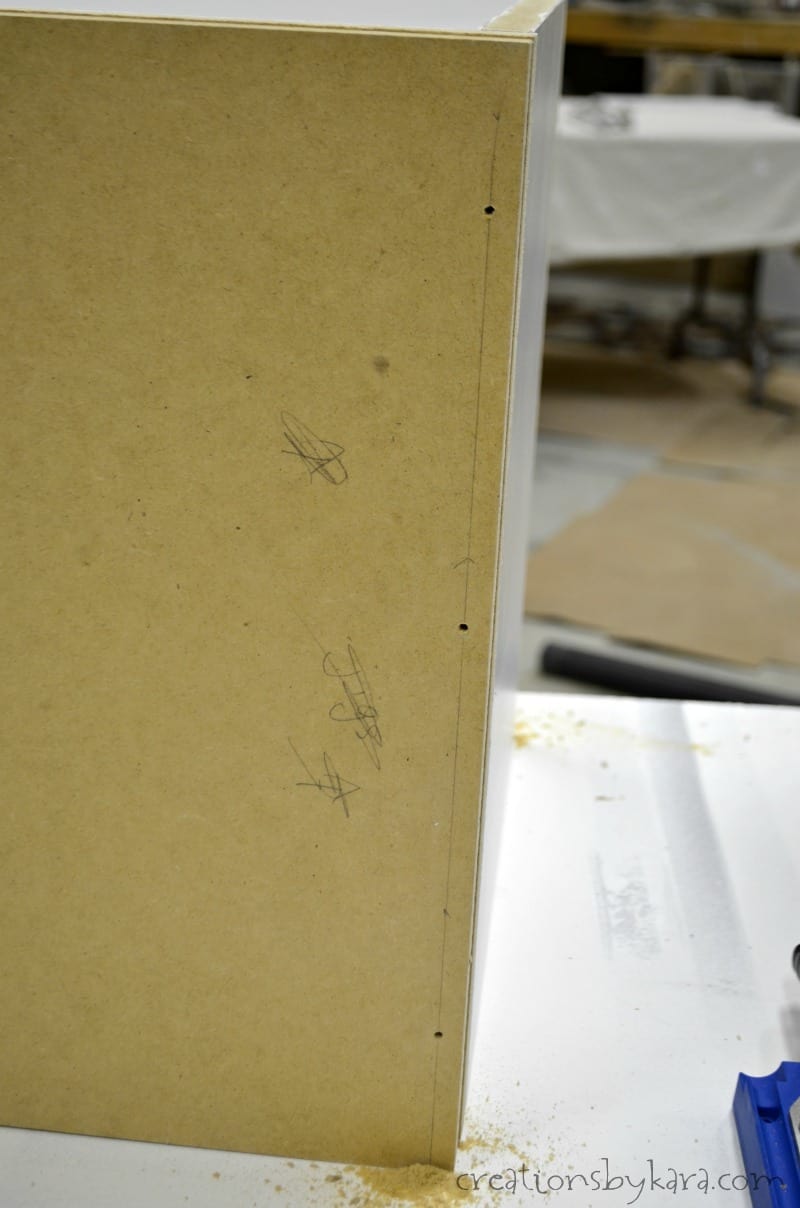
11- Drill two pocket holes in each end of each bracket. Pay attention to how they will line up on the bench and offset the holes slightly so that when you attach them the screws don’t hit each other. We learned this the hard way. 🙁

It will look like this on the back when you are all done.
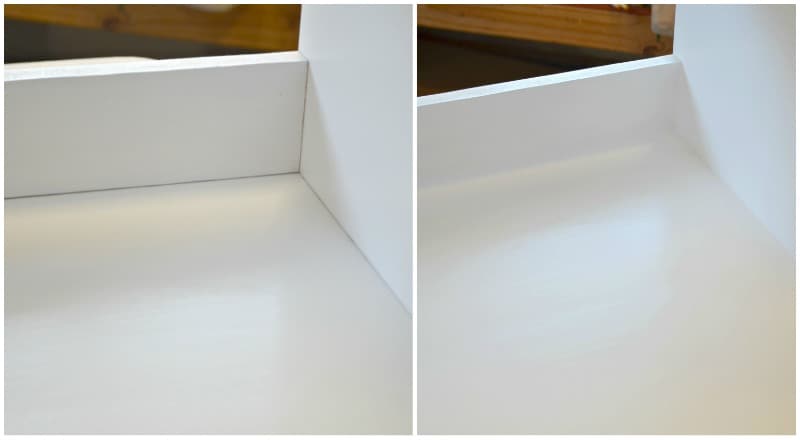
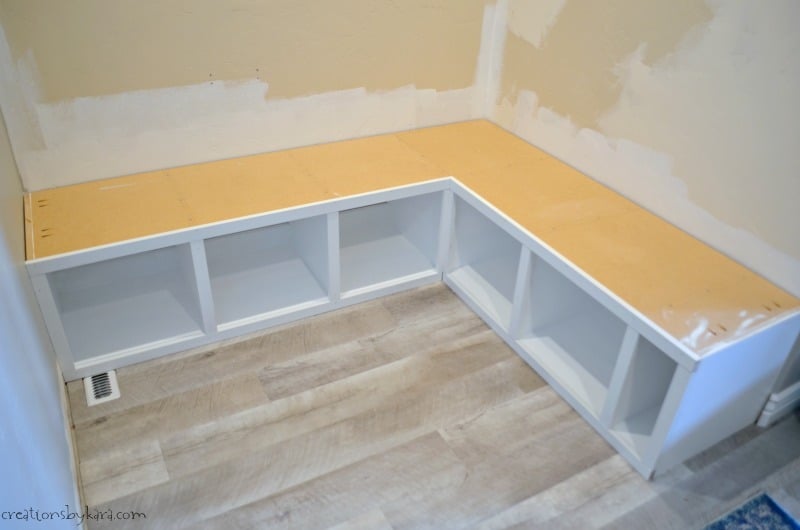
12- Caulk all of the seams, let them dry, then paint all of them.
Yay! One base done.
13- Repeat all of the steps for the second bench.
Installing the Corner Bench:
1-When both benches are finished, slide both of them into place. Exciting, right?!
2- Paint all of the trim pieces. You need to paint the front and two sides.
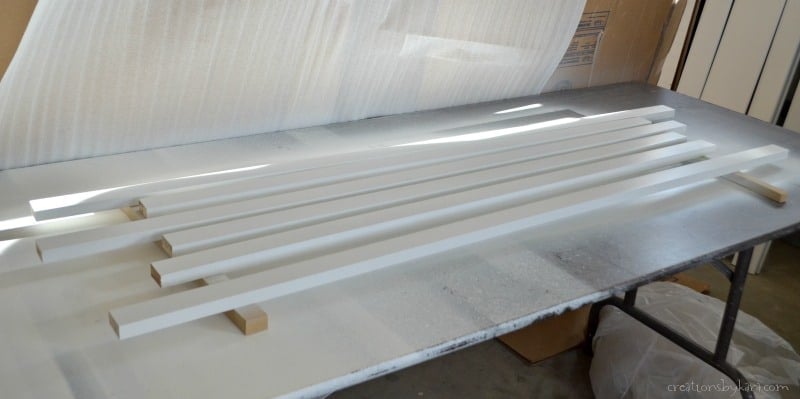
3- Cut the trim pieces to size and use a nail gun to attach them to the front of the benches.
4- Fill all the holes with spackling, sand till smooth, and paint.
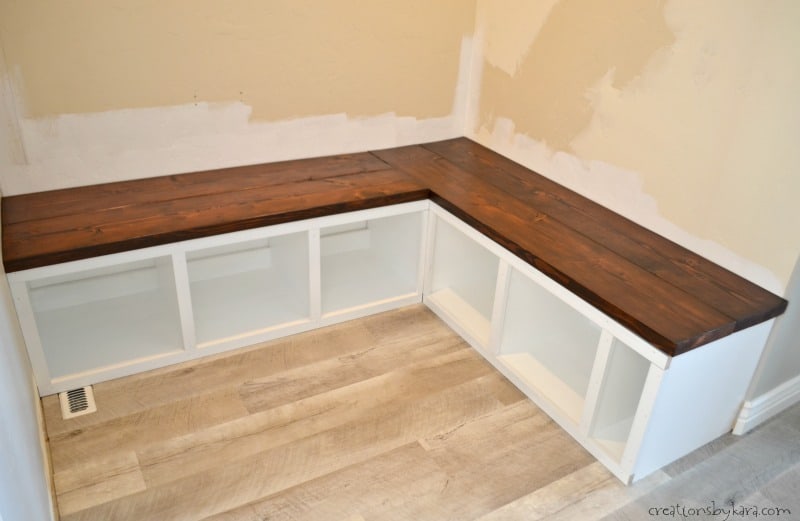
5- Jig the stained 2 x 10’s together. Repeat for the other bench.

6- Place the stained 2 x 10’s on the bench bases. To keep them from warping over time, screw them to the bases from inside the cubbies with 1 1/4″ screws.
Voila! You’re done with your corner bench!
Check out Part 2 . . . adding the trim and top cubbies.

Here are a few more of my favorite DIY projects:
- Corner Reading Nook
- How To Stain Wood Like a Pro
- How To Install Beadboard Wallpaper
- White Kitchen Makeover
- Favorite Gray Paint
- Fireplace Spray Paint
- Wood Pallet Sign (made without a pallet)
- DIY Bath Bombs
- Oak Banister Makeover
- DIY Shutters
Do you happen to have the plans on how you did the top and back of the mudroom? I’d like to use your exact design for a build in mudroom, but am new to this and would like to see how you did it if you have that!
Reply
Yep, here are the instructions for the cubbies and shelves – https://www.creationsbykara.com/ccorner-mudroom-bench-with-cubbies-part-2/
It’s been six years since we finished it, and I am still so in love with the space. Good luck! 🙂
Reply
Approximately how much did all the materials for this project cost not including tools of course
Reply
We already had some of the materials leftover from other projects, so I never calculated the cost. But it was also four years ago, and with the way the cost of lumber has skyrocketed with covid, the price would be totally different now. It also depends on where you live.
Reply
Great tutorial. I had one question though, Is the dead space in the corner the same dimensions as one of the cubbies? Thanks for posting this.
Reply
Very well done! I am impressed with your DIY skills.
I wish all the best.
Reply
Thanks so much Karl! We are really loving the space and all the storage! 🙂
Reply
Awesome planning! Kudos! This will be excellent for the space I have. One question I think the bases are 17” plus the 3/4” for the trim? 2 2x 10’s should be 18 1/2”? Did you rip them to be flush as the seat or did I miss 3/4” somewhere. Again…AMAZING and so efficient!
Reply
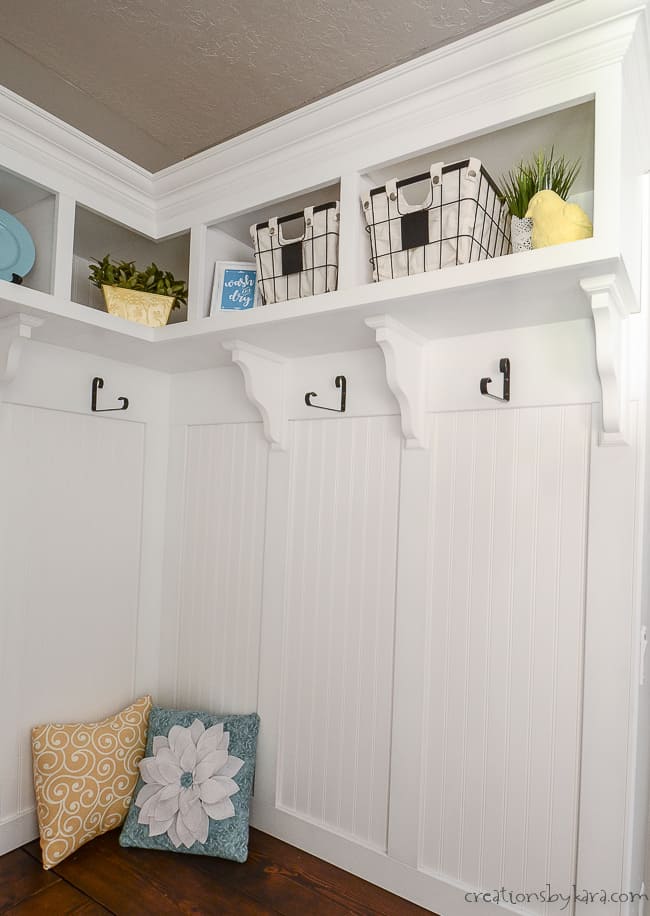
Thank you for this! What beautiful cubbies!
Could you please share where you found those baskets? Thanks!
Reply
I bought the baskets online from Walmart. They are often out of stock, so sometimes it takes awhile to find them. I love them so much that when I happened to find them, I bought a dozen of them to use everywhere in my house. 🙂
Reply
We just followed your tutorial and made this bench, your instructions were great and having the links to everything made a big difference. Can you share where you purchased the baskets and pillows from?
Reply
The baskets are from Walmart. They are almost always out of stock in the store, but you can sometimes find them online. I made the pillows myself. 🙂
Reply
Love your bench and tutorial! Thank you for sharing. Just curious, why did you put two layers of MDF on the bottom of the bench?
Reply
We did the two layers both for durability, and so that the bottom would be about the same thickness as the 1″ trim at the top of the bench.
Reply
Hi Kara – my wife and I loved your tutorial and are following your steps to start our version soon! One question I had was whether or not you secured the bench to the wall? If so, what did you find was the best way to do that? We are just trying to add ways to make it sturdy! Thank you again!
-Jeff
Reply
Ours was wedged in place and so heavy that we didn’t need to attach it. You can certainly do that if you feel like yours will move. I would place the screws at the top (just under the bench) so that they are less visible. Just find the studs and use long screws to attach it to the wall, making sure you go through the MDF piece.
Reply
Hey I was wondering what all the total dimensions were for the product you used
Reply
We didn’t actually keep a record of the exact dimensions, because we knew that everyone has different sized spaces and would need to built it to fit in the area they are working with. Sorry.
Reply
Hi Kara, just wanted to thank you for your excellent tutorial and to let you know that I spent the past few weeks working through it as I built our own brand-new mudroom corner bench! I documented the journey with many pictures here.
There’s so much I could say about the project. I actually gutted the entire mud room in the process, so this was a bear. This was my first time using my Kreg pocket hole kit (that I actually had sitting in my workshop for a year), working with MDF, using oil-based primer, installing corbels and installing crown moulding, so I learned a TON.
I gotta say it came out so well that we now call it the (No) Mud (Allowed) Room, but it was all made possible through the guidance of your step-by-step instructions. Thanks again! I’m thinking of applying my newly-acquired skills and building a wraparound dining room bench, but I should probably take a little more time to recover from the great mud room makeover first 🙂
Reply
Used your plans and put my own twist on it. Used barn roofing on the wall and made ours a little bigger but turned out amazing.
IMG_6481.jpeg
Reply
I can’t see your photo, but it sounds awesome! I love barn wood!
Reply
Thank you for posting your tutorial. I have been thinking about building a corner mudroom bench, but was struggling with how to handle the corner. Either you just accept that you are going to lose a 18″x18″ section of floor space (I’m putting shoes/boots under it, not baskets) or you have to get messing around with a 45 degree end. I guess you just accepted the loss of the space since you couldn’t really use it with baskets anyway.
Also, did you just but the stained board together in the corner because it was easier than the doing a 45 degree cut to the top? Or you just liked the look?
Any problems with mdf and water? I think it’ll be fine as long as I prime and paint all the edges. Just seems easier than using plywood that I’d somehow have to seal before painting. Plus mdf is way cheaper.
Reply
Yes, it was kind of a tough decision, but since we had the baskets, we went for looks over more storage. I think it ended up being good though, because the extra walls added more support for the bench.
As for the boards, it was easier not to mess with a 45 degree cut, but I also liked the way it looked, so that was an easy decision.
We haven’t had any problems with water and our MDF. The paint does add a moisture barrier. If you’re worried about your laundry room getting wet, I’d just take extra care painting all the surfaces, even if they don’t show. It won’t hold up if you have a full out flood, but it should hold up to normal water leakage and small puddles that kids seem to leave. 🙂
Reply
First time seeing this wonderful DIY. Is there any way to get them emailed to me? Any way to print them?
Reply
To print them, I’d just copy and paste the text into a word or google document, then print it out on your printer. 🙂
Reply
I’m a huge fan of DIY working. I read your post and got some DIY ideas about the making of mudroom corner bench. Hope Now I can make my mudroom bench by yourself following your tutorial.
Thank you. Please keep sharing.
Reply
So glad you found the post helpful Sam! Good luck with your mudroom bench. I’d love to see it when you’re finished!
Reply
Very valuable tutorial! Are you still planning to add a tutorial for the top cubbies? Thanks!
Reply
So sorry, I just saw your question. You can find the tutorial for the top here: https://www.creationsbykara.com/ccorner-mudroom-bench-with-cubbies-part-2/
Reply
Looks amazing and thanks for the detailed tutorial. Enjoy your new space!
Reply
Your example is very specific, I will proceed as bench for my yard!
Reply
Thanks, we tried to make the tutorial very thorough so that anyone could make it. I love that you are adapting it to make a bench for your yard! I’d love to see a photo of it when you finish!
Reply
Great tutorial! Love the bench.
Reply
Thanks so much Virginia!
Reply