
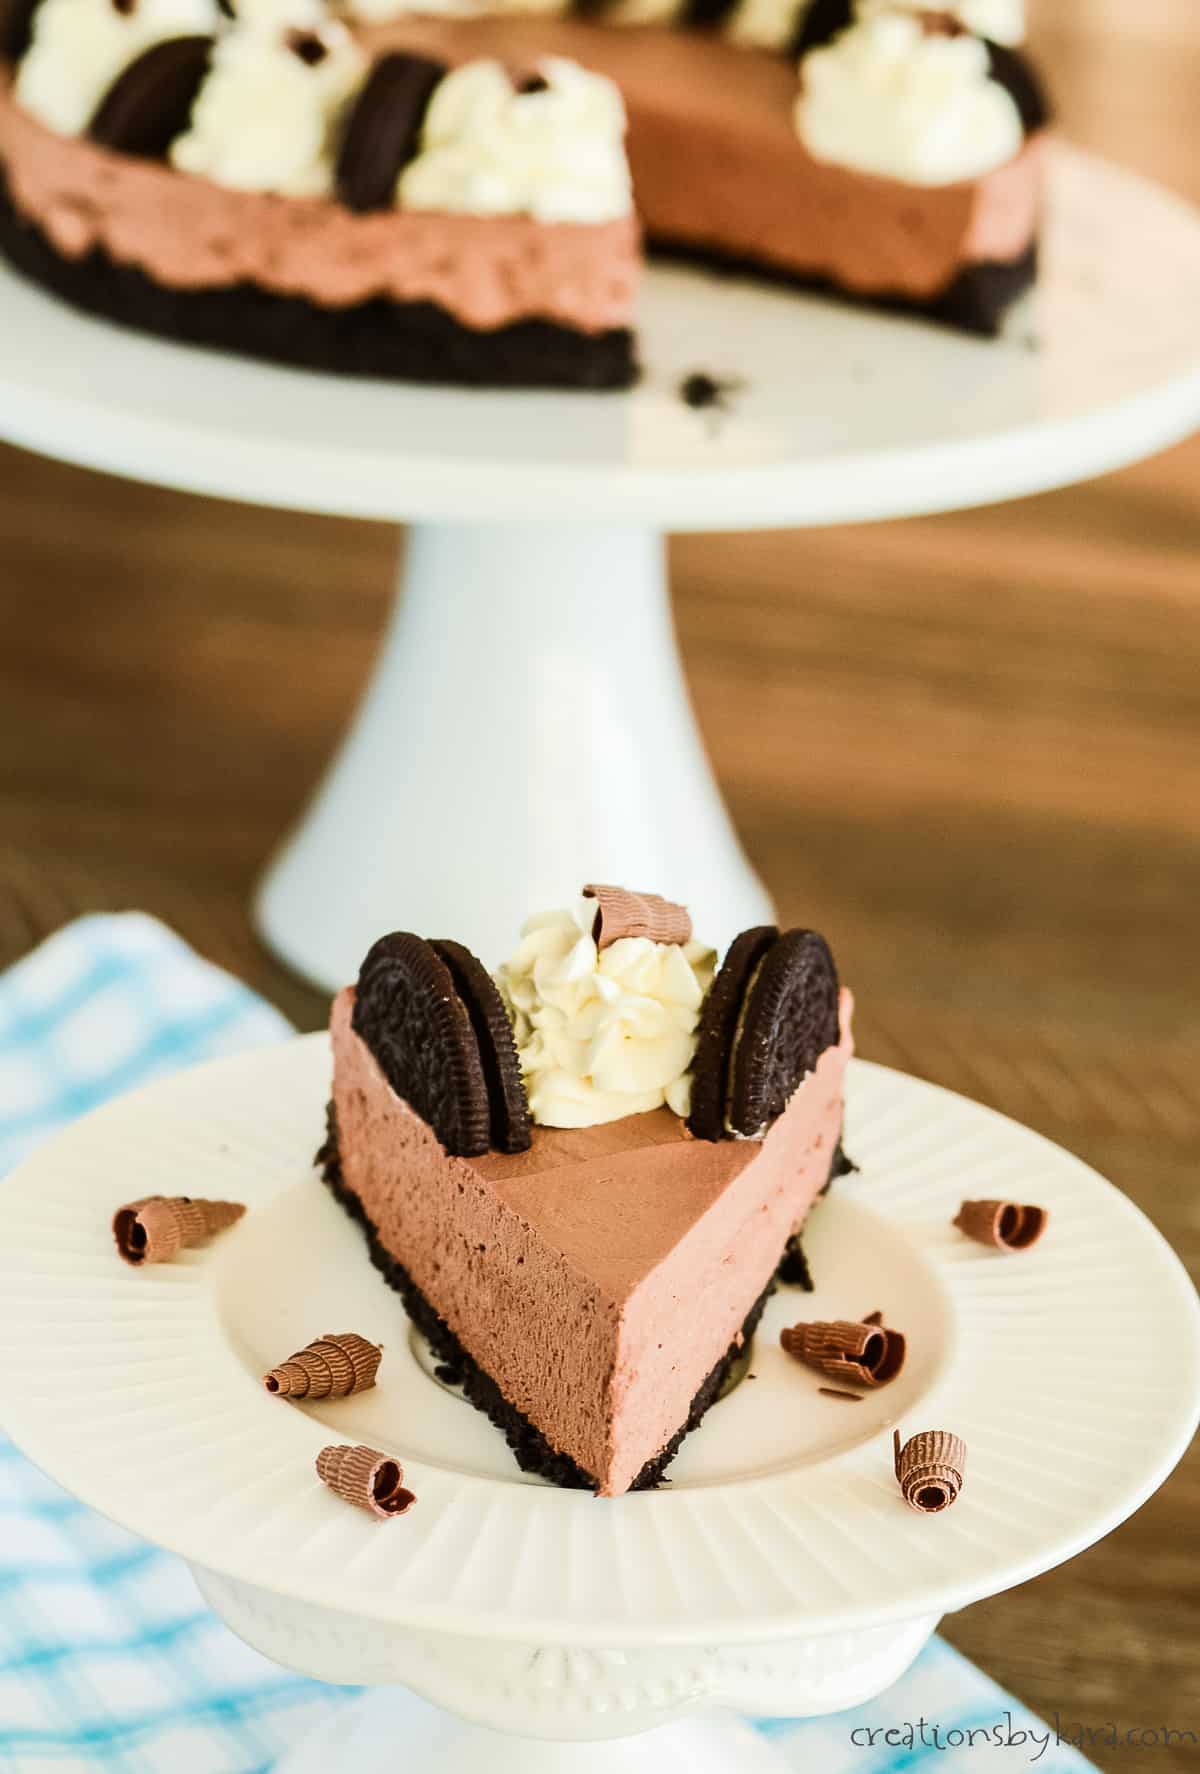
Chocolate lovers rejoice, this decadent chocolate mousse cake recipe is going fulfill all your chocolate dreams. With its rich and creamy texture, and crunchy Oreo crust, it’s the ultimate dessert for any occasion.
Get ready to indulge in a slice of chocolate heaven!
My daughter requested this mousse cake for her birthday earlier this year. Not only does it look stunning, it tastes absolutely sinful and delicious!
I’ll take it over traditional birthday cake any day, especially store bought cake. This blows it out of the water!
What you’ll love about this no bake recipe:
- It starts with a crunchy chocolate crumb crust, and has more Oreo cookies on top of the cake.
- You don’t need any raw eggs for the chocolate mousse, so it’s safe for anyone to eat.
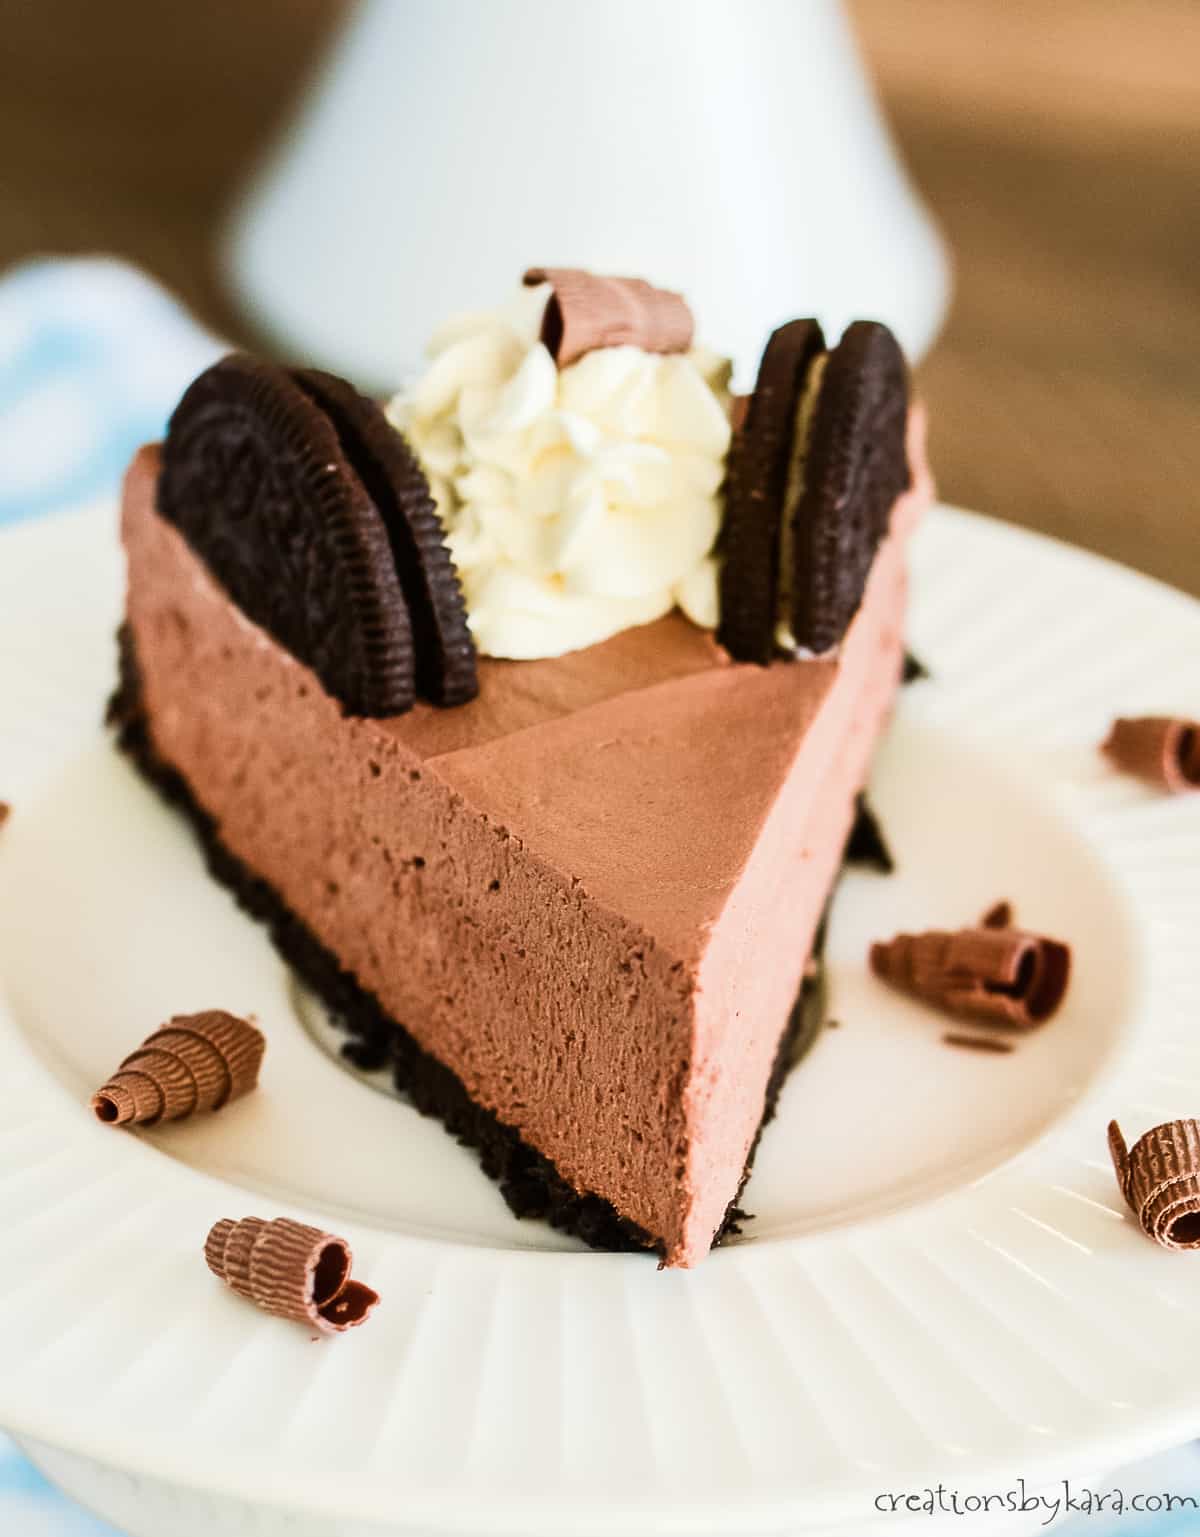
- The chocolate mousse layer is simple, but so incredibly luscious that you will be tempted to eat it by the spoonful before you even assemble your dessert!
- It just takes a few minutes to prepare and calls for simple ingredients.
- Because it needs to be chilled, it’s the perfect make ahead dessert. You can even make it a day ahead and simply garnish it before serving.
- It’s fancy enough for a dinner party or special occasions, but easy enough that it’s a perfect dessert for any day.

HOW TO MAKE NO BAKE CHOCOLATE MOUSSE CAKE
- PREP – Trace the bottom of your springform pan onto parchment. Cut a circle slightly smaller; place the parchment paper in the bottom of the pan.
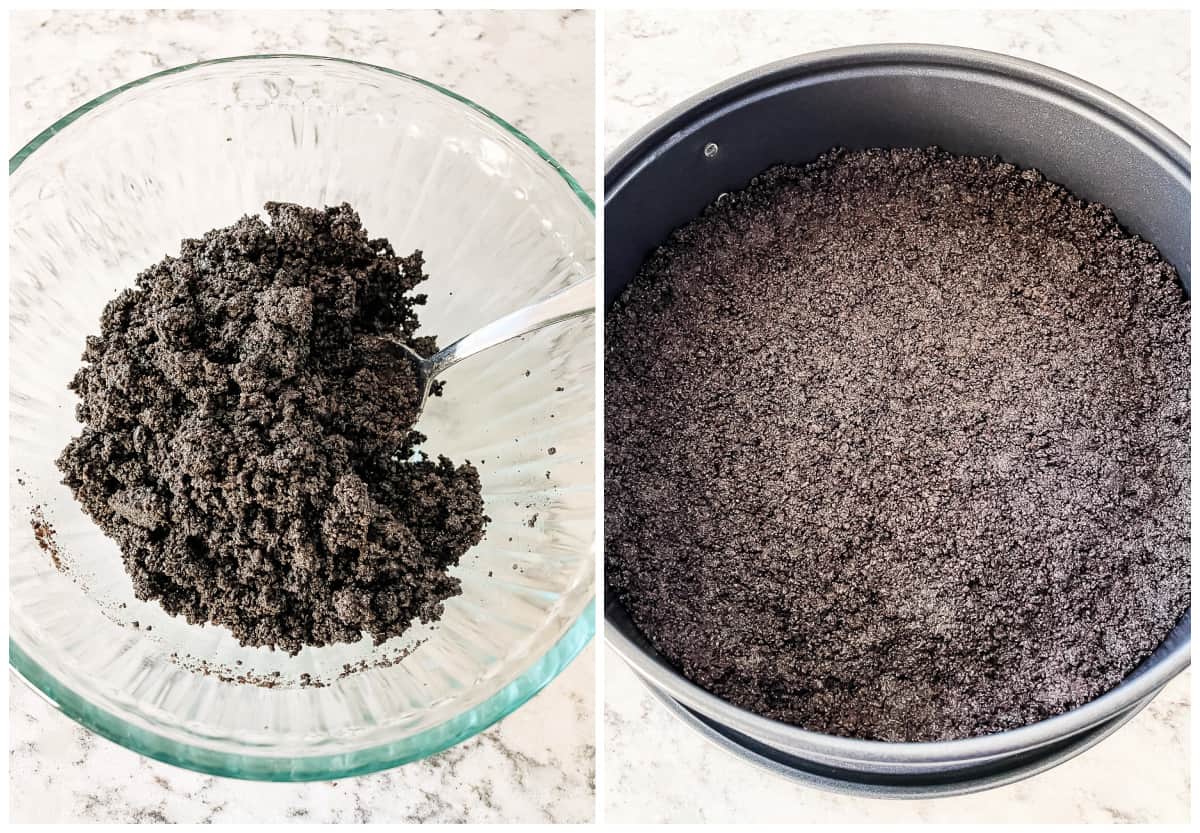
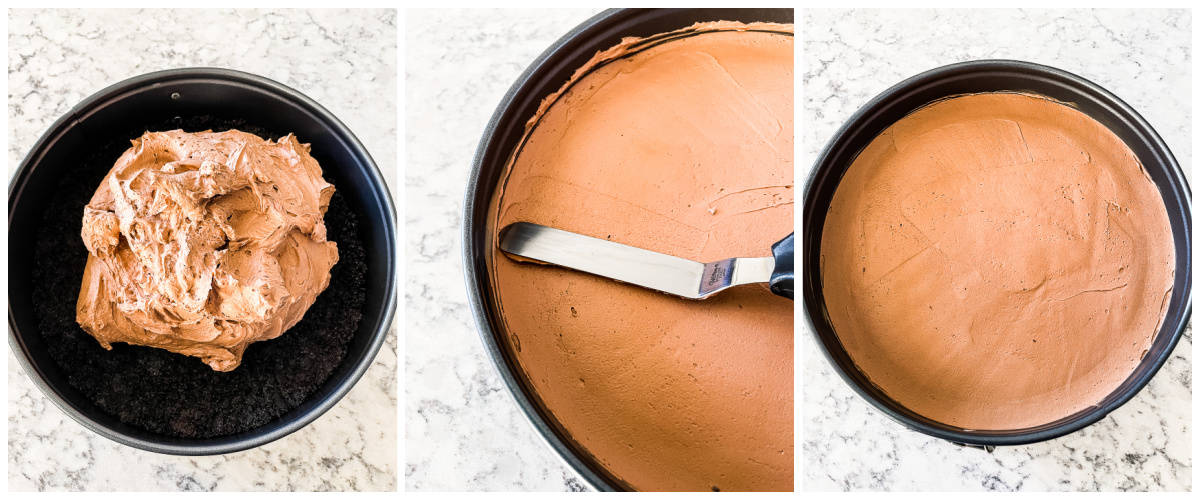
- CRUST – Finely crush the 18 Oreos in a food processor. Mix the crumbs and melted butter together; press firmly in the bottom of the springform. Chill while you prepare the filling.

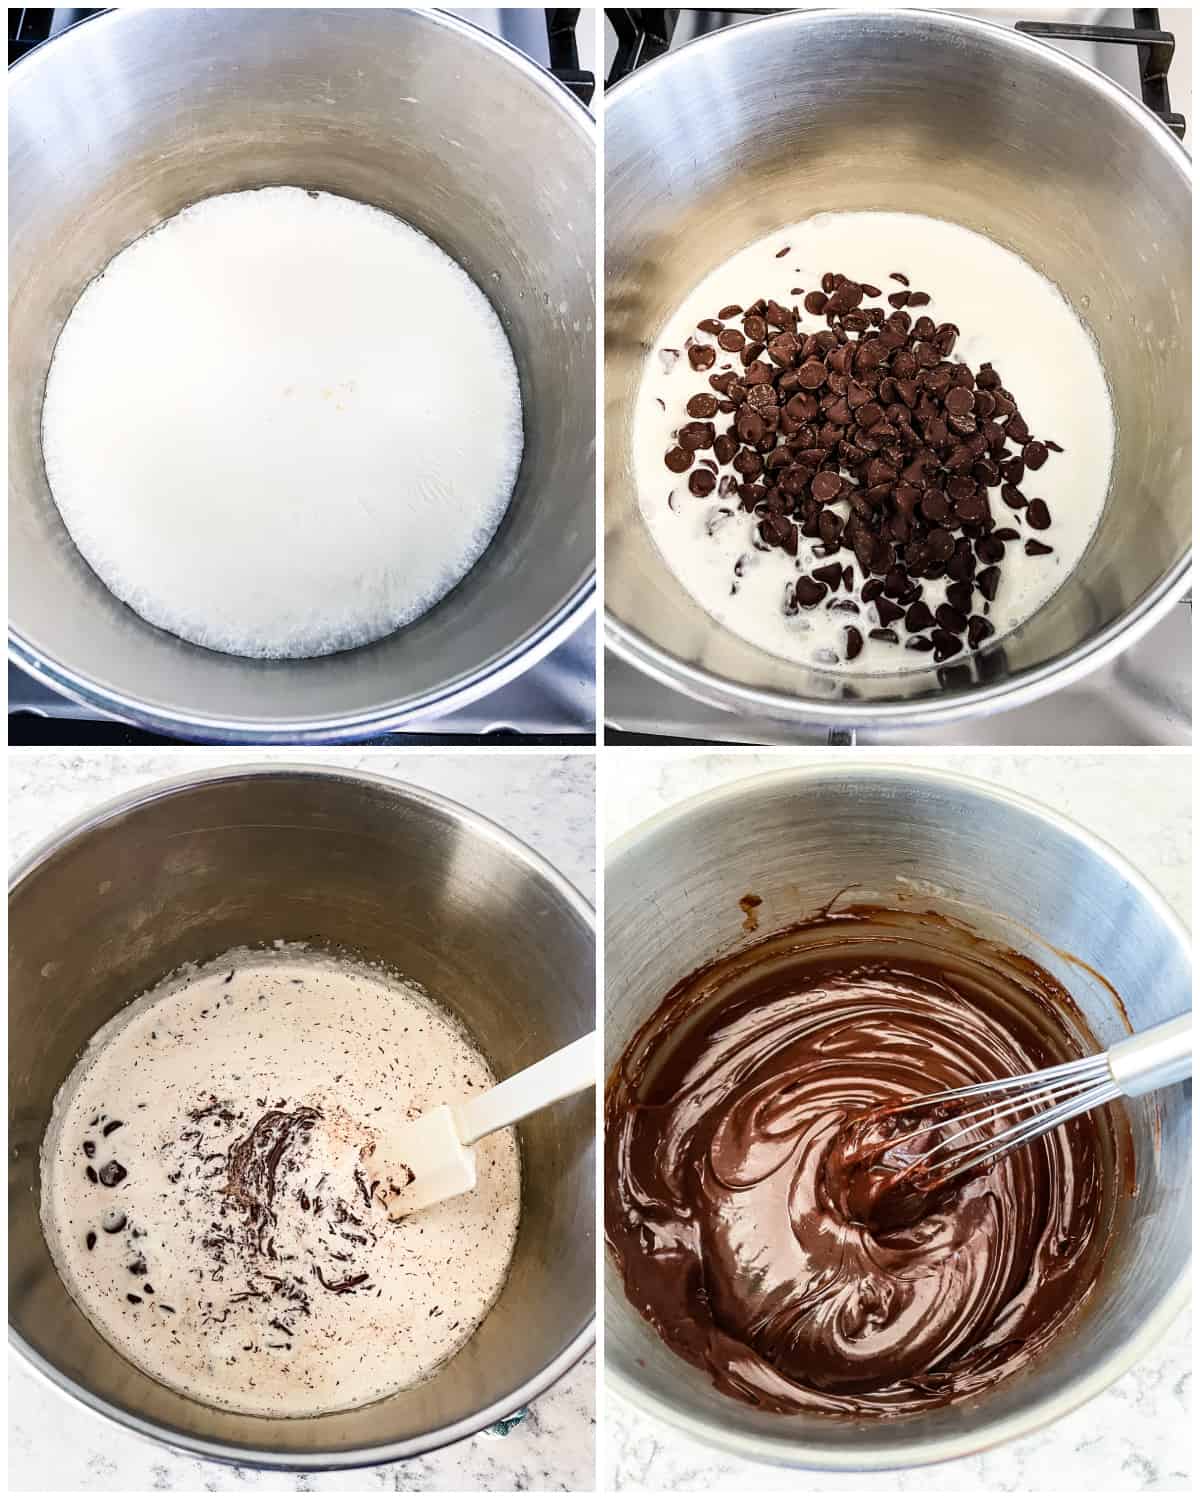
- MELT CHOCOLATE – Bring the cream to a slow simmer over medium heat in a small saucepan. Remove from the heat and add the chopped chocolate (or semi sweet chocolate chips). Let sit for a minute or two, then whisk until smooth.
Press plastic wrap over the surface, and chill for 20-25 minutes.
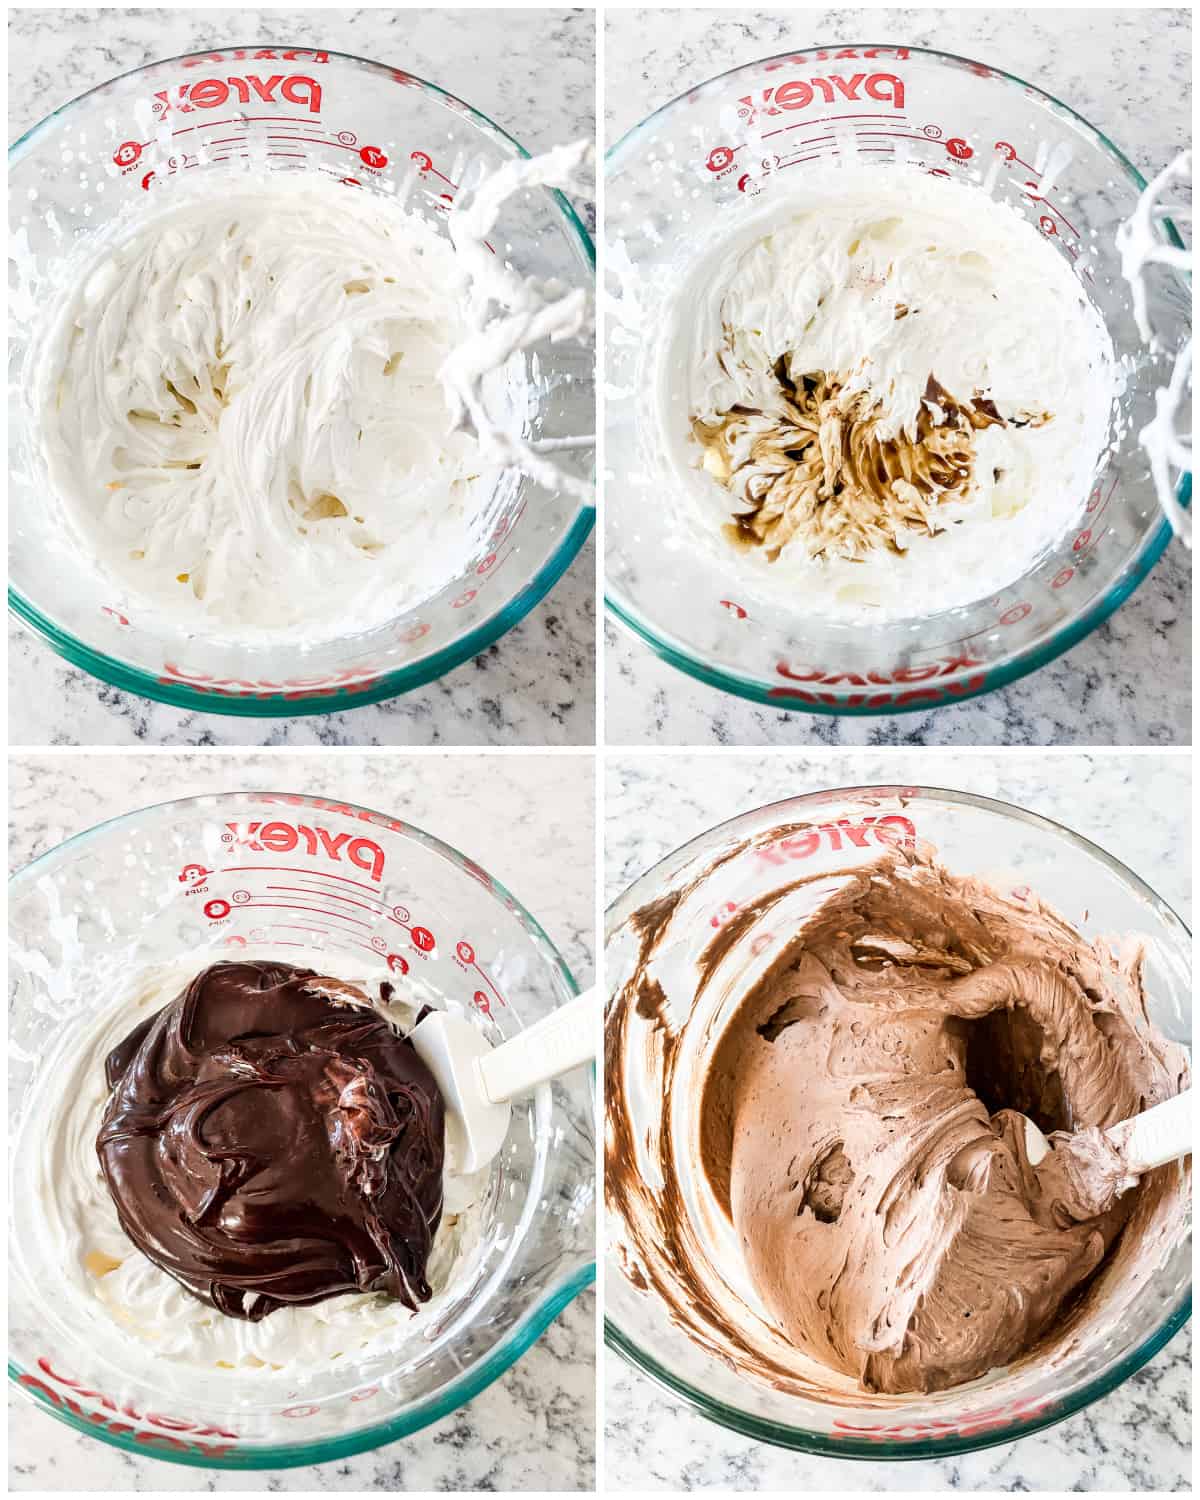
- MOUSSE – In a cold bowl, beat the cream with an electric mixer until stiff peaks form. Add the vanilla and salt. Give the chocolate a whisk, then add it to the whipped cream. Gently fold it in.
- ASSEMBLE – Spread the chocolate mousse evenly over the chilled crust. I like to use an offset spatula to get an even layer. Cover with plastic wrap and chill for at least 6 hours, or until set.

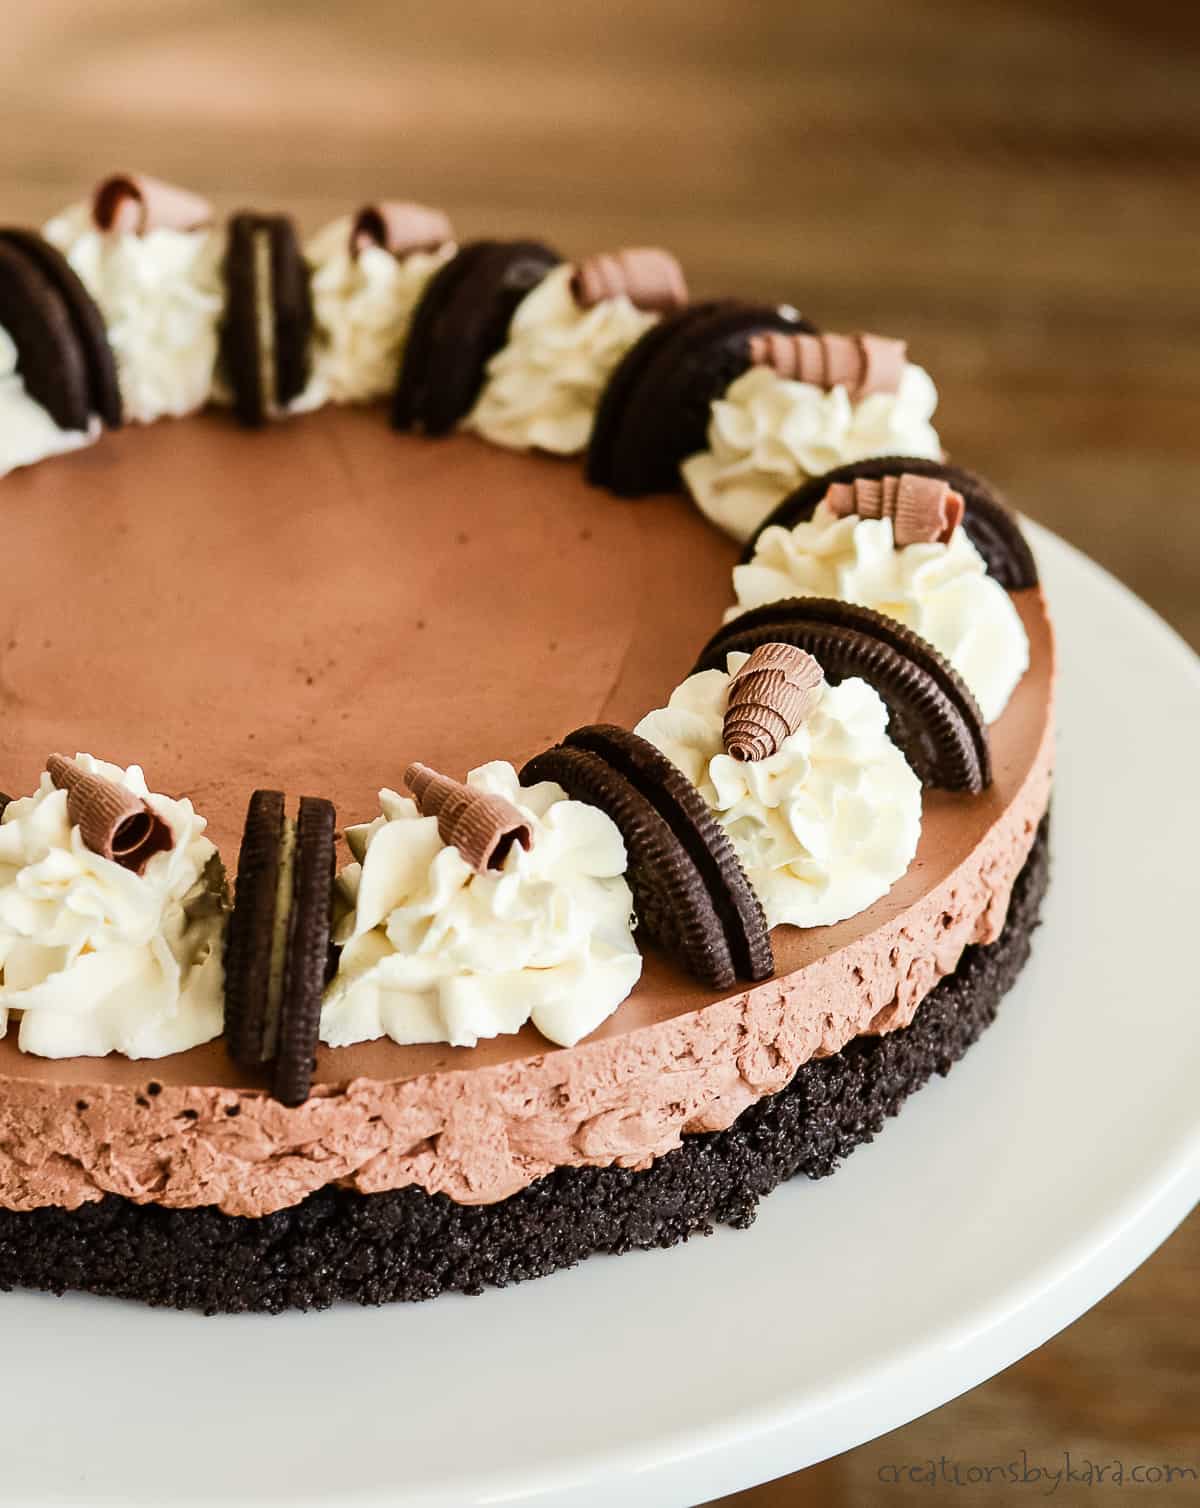
- GARNISH – Remove the sides from the springform pan and transfer the cake to a serving tray or cake stand. Beat the last 3/4 cup of cream until stiff peaks form. Beat in the powdered sugar and vanilla. Use a large star tip to pipe the cream around the edge of the cake. Decorate with halved Oreo cookies and chocolate curls.

- SERVE – Use a sharp knife to cut the mouse cake into slices.
PRO TIPS:
- To make your cream whip up faster and fluffier, chill the bowl and beaters in the freezer for 5-10 minutes before whipping.
- If you are using chocolate chips instead of a bar of chocolate, make sure you are using a high quality chocolate chip like Ghirardelli or Guittard. They will melt up smoothly.
- For easier removal from the springform pan, you can run a hot wet rag around the sides of the pan to heat it just slightly.
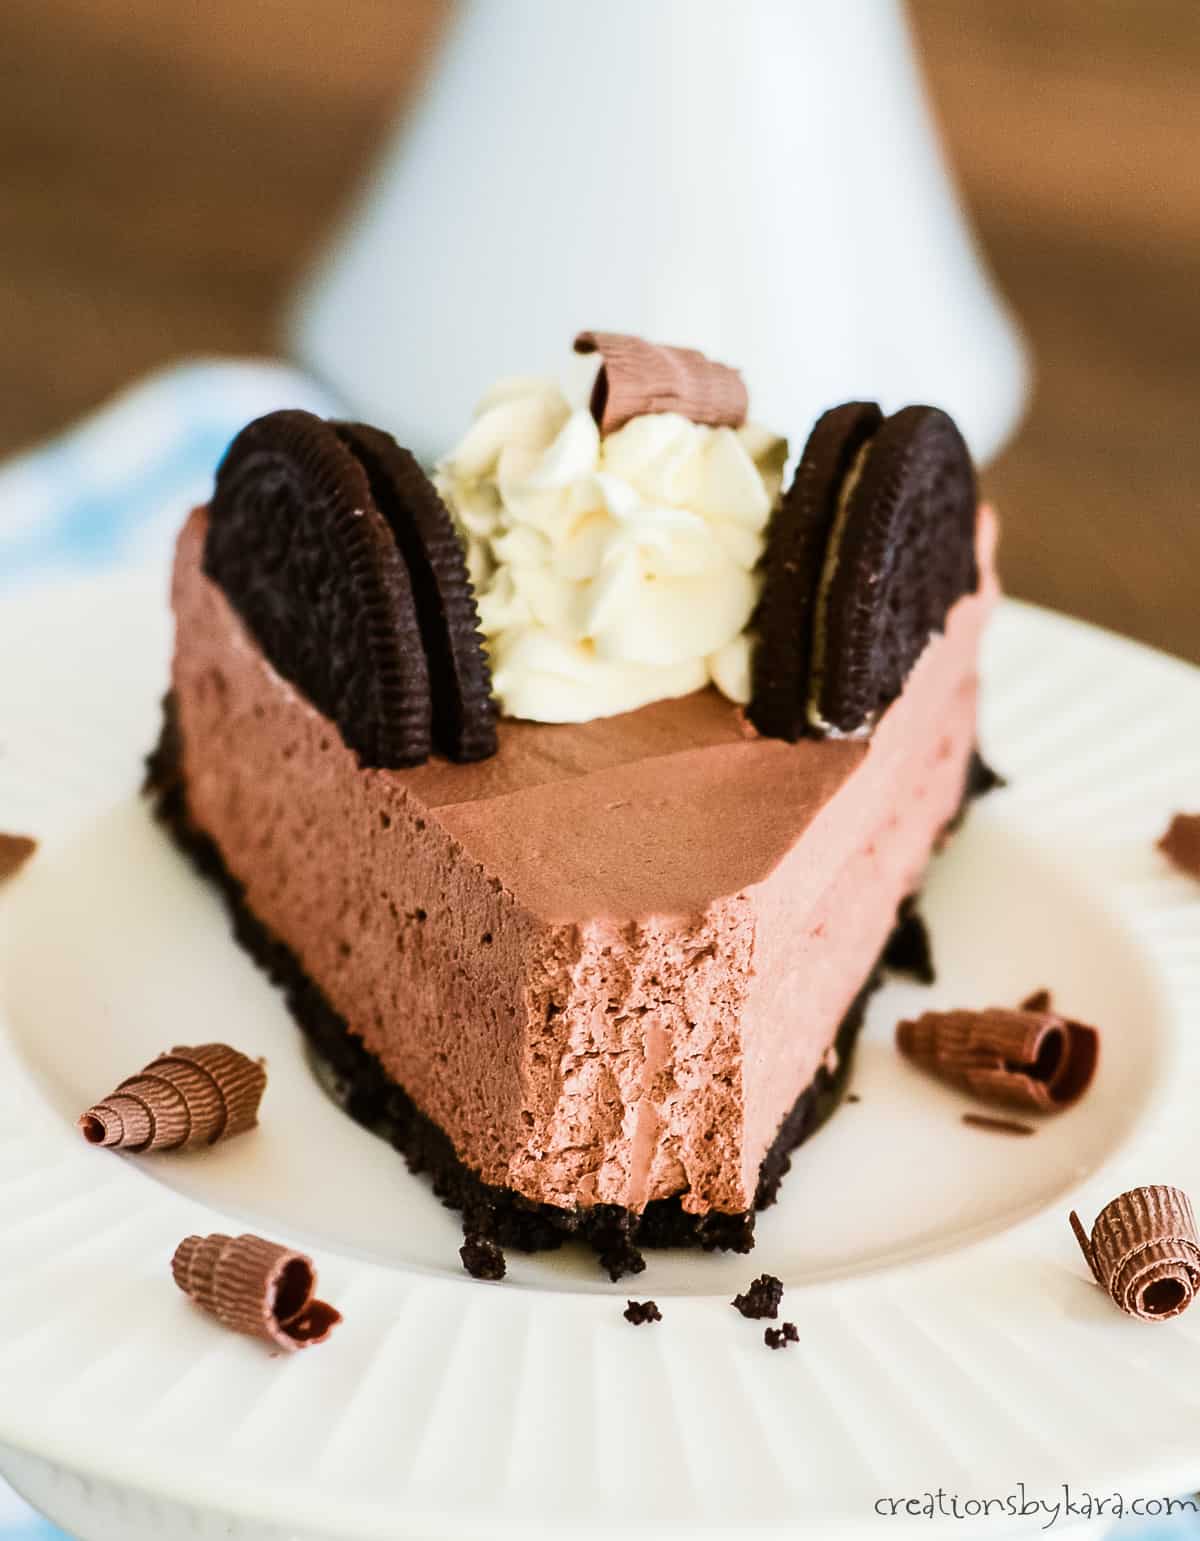
- For clean slices, rinse your knife in hot water and wipe dry with a paper towel between each slice.
- I found that using a sharp serrated knife and sawing through the Oreos worked best for cutting them in half.
Storing leftovers
Any leftover chocolate mousse cake must be stored in the refrigerator. If you have a large cake carrier, or other large airtight container, they work great. If not, you can return it to the washed springform pan and cover it with plastic wrap.
It will last for 2-3 days in the refrigerator, but the cream on top does deflate, and the crust and Oreos start to soften up.
I haven’t tried it yet, but I think this decadent dessert would freeze perfectly. Just freeze it without the garnish. I wouldn’t try to freeze it longer than 3-4 weeks.
Make sure you let it thaw in the refrigerator, not at room temperature. Or you could just eat it frozen!
MORE NO BAKE DESSERT RECIPES:
- No Bake Strawberry Cheesecake
- Peanut Butter No Bake Bars
- Blender Chocolate Mousse
- Peaches and Cream Dessert
- Strawberry Banana Crepes
- Mini Key Lime Cheesecake
- Oreo Rice Krispie Treats
- Stovetop Rice Pudding
NO BAKE CHOCOLATE MOUSSE CAKE RECIPE

Easy Chocolate Mousse Cake
Equipment
Ingredients
Oreo Cookie Crust:
- 18 Oreo cookies
- 3 Tbsp salted butter melted
Mousse Recipe:
- ¾ cup heavy whipping cream heated
- 10 oz semi sweet chocolate about 1 1/2 cups chopped, or chocolate chips
- 1 ½ cups heavy cream whipped until stiff peaks form
- 1 tsp vanilla extract
- pinch salt
Topping:
- ¾ cup heavy whipping cream
- 3 Tbsp powdered sugar
- ½ tsp vanilla extract
- 6 Oreo cookies cut in half
- 1.5 oz milk chocolate bar I used part of a Symphony bar.
Instructions
- Cut a circle of parchment paper and place it in the bottom of a 9" springform pan.
- In a food processor, finely crush the Oreos. Stir together with the melted butter. Press firmly in the bottom of the pan. Place in the refrigerator while you make the filling.
- Bring the 3/4 cup of cream barely to a simmer in a heavy small saucepan over medium heat. Remove from the heat. Dump in the chopped chocolate. Let sit for 1-2 minutes, then whisk until smooth.
- Cover chocolate with plastic wrap and chill for 20-25 minutes.
- In a cold bowl, beat the 1 1/2 cups of heavy cream until stiff peaks form. Add the vanilla and salt. Whisk the chilled chocolate, then add it to the cream. Use a rubber spatula to fold it gently into the whipped cream.
- Spread the chocolate mousse evenly over the oreo crust. Cover and chill for at least 6 hours.
- When ready to serve, beat the last 3/4 cup of cream in a cold bowl until stiff peaks form. Beat in the powdered sugar and vanilla.
- Use a large star tip to pipe the cream around the edges of the cake. Garnish with the halved Oreos and chocolate curls.
Notes
Nutrition
Did you make this chocolate mousse cake? Don’t forget to rate the recipe and leave a comment below.
I made it for my daughter’s birthday, and it beats any store-bought cake. Thanks, Kara
I agree about it beating store bought anything! Hope it made your daughter’s birthday even more special! 🙂