Skip to primary navigation
Skip to main content
Skip to primary sidebar
Skip to footer
Search
RECIPE INDEX
Appetizers and Snacks
All Bread Recipes
Bread- Muffins and Scones
Bread: Quick Breads
Bread: Yeast Bread
Breakfast
Crock Pot
All Dessert Recipes
Dessert: Brownies and Bars
Dessert: Cakes and Cupcakes
Dessert: Candy
Dessert: Cheesecake
Dessert: Cookies
Dessert: Frozen
Dessert: Misc.
Dessert: Pies and Crisps
Drinks
All Holiday Recipes
Christmas Recipes
Easter Recipes
Halloween Recipes
St. Patrick’s Day Recipes
Valentine’s Day Recipes
4th of July Recipes
Instant Pot Recipes
All Main Dish Recipes
Main Dish- Beef
Main Dish: Chicken
Main Dish: Fish
Main Dish: Pork
Main Dish: Vegetarian
Low Carb Recipes
Restaurant Recipes
Salads
Side Dishes
Soups
Non-Food
DIY
Craft Tutorials
DIY Project Tutorials
Holiday Tutorials
Home Decor Ideas
Sewing Tutorials
Tips & Tricks
FREEBIES
Free Patterns
Printable Gifts
Holiday Printables
LDS Printables
Printable Home Decor
HOLIDAYS
4th of July
Christmas
Easter
Halloween
St. Patrick’s Day
Thanksgiving
Valentine’s Day
SHOP
MEAL PLANS
This post may contain affiliate links. As an Amazon Influencer, I earn from qualifying purchases, (no cost to you).
Halloween
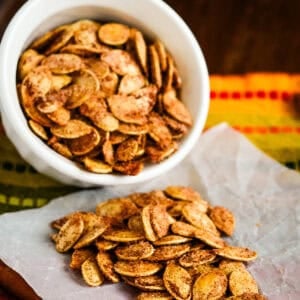
Cinnamon Pumpkin Seed Recipe (Sweet)
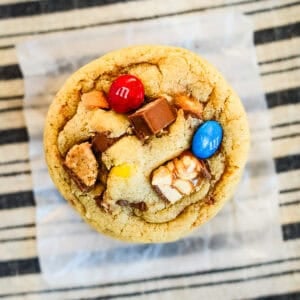
Leftover Halloween Candy Cookies
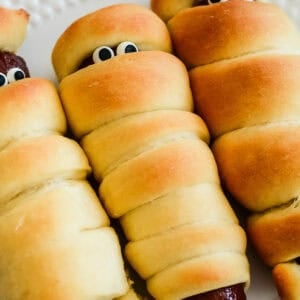
From Scratch Halloween Mummy Dogs
Black Cat Cookies for Halloween
Free Printable Halloween Signs
Halloween Recipe: Bloodshot Eyeball Cookies
Roll a Pumpkin Halloween Game {Free Printable}
Easy Halloween Treats for Class Parties
Free Printable Halloween Gift Tags
Duck Tape Flower Pumpkin Tutorial {#StickOrTreat Pumpkin Contest}
30 Ideas for Halloween Decor
Halloween Mummy Cake Pops
Halloween Book Page Wreath
Black and White Halloween Display
Halloween Decor- Black and White Pumpkins
Pumpkin Treat Bag Tutorial {Halloween}
Angry, Um I mean Happy Halloween!! {Angry Birds Pumpkins}
Halloween Food Ideas
Halloween Food – Monster Toes
Halloween Recipe- Bloody Eyeballs {Meatballs}
Page
1
Page
2
Go to
Next Page »